Project Description
Entry #8 Mr. Suwit Vanichvoranun

Mr. Suwit Vanichvoranun
Owner of Suwit Aqua Living Vanichvoranun.
The Thai version can be found here.
I’m contestant number 8
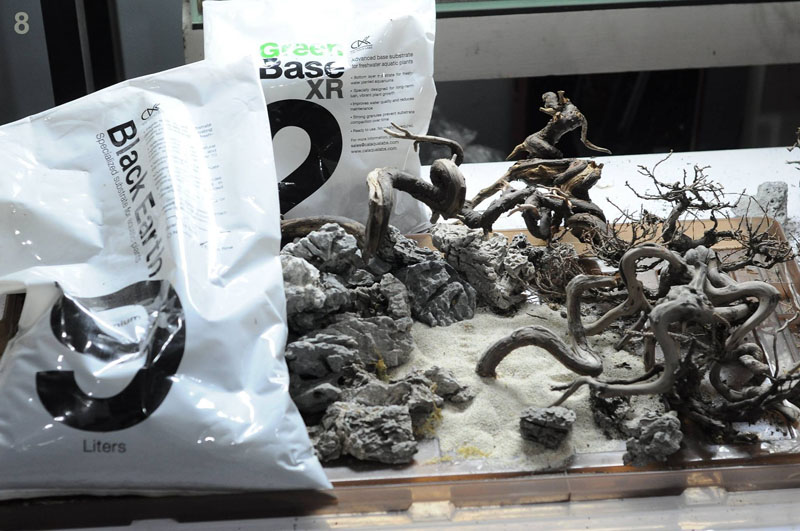
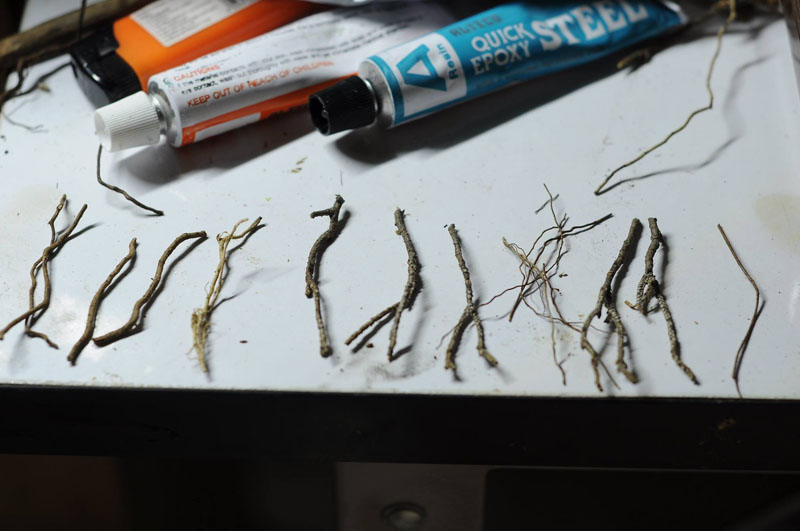
Thank you to the sponsor of Black Earth soil 9L
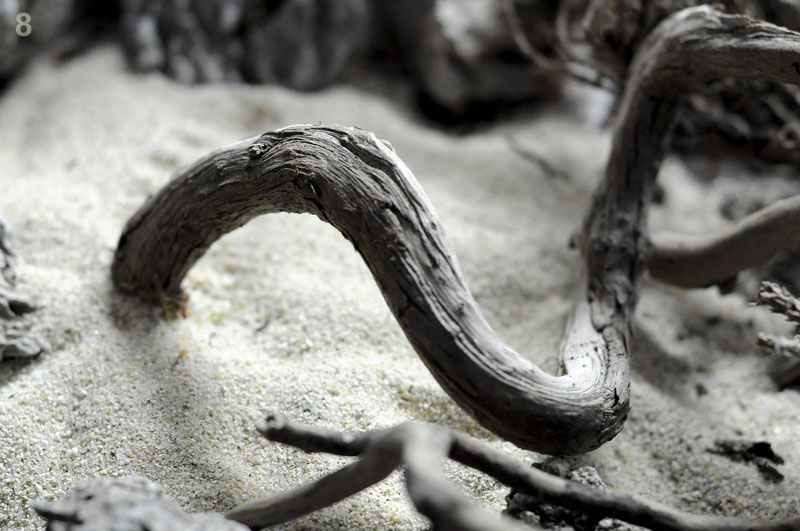
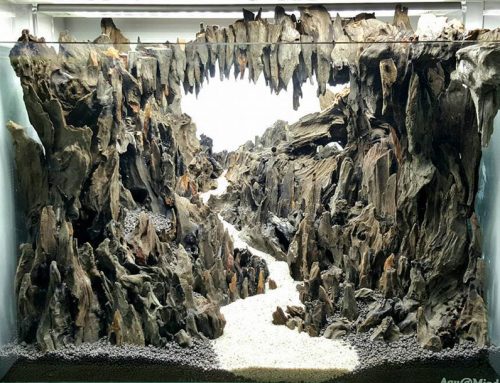
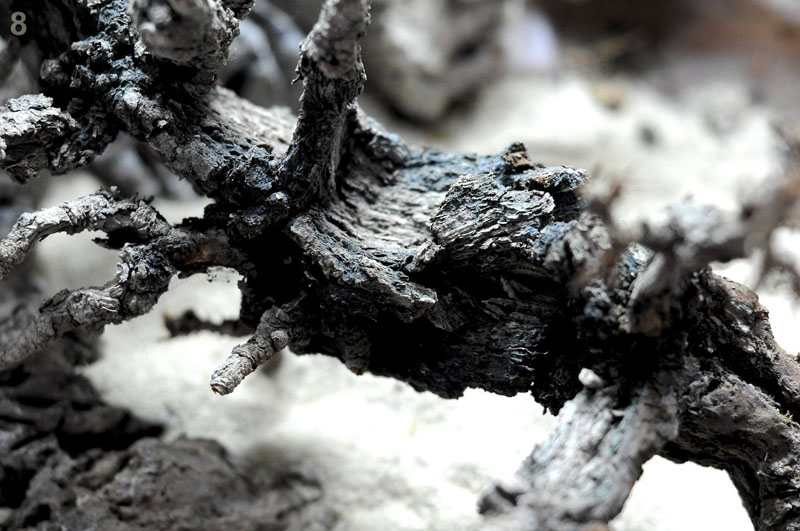
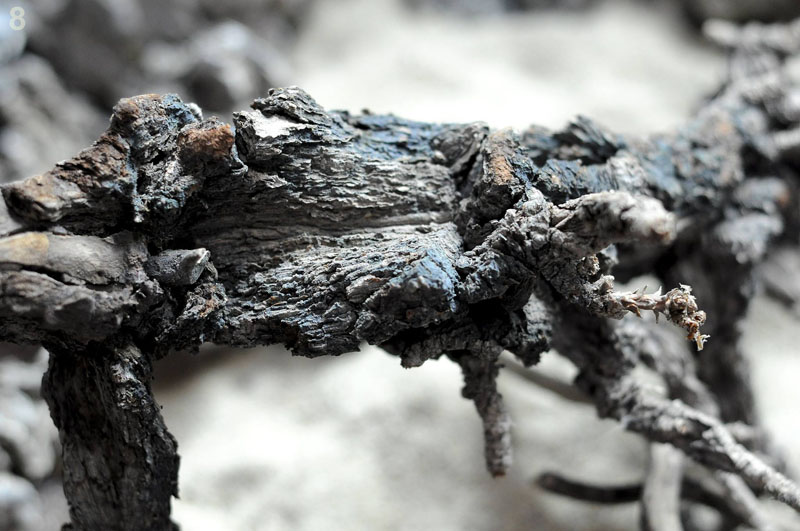
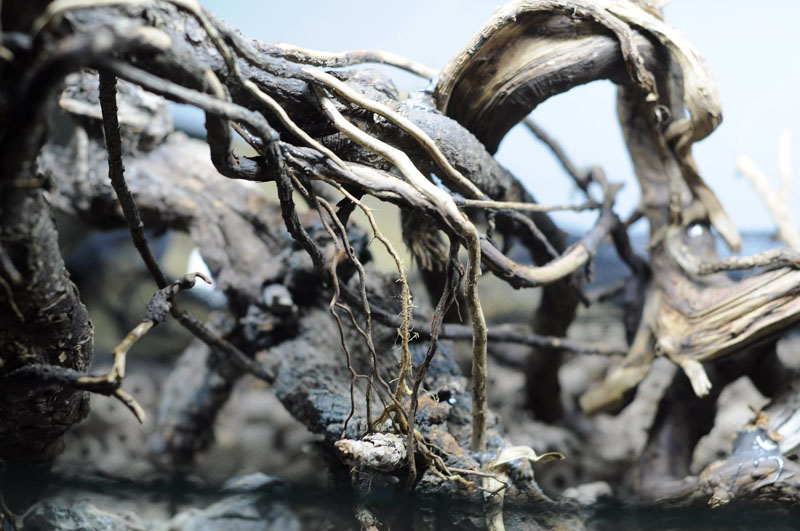
Wood that I have chosen
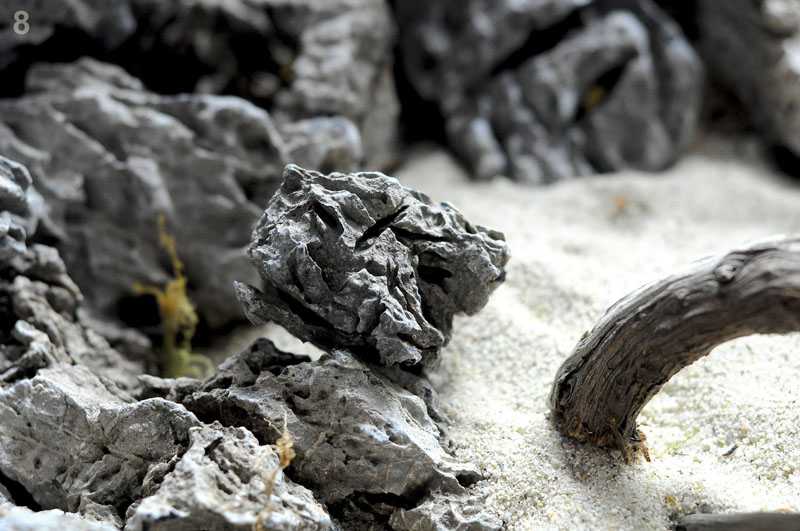
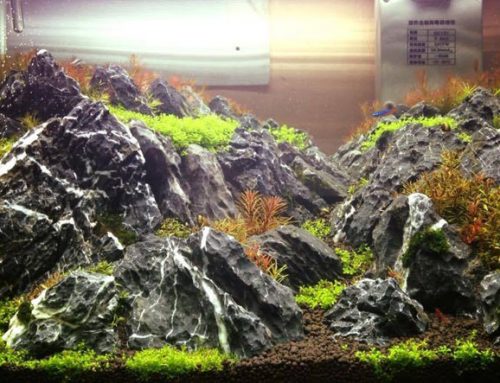
Rocks that I have chosen to use.
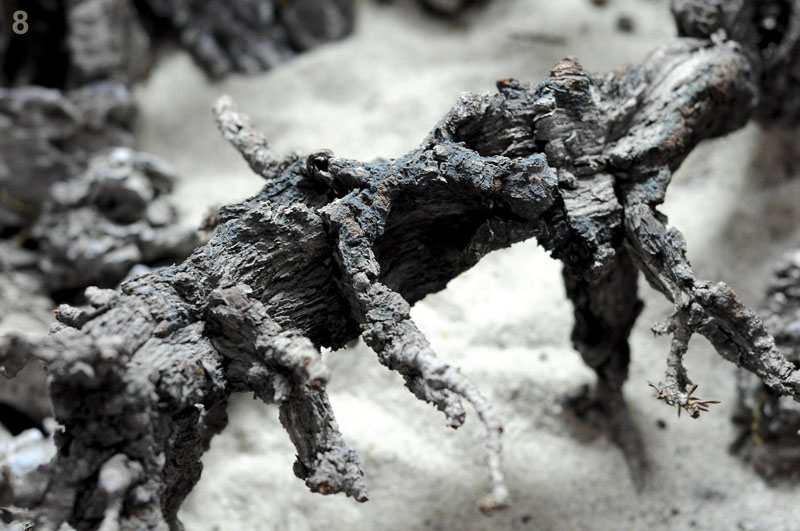
Wood that I have chosen to use.
Wood that I have chosen to use.
Wood that I have chosen to use.
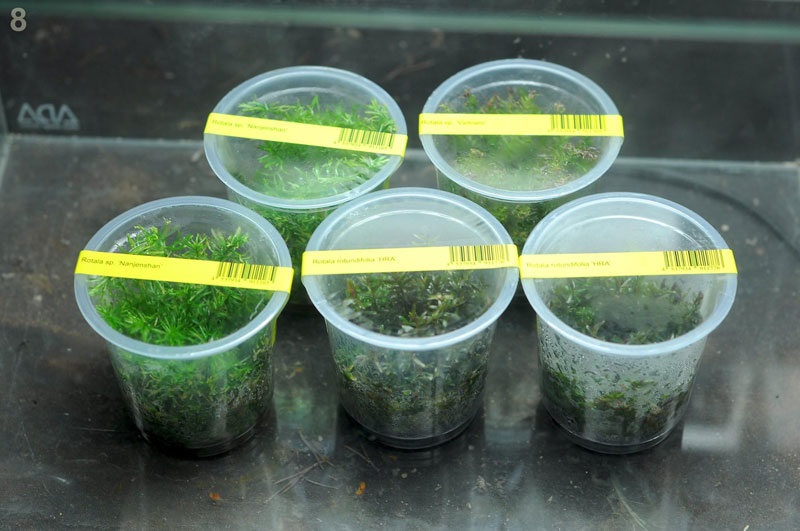
Plants that I have chosen to use.
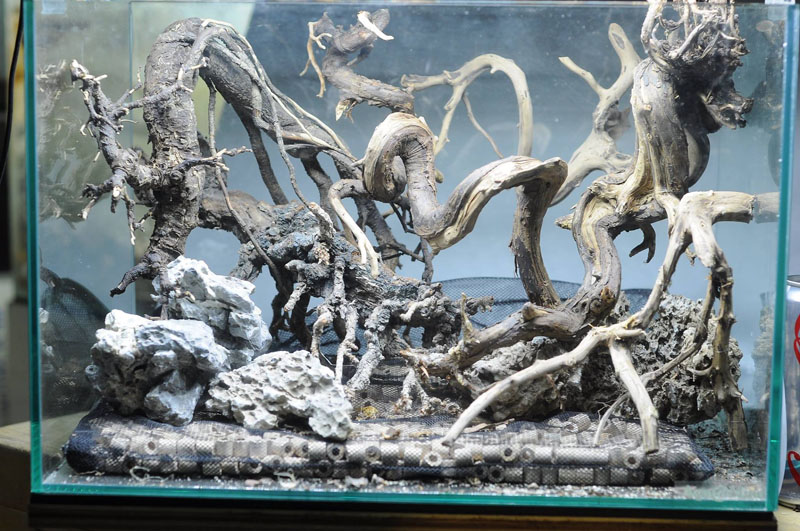
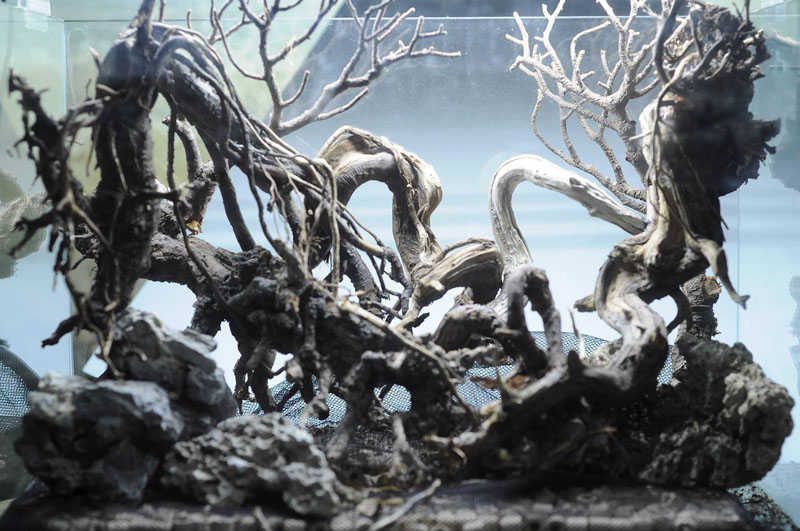
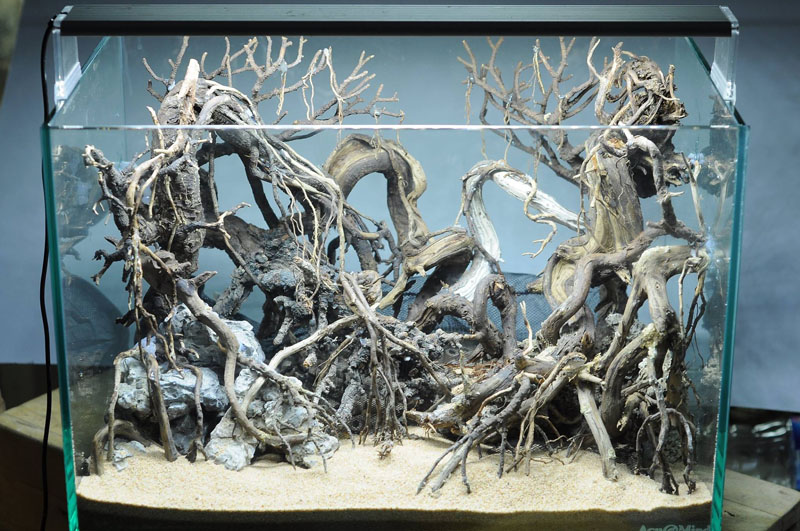
It’s time for the main structure.
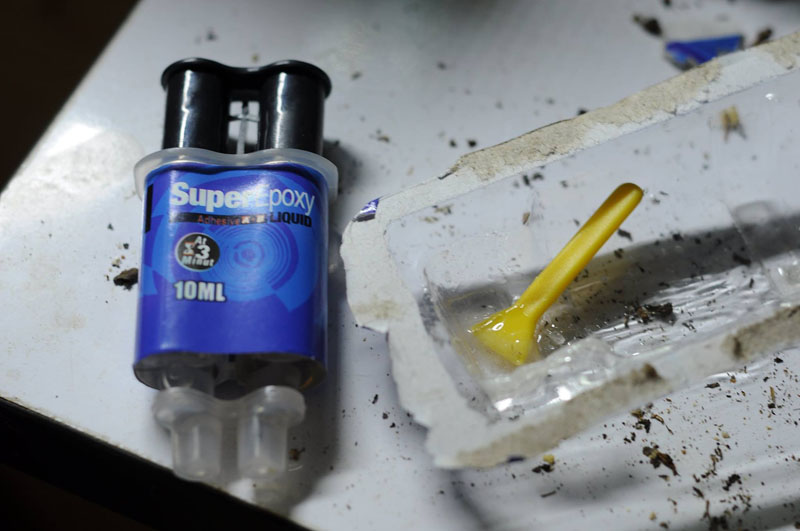
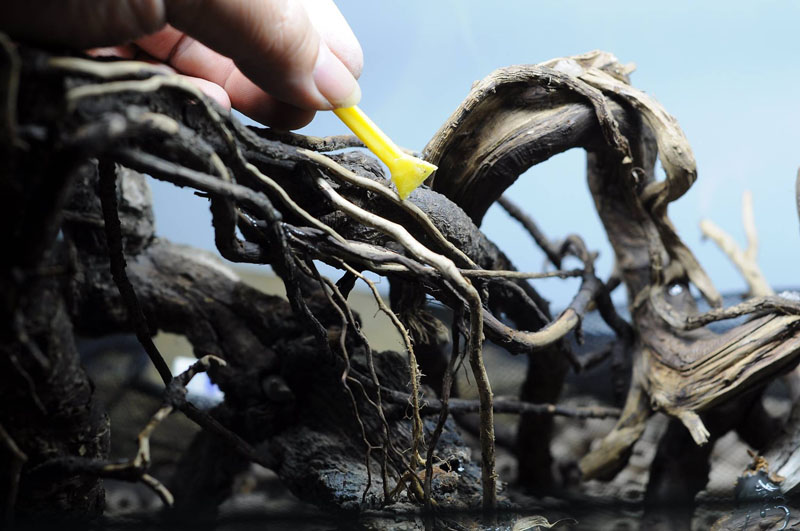
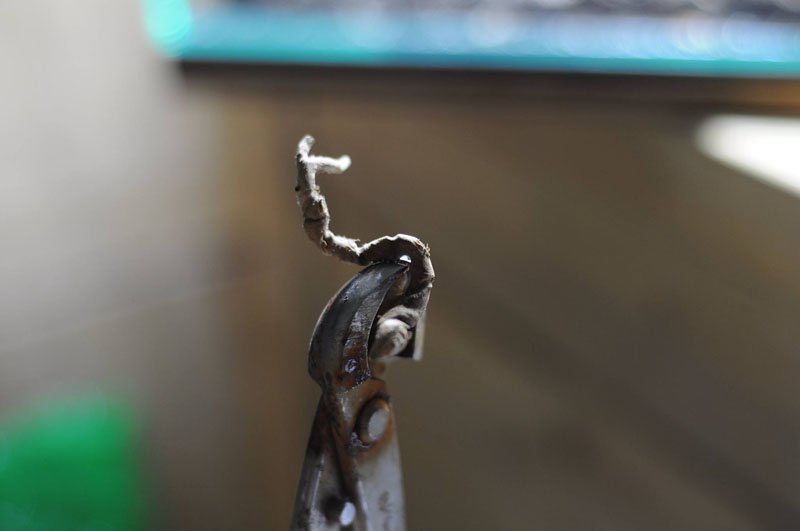
This is the glue that I use. It has a clear appearance.
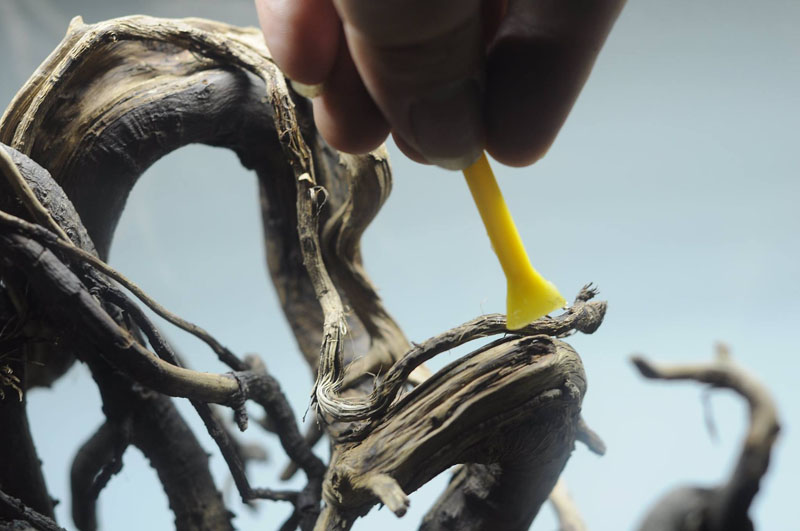
Apply a small amount of glue to the branches and vines
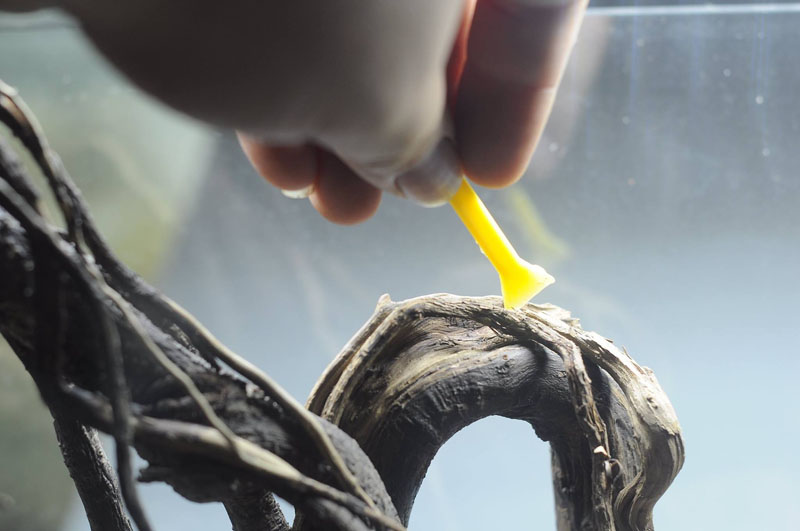
Press firmly for 10 seconds.
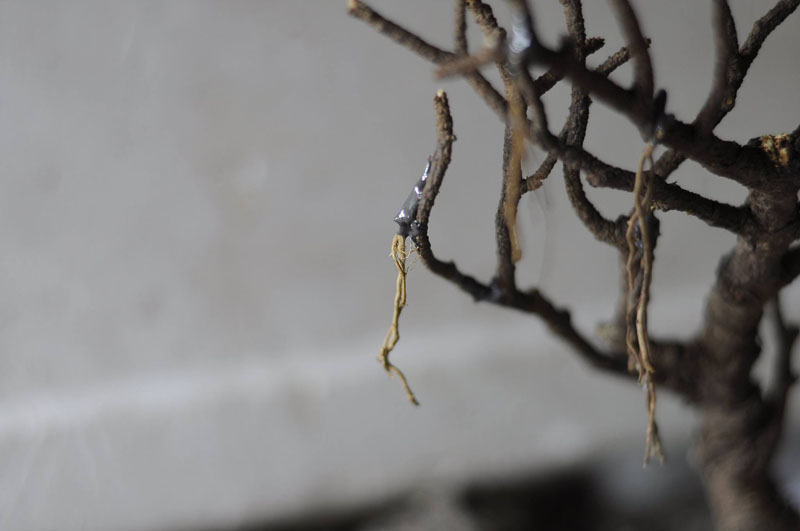
Adding details to the main layout.
Adding details to the main layout. Press and hold for 10 seconds.
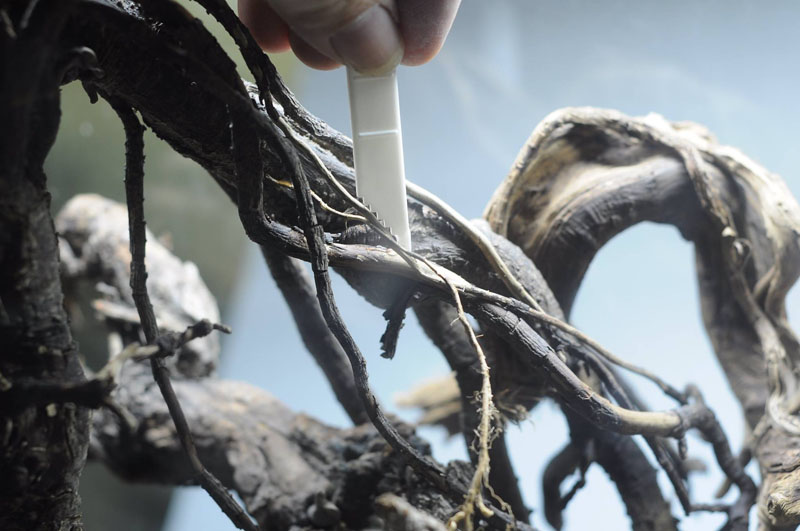
Going through with each detail. I have to do this step quickly because the glue that I mixed up dries very quickly.
Sometimes I have to step back and look at the tank from 5 meters away to check the overall scale.
Carefully apply glue wherever you can to strengthened the main layout. This also helps when transporting the tank as well.
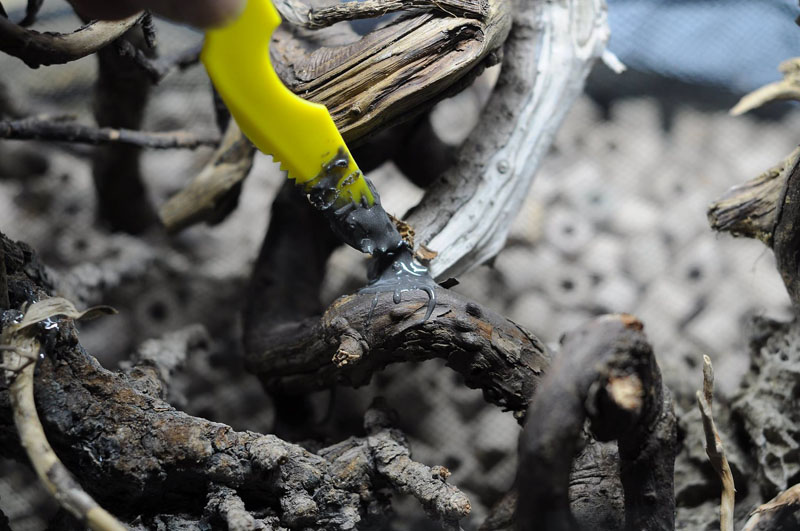
As for the main structure, I used epoxy AB to join them together.
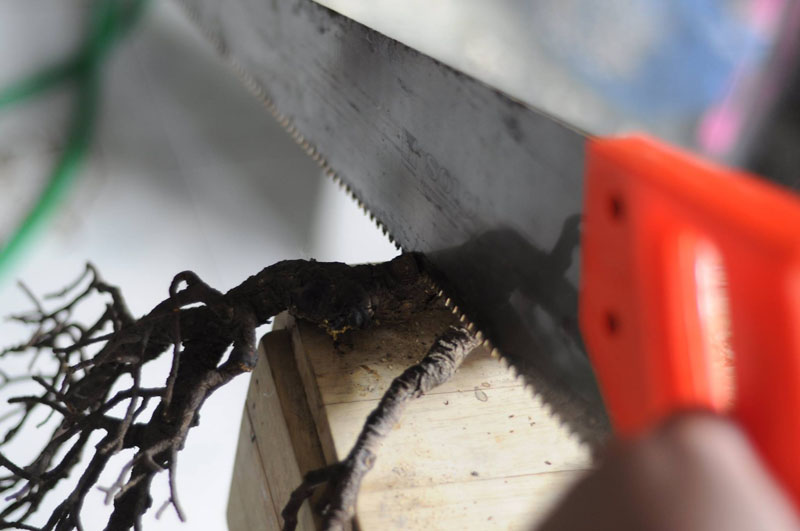
The trick for sawing branches is to do it quickly. It will take a while if you do it slow.
Checking the placement once again.
Dealing with the details in front.
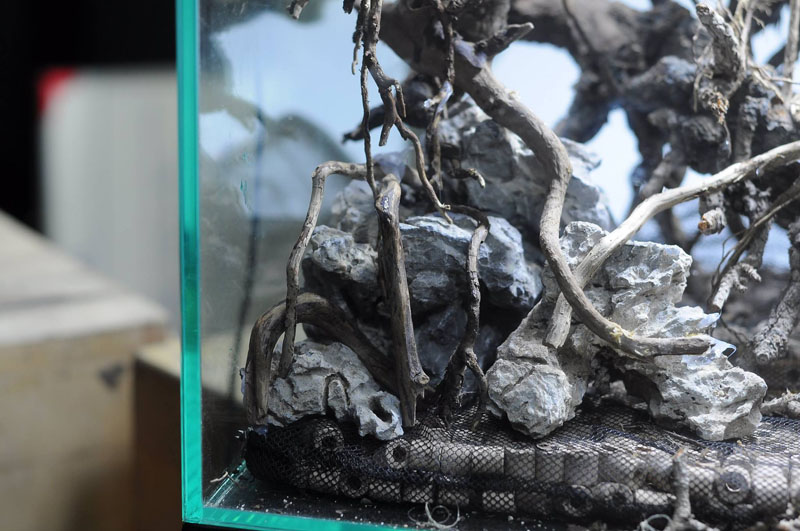
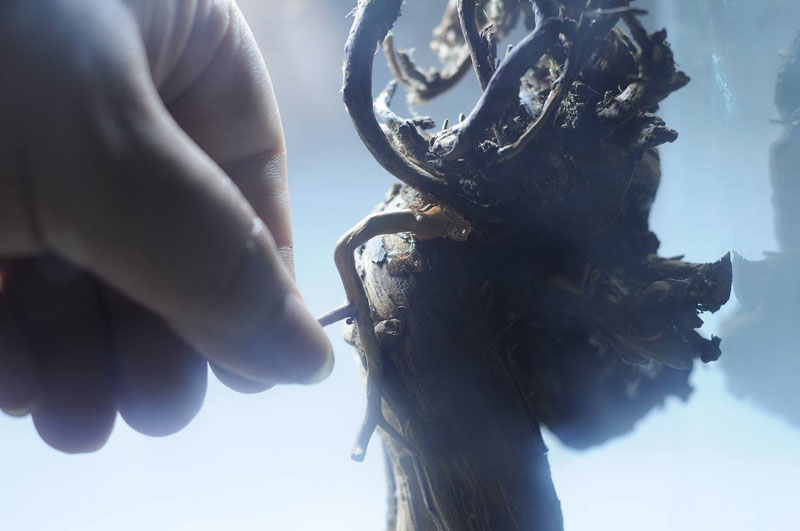
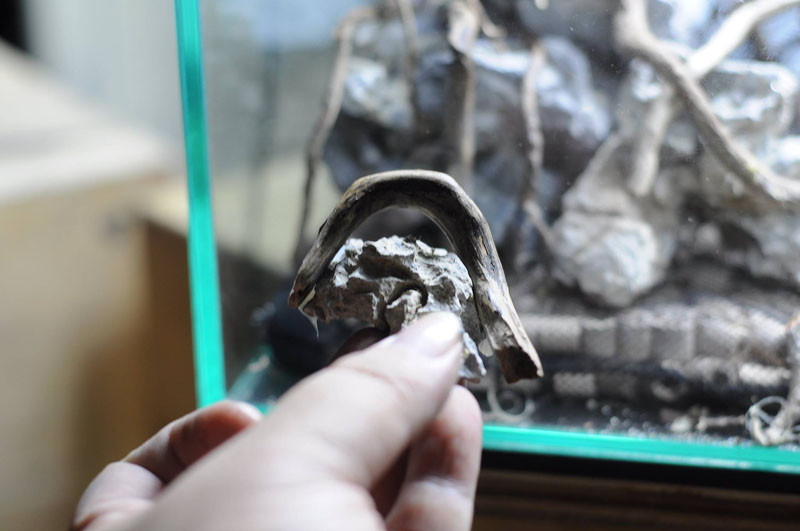
Gluing the wood to a piece of rock.
Wait for the glue to cure while eyeing the placement location.
Place it in between rocks to make it appear as if the root has grown through the rocks.
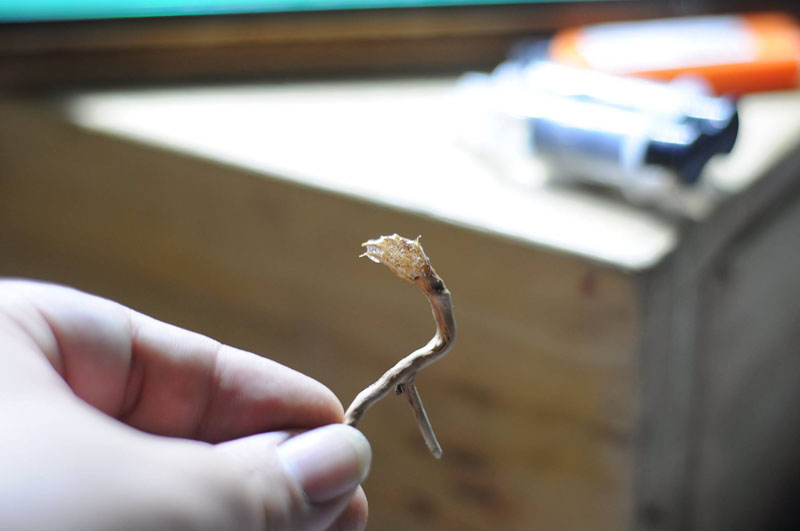
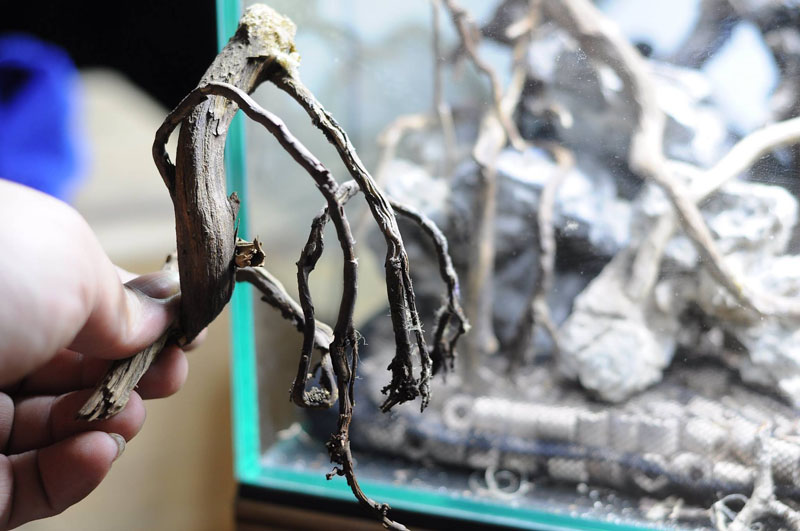
Cutting small branches to use it to add details to the scape.
It is very convenient when putting them together if you prepare many pieces at once.
For this step I use epoxy AB. Apply it on the branch and attach the twigs and vines.

Step back and check the appearance from 5 meters away.
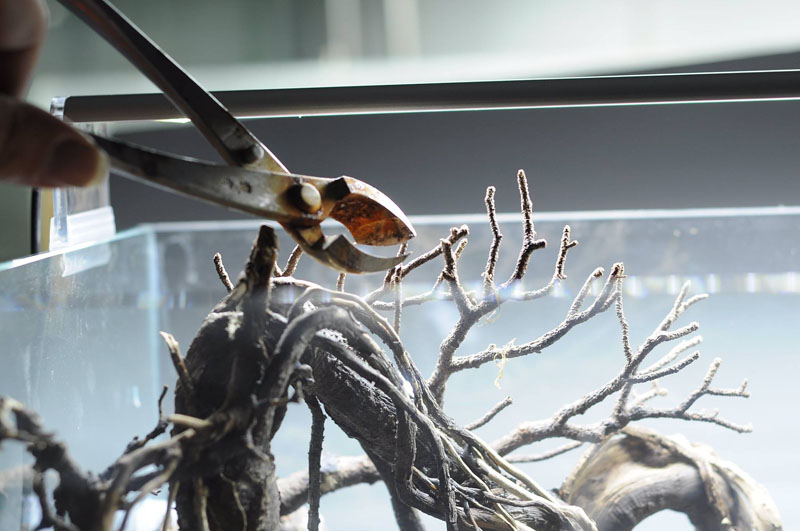
Cut away the part that lies above the water line so it does not get in the way of the lights.
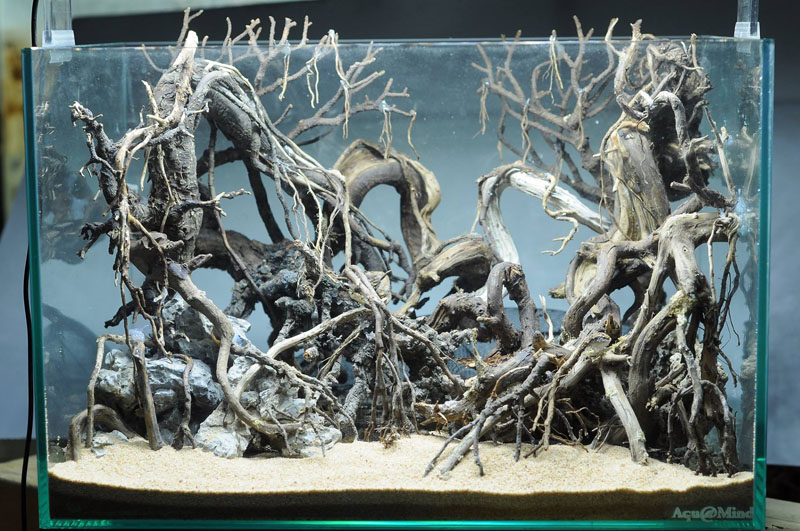
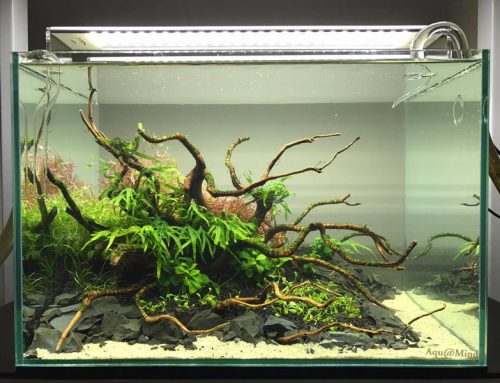
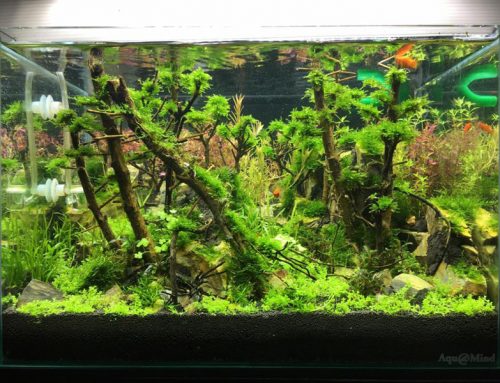
The main layout is now satisfactory. Get ready to add in soil and plants.
I will update you again once I am done planting.
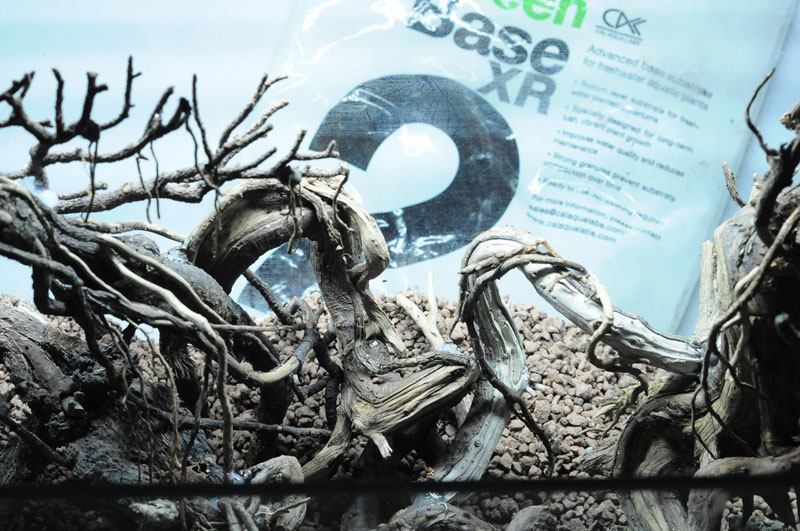
Green Base XR base substrate
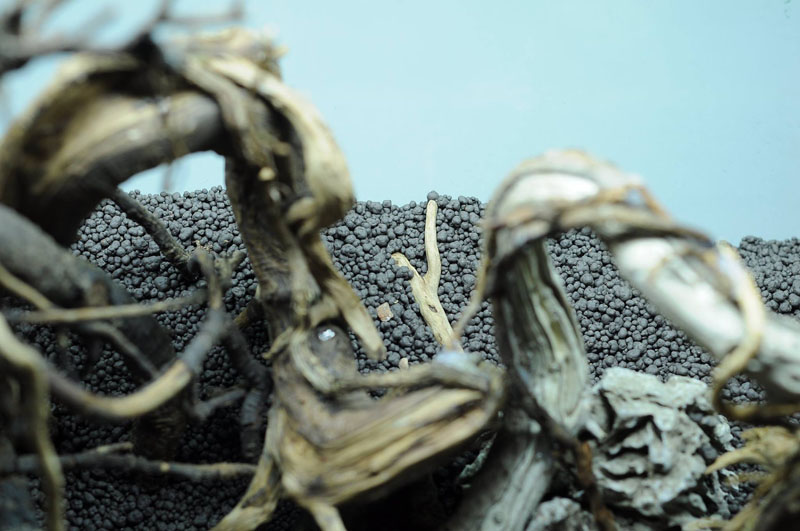
Black Earth Premium soil
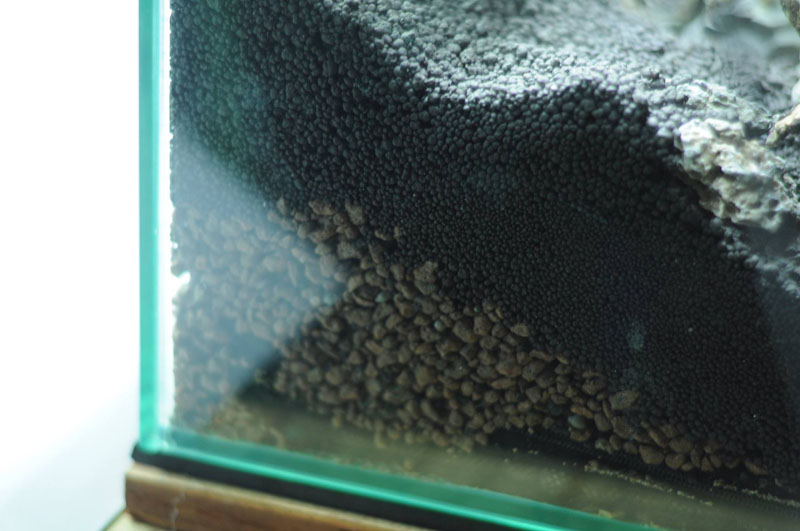
Depth of base substrate and soil.

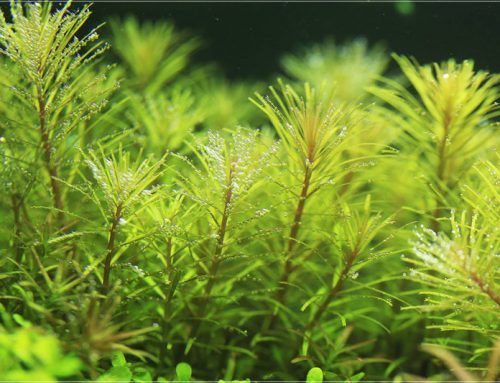
I chose to use spiky and christmas moss to decorate the upper branches.
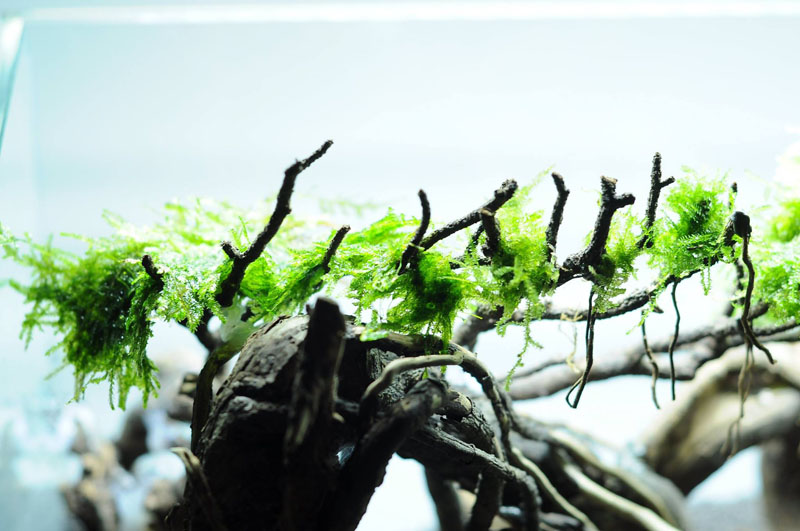
I use spiky moss for places near the glass, or close to the surface because it has a deep green tone. Under strong lighting, they won’t turn yellow. For the other branches I use christmas moss because of its light green tone.
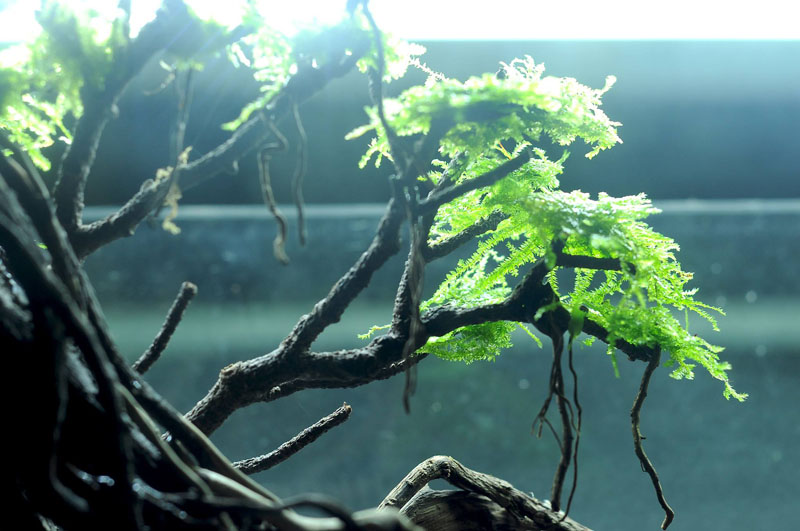
My concept is to use dark green mosses on locations near the glass, and bright green ones towards the center of the tank. This creates come contrast in shades of green. I chose christmas moss because they don’t turn yellow under bright lighting.