Project Description
Entry #1 Mr. Thanapat Preeyangkool

Occupation: Office employee and aquascaping services (FB: My Scape)
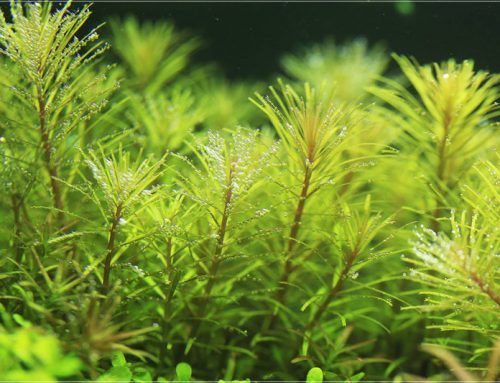
For this contest under the theme “Rotala Revolution”, I am honored to be among the best aquascapers in Thailand. I will try my best. Please follow and support my work. If you have any questions or would like more information, please let me know.
The Thai version can be found here.
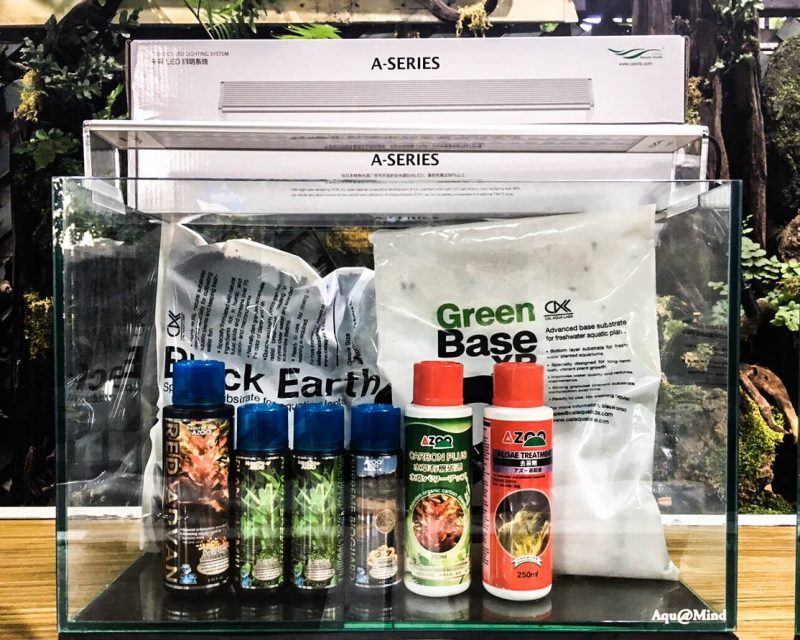
Other contestants have started so it’s time for me to begin. Before we begin, I would like to thank all the sponsors for this event.
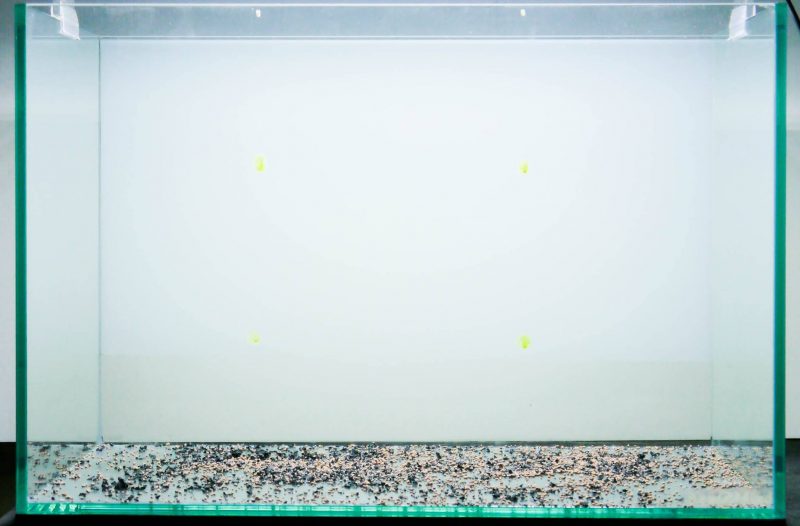
To start off, I am going to apply an opaque white background to the rear of the tank so it looks good visually and in photographs. The good point about a white opaque background is that we can shine color lights through the background. I will include photographs of this later on.
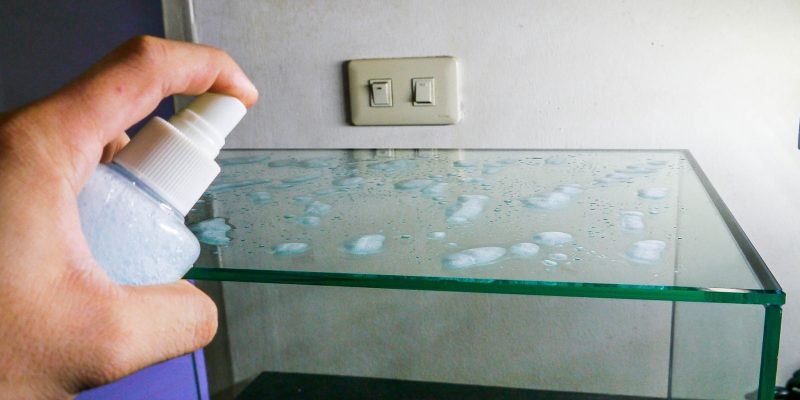
We begin by spraying windex or dishwashing liquid mixed with water on the entire back side.
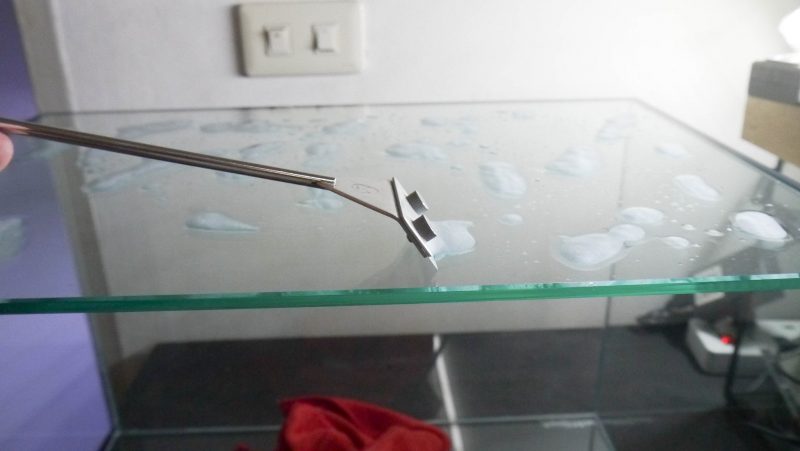
Then I use an algae scraper to clean the surface to remove dust and debris before another layer of dishwashing solution is applied.
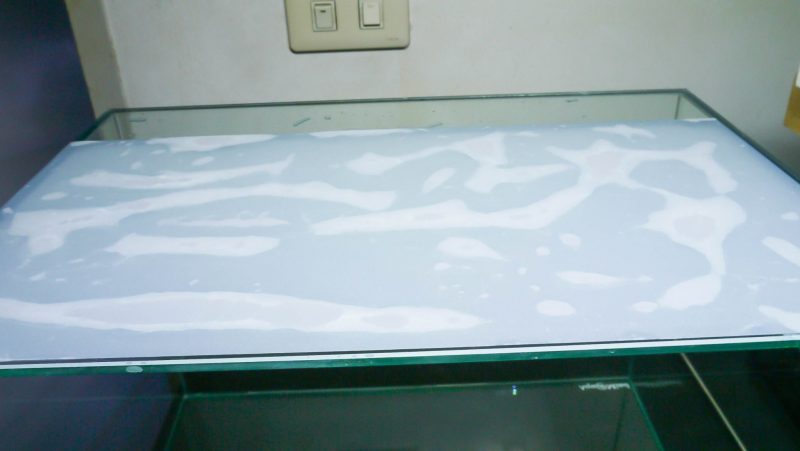
Slap on the background (notice that I applied it quite high up. This is because I will be creating a tall slope which will cover the bottom edge of the background)
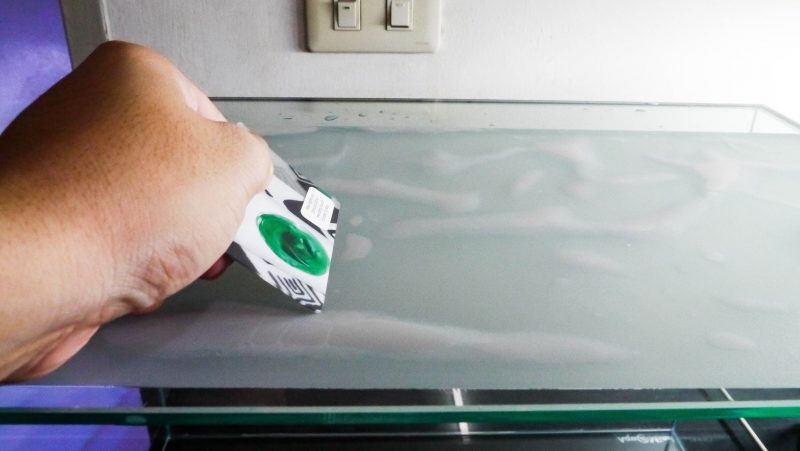
Then I use a hard plastic card to remove any air pockets. If the backdrop is not straight, you can re-align it at this step.
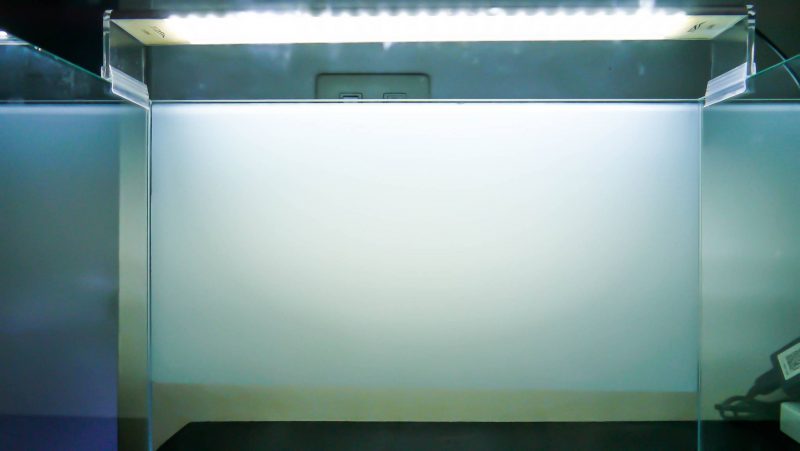
Ta daaa…. it’s all done!

Next, I sprinkle some SUBSTREX (which will bind to soil dust and debris and reduces clouding from the substrate) and MULTI-R (Iron and trace element supplementation for aquatic plants). Both of these are the latest products from CAL AQUA LABS. I sprinkle 1 spoon (spoon included) per 1 square foot of area. For this tank which is 45*30*30 cm, I used 1.5 spoons.
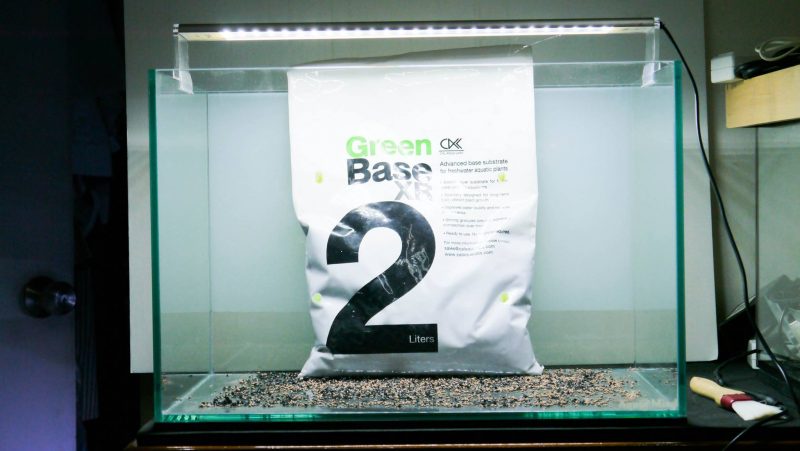
After that I poured Green Base XR by CAL AQUA LABS into a mesh bag. Green Base is base substrate that supplies long-term nutrients. It also facilitates bacterial colonization and accelerates the cycling process.
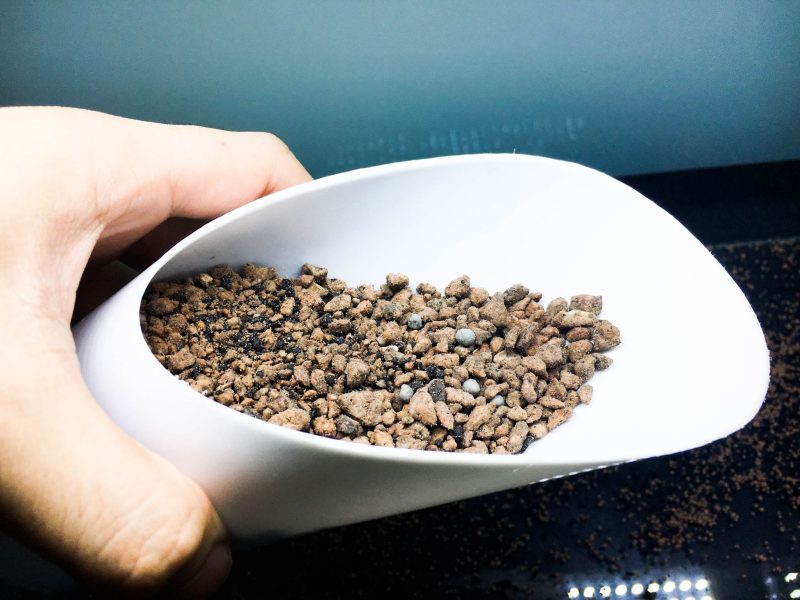
This is what it looks like. Everything is well mixed – Volcanic clay, nutrients, and bacteria
I put the Green Base XR in mesh bags because it is convenient to move around while creating the layout. It also prevents the Green Base from mixing with the soil above.
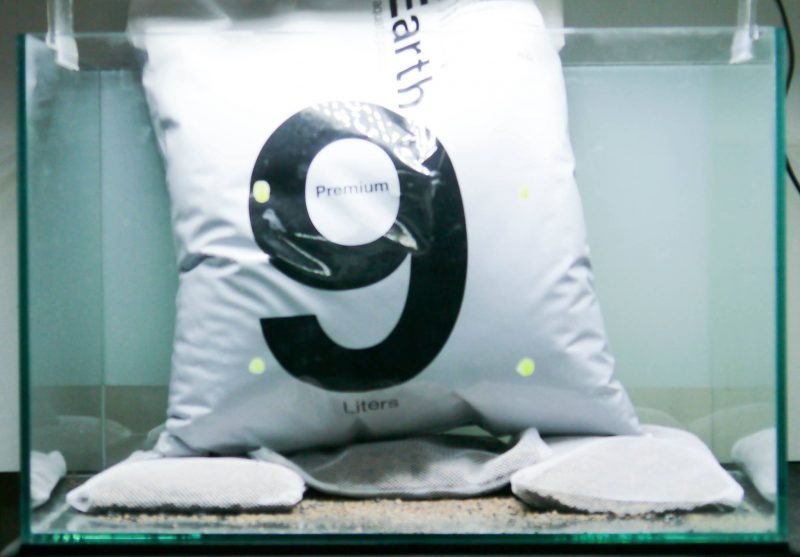
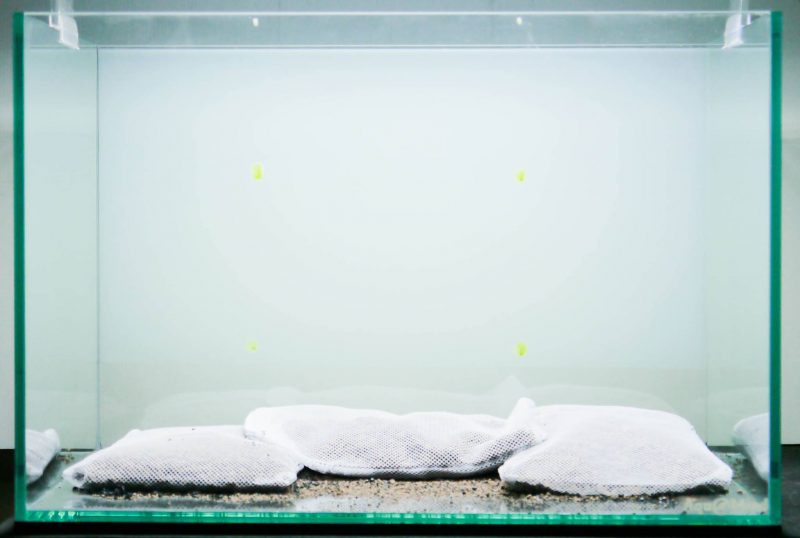
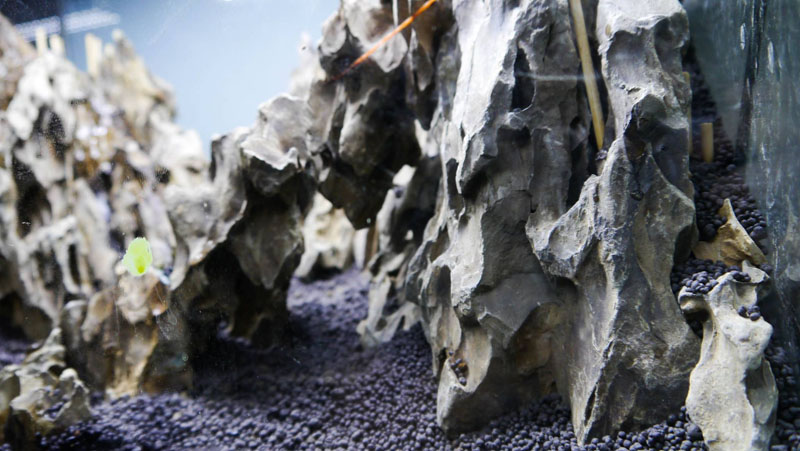
Next is the Black Earth soil substrate which is specially made for keeping aquatic plants.
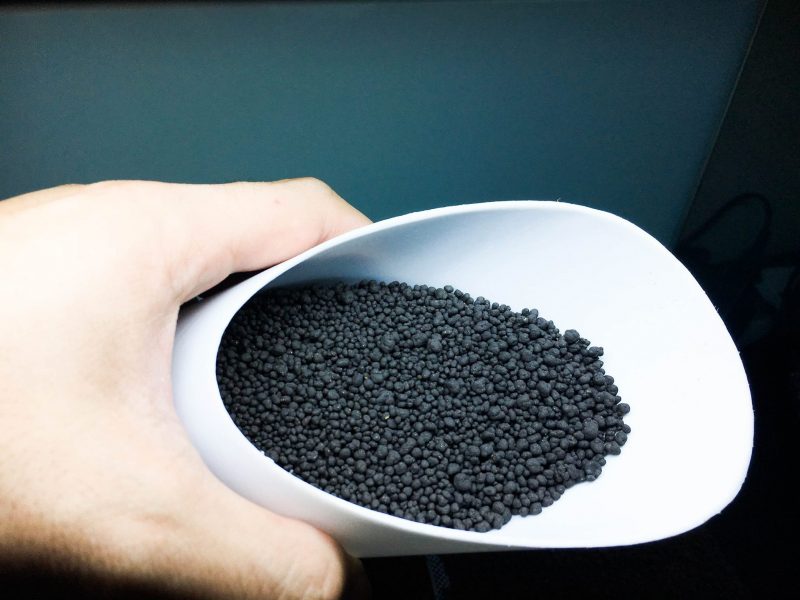
The soil granules are quite round, dense with nutrients, and difficult to break. This also minimizes clouding. It’s great.
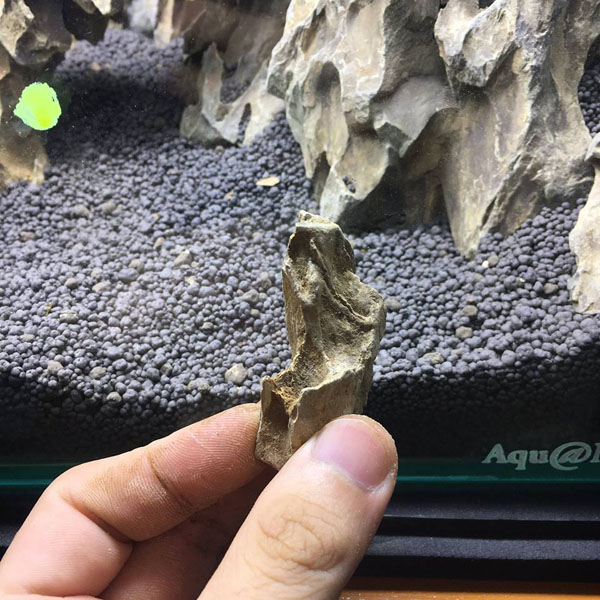
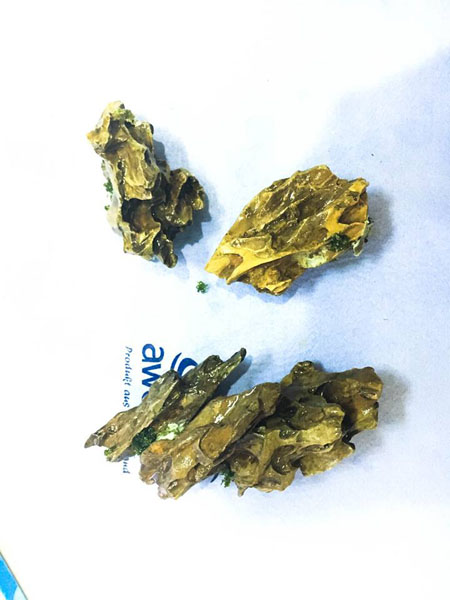
One of the issues in tanks that have a steep slope is “soil avalanche”. I have 3 ways of dealing with this: 1. Use small, thin rocks and place them into the soil to make small barriers.
This creates a small barrier.
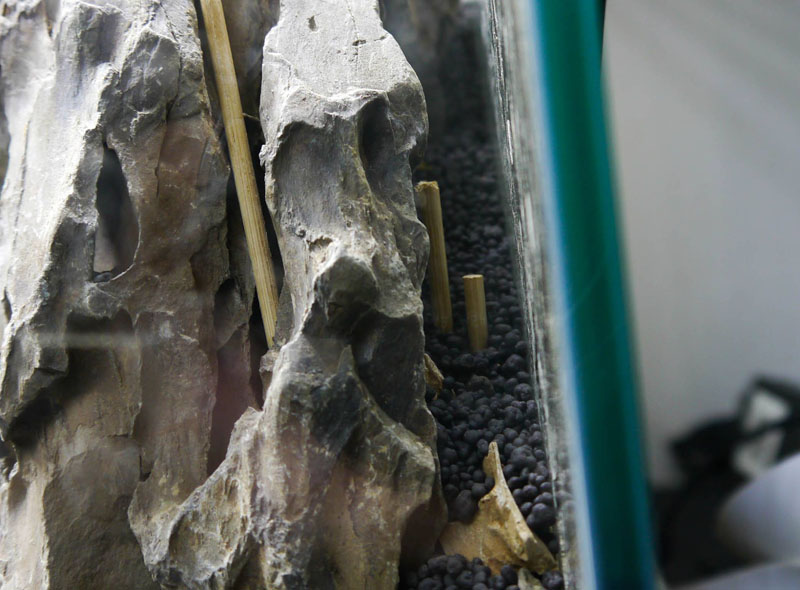
2. Cut small bamboo sticks according to the desired height and stick them into the soil. Try placing them closely in a row so it not too much soil can flow through them.
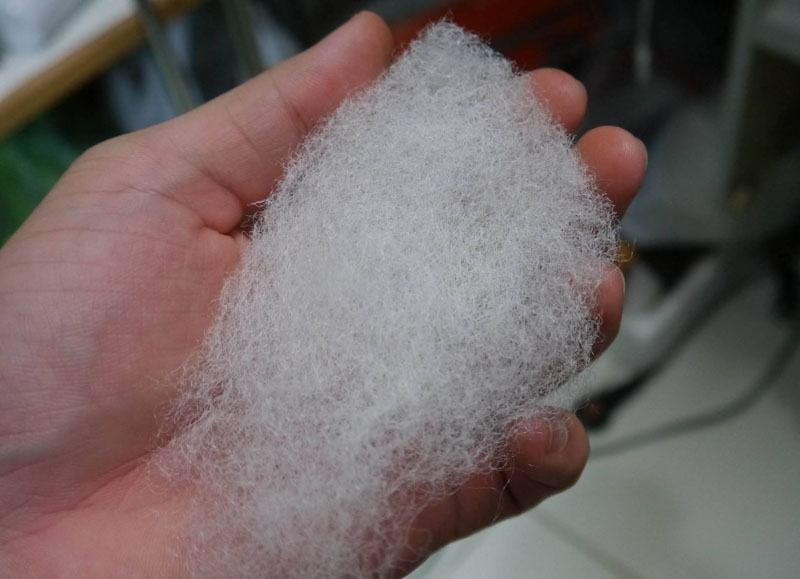
3. Place fine filter media in between rocks and crevices that are too tight to put small rocks or bamboo sticks.
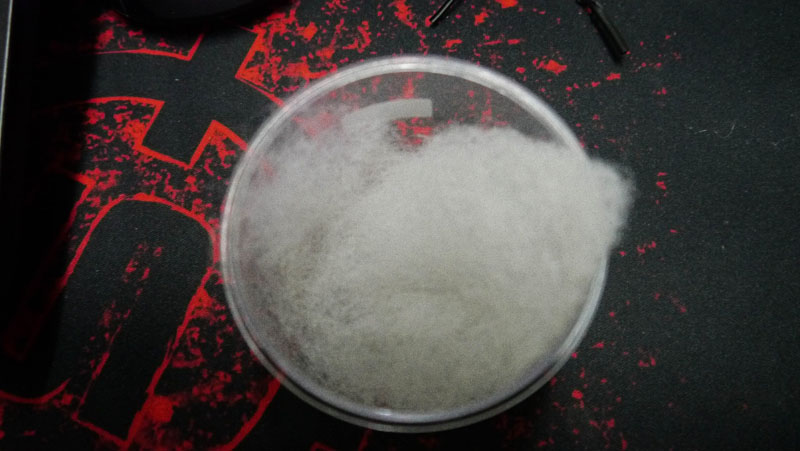
Soak it in some water.
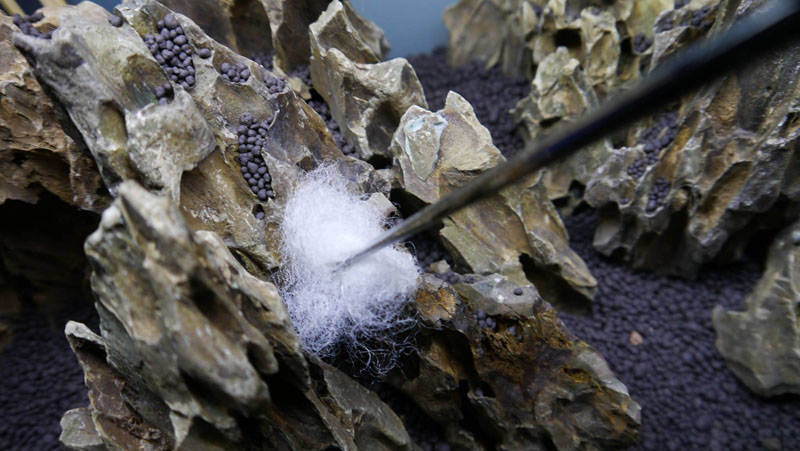
Then use tweezers to stuff them into crevices.
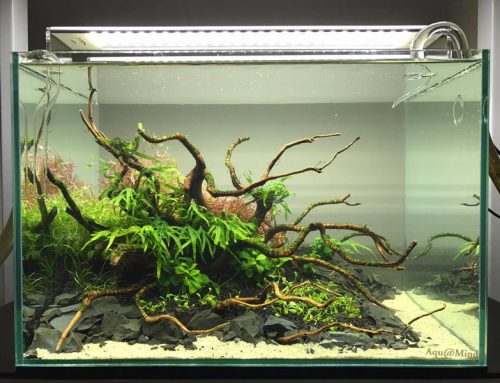
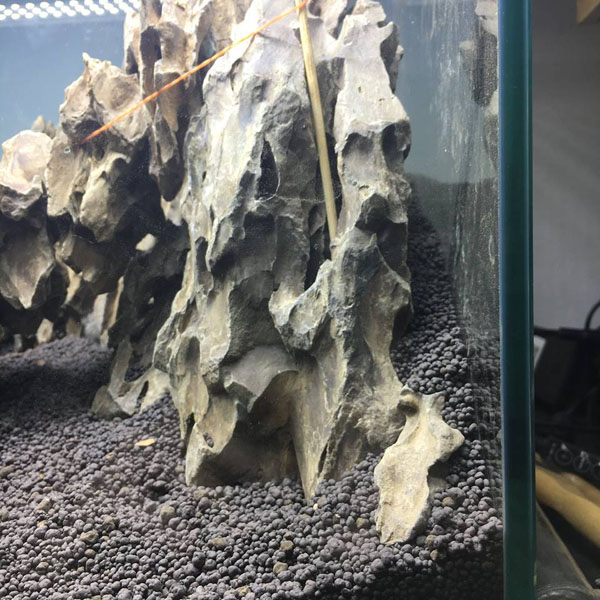
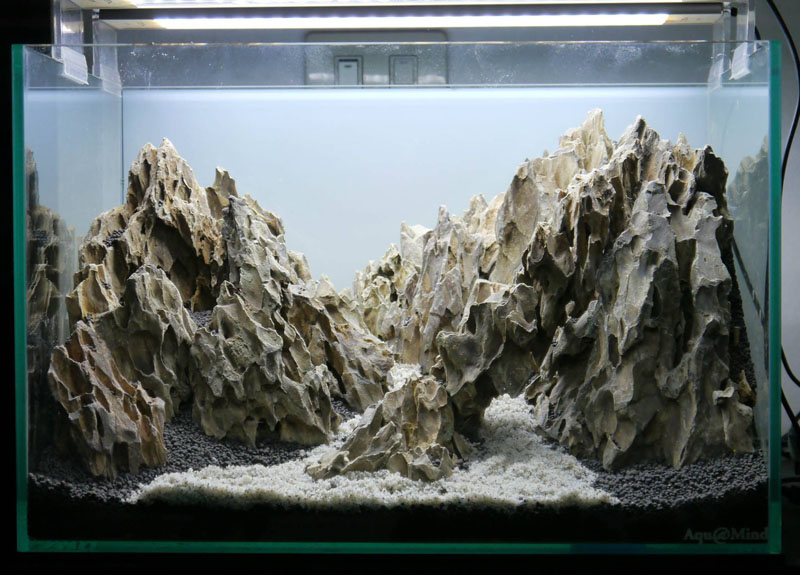
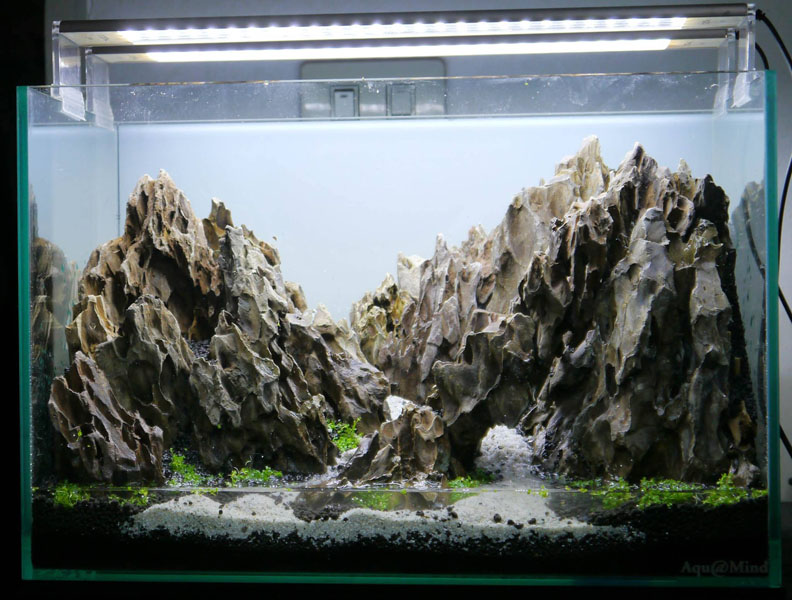
Day 7 : Hard Scape. Putting in the finishing touches.
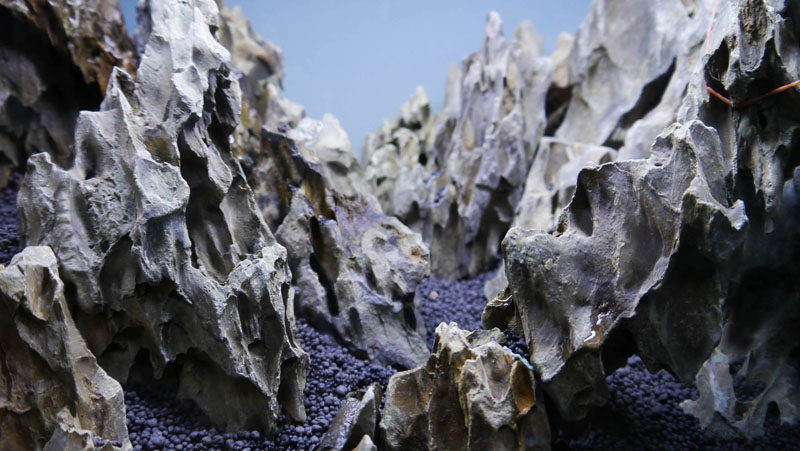
I’m thinking of creating a waterway here.
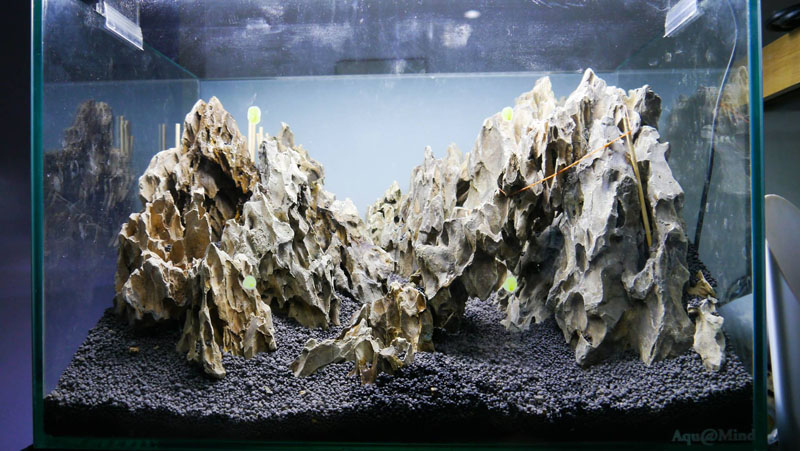
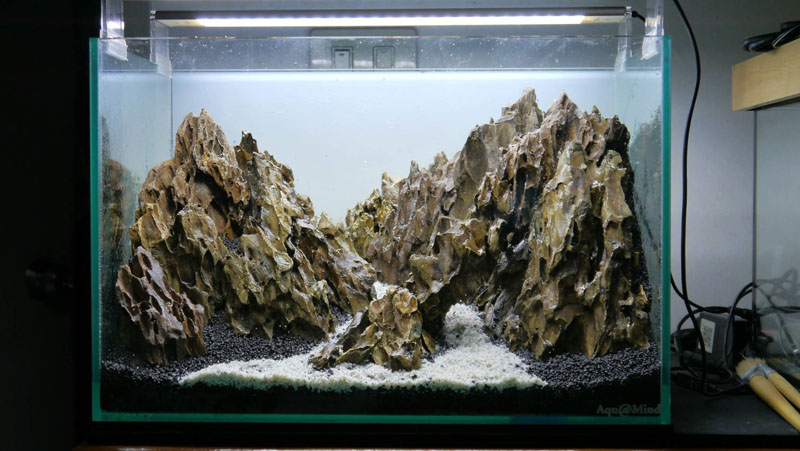
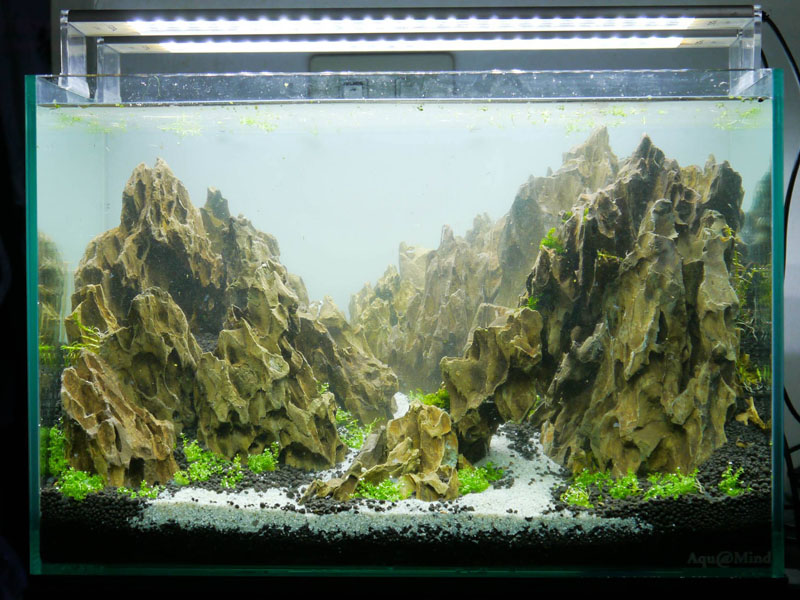
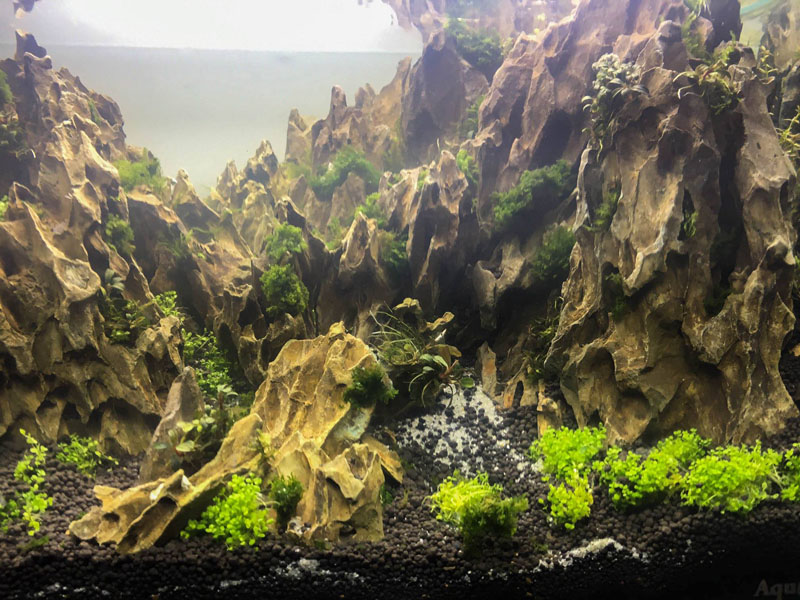
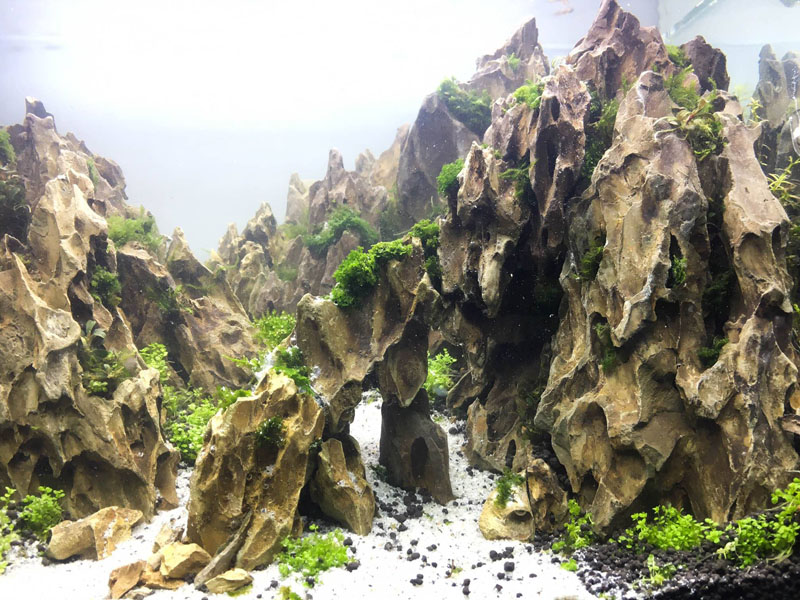
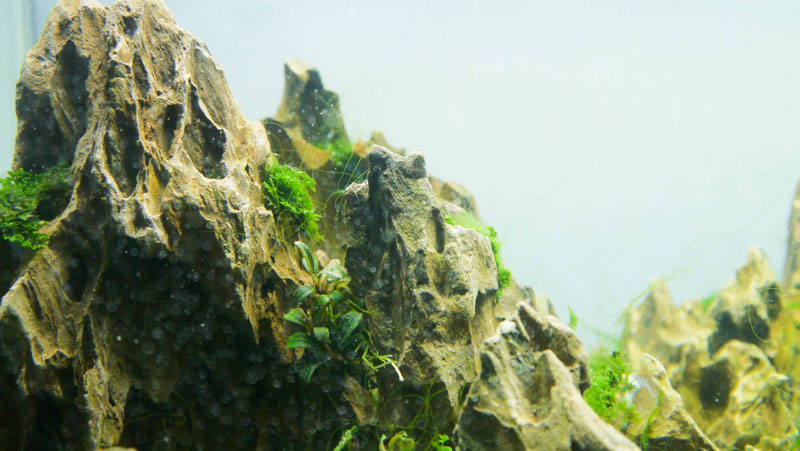
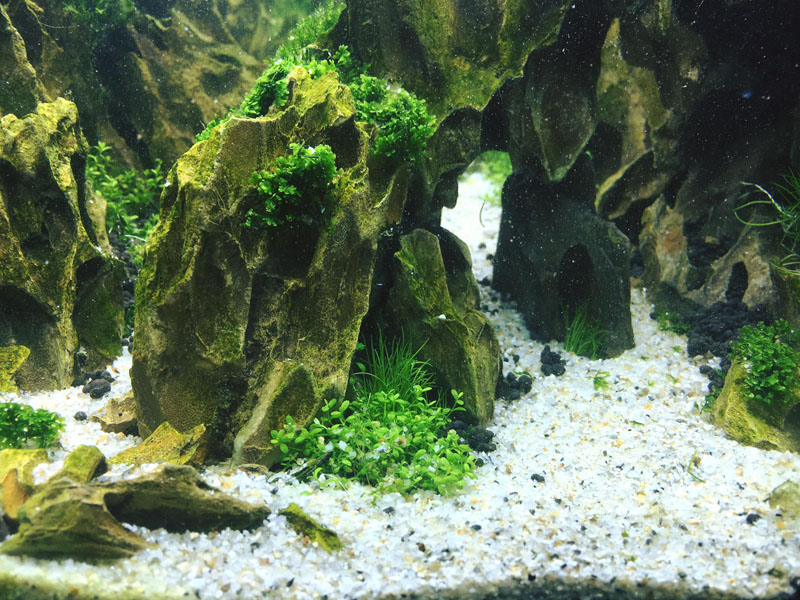
Ta daaaaa…This is what the overall hardscape looks like. I’m not sure if I will make any corrections to this. Allow me to stare at it for several more days.
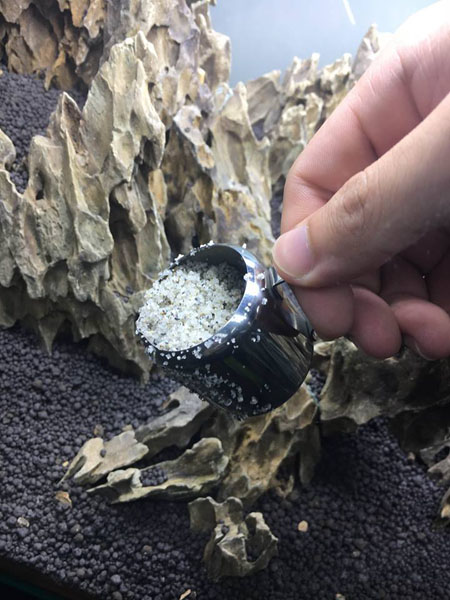
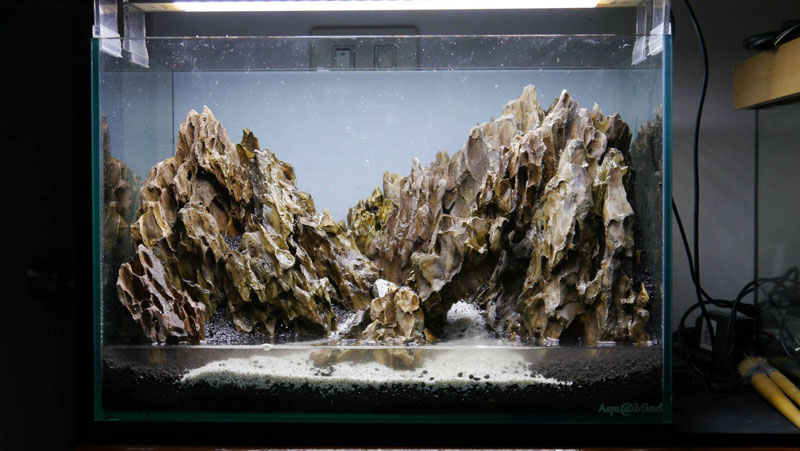
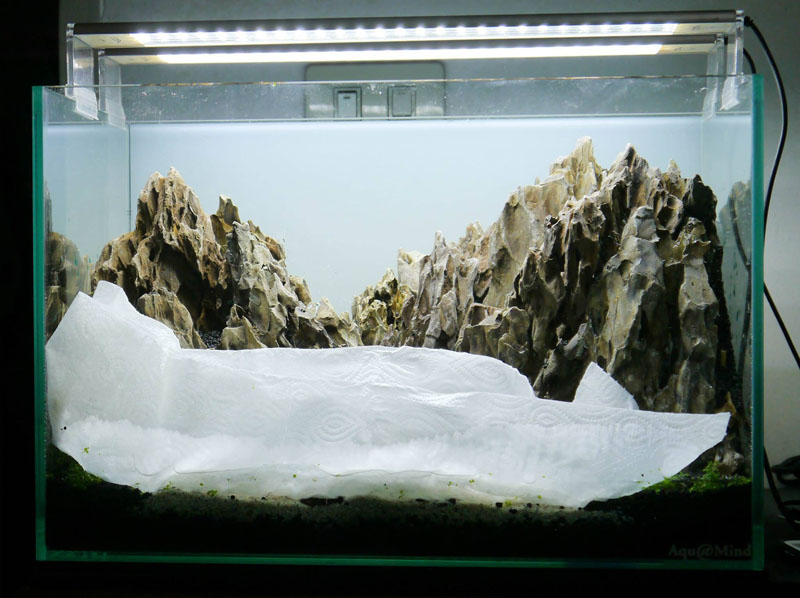
Preparing to use white sand to create a water trail.
This is roughly what the water trail will look like. I’ll finalize the details towards the end.
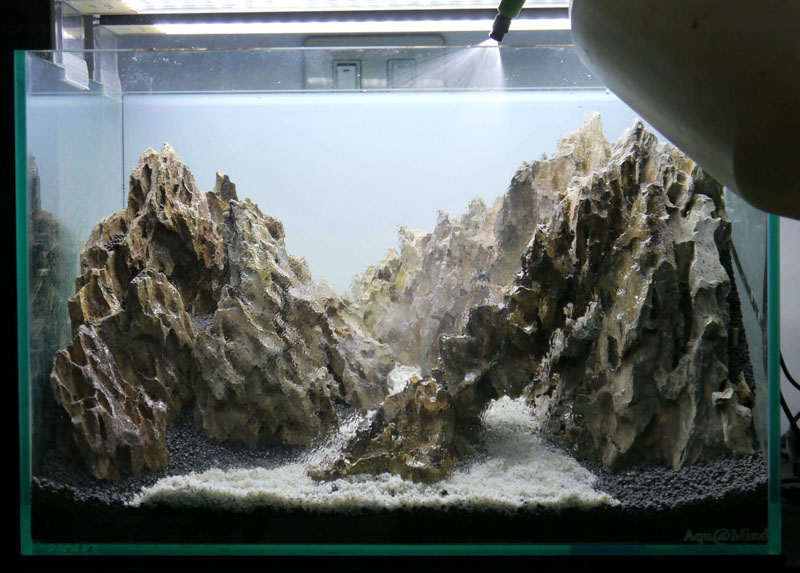
After that, I sprayed some water and prepare to plant.
Try to spray down everything and make it as moist as possible so that when we fill the tank, the sand and soil granules do not float.
I will keep on spraying until the water level is slightly above the area to be planted. This makes planting easier.
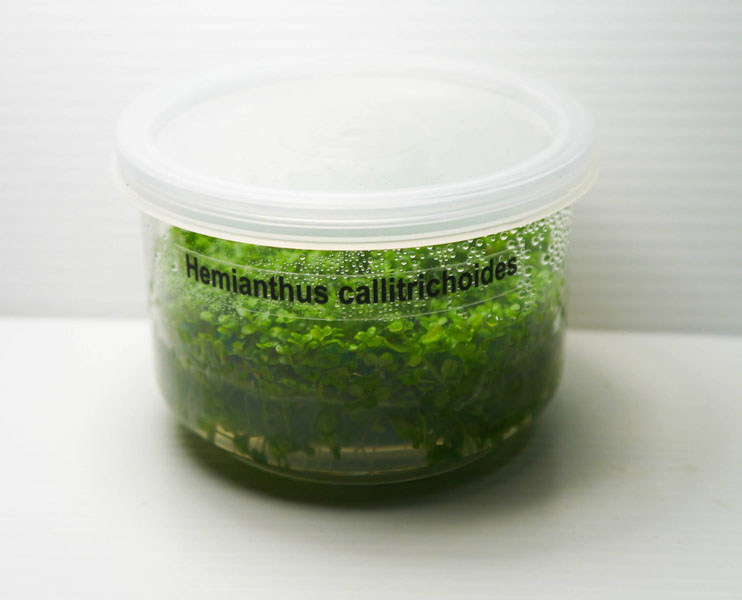
I use Hemianthus callitrichoides for the foreground plant.
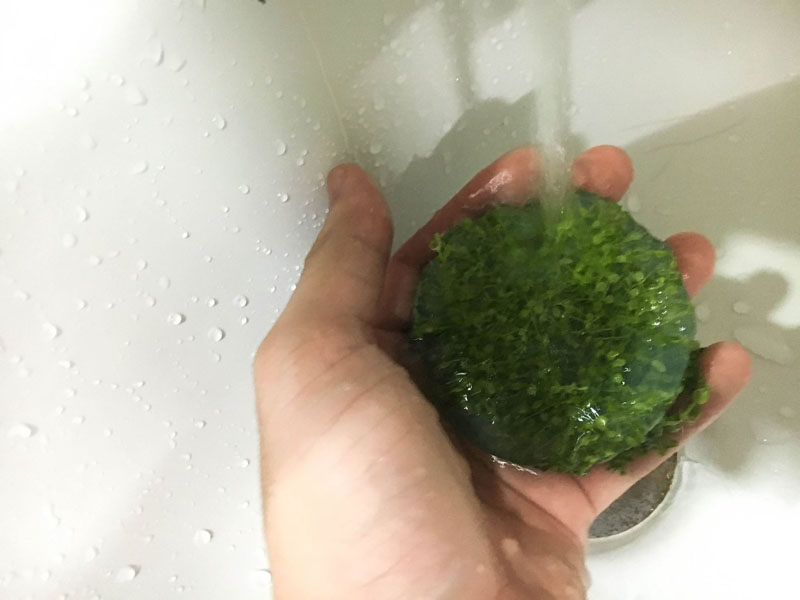
Wash as much agar off as possible.
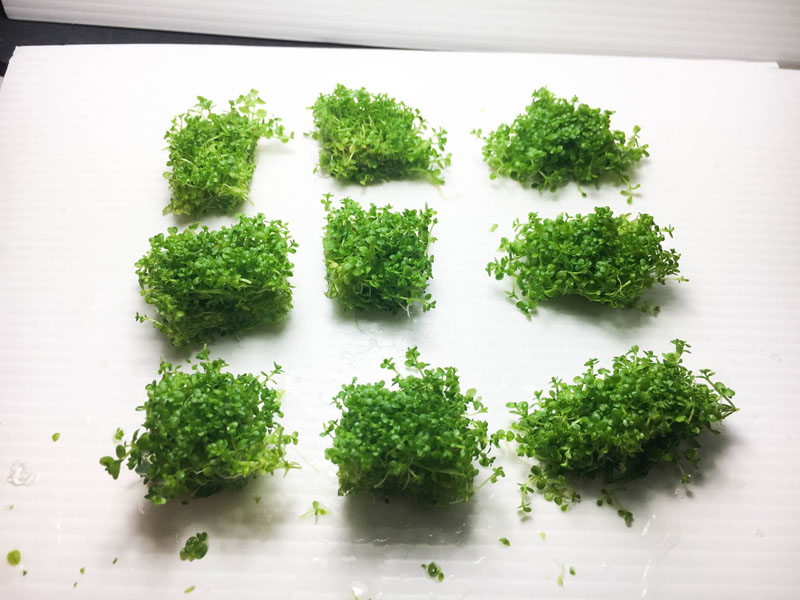
Then I cut them into pieces suitable for planting.
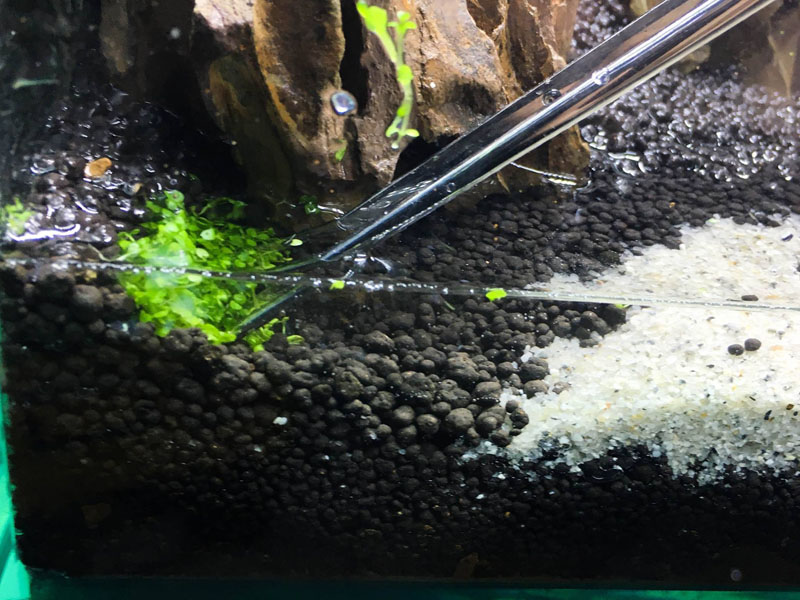
I use Pinsettes or forceps that has a narrow and sharp tip (this makes sticking them into the substrate easier). I have heard many beginners complain that their plants likes to float up after planting. Here’s how I do it:
- Use the pinsettes to hold the plant by their roots or lower part of the stem.
- Push down into the substrate and a slight angle
- Before pulling the pinsettes up, twist your wrist slightly
- That’s it. Now your plants will not float up.
Planting is now done for the foreground.
Preparing to plant the remaining areas. Filling the tank is a very important step because filling can result in cloudy water or damaged layout. I lay down a generous amount of thick, large paper towels in the front part of the tank.
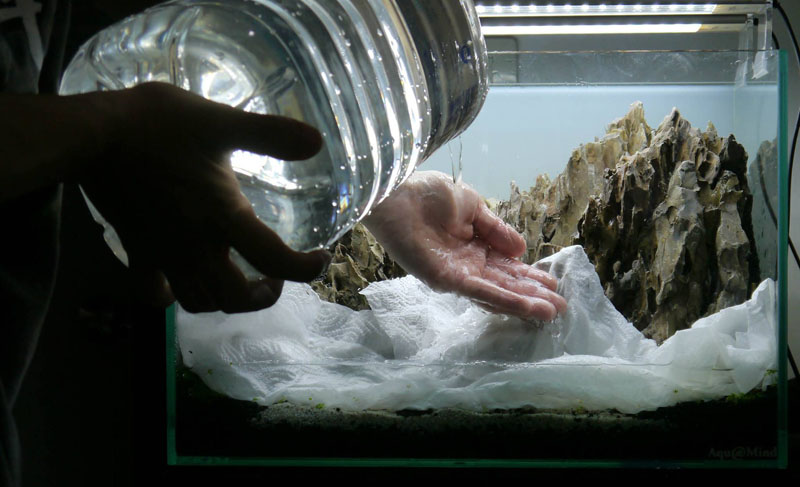
Slowly and carefully add water and use your hands to break the flow against the glass. Do not rush.
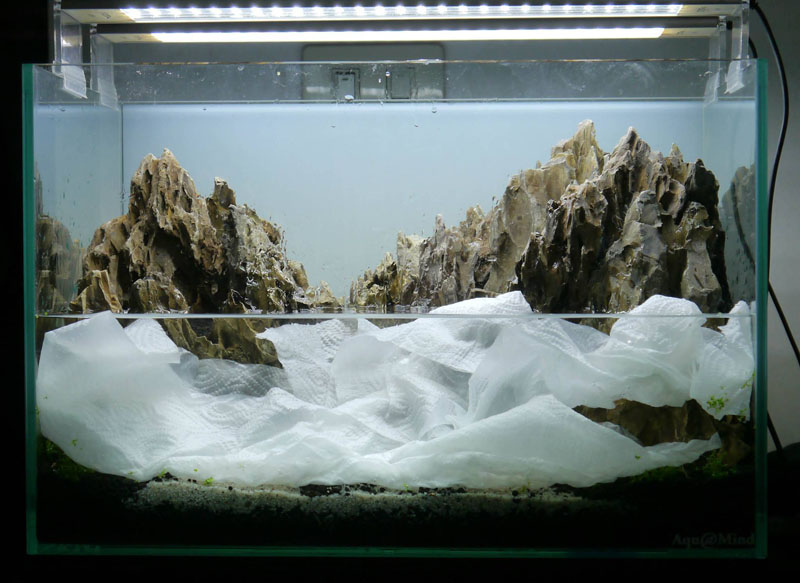
When the water line reaches a certain level, remove the paper towel and use your hand to break the flow.
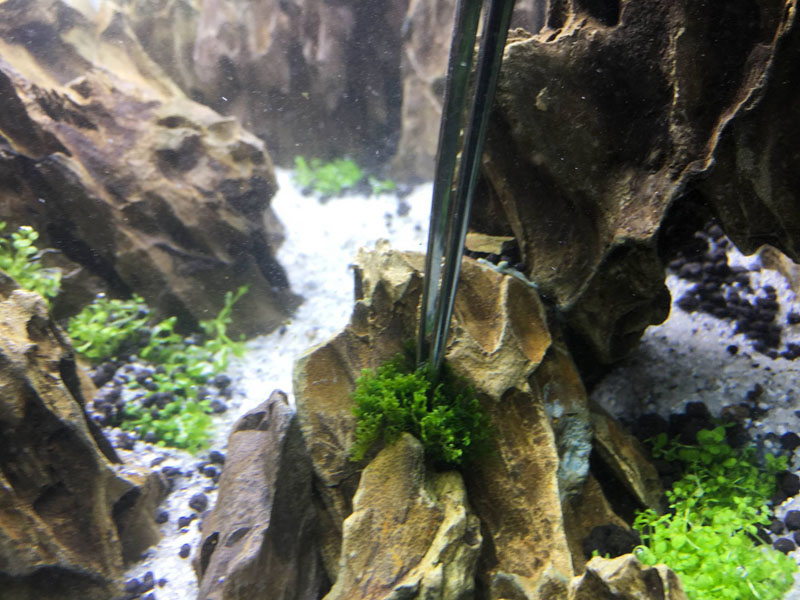
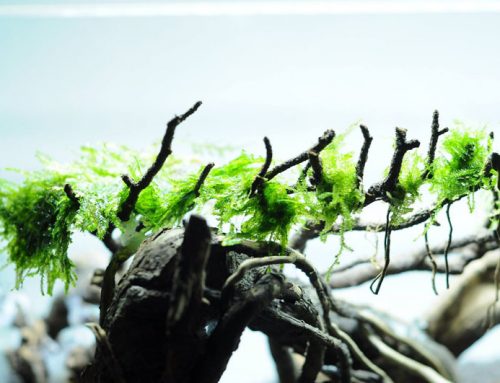
The next step is stuffing and attaching moss. As I mentioned earlier, this type of rock has a lot of holes and is quote porous. We can use forceps to pick up some moss and stuff them directly into the holes.
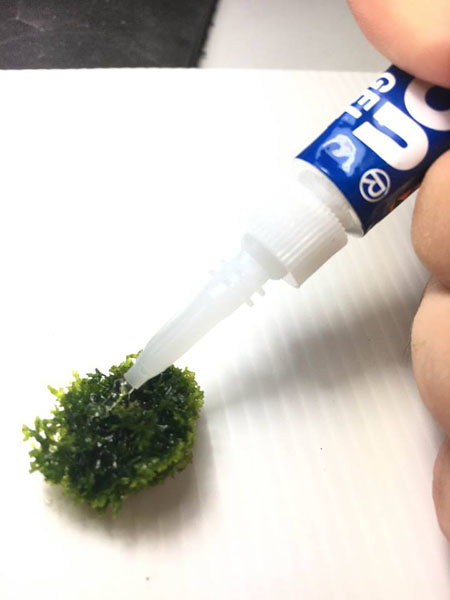
For places that do not have holes to stuff, I used some glue to attach them.
Then, you can attach them underwater by pressing down onto the rock (this is another good point about this glue).
Slowly plant and add more as desired.

Remove the plant parts that floated up.
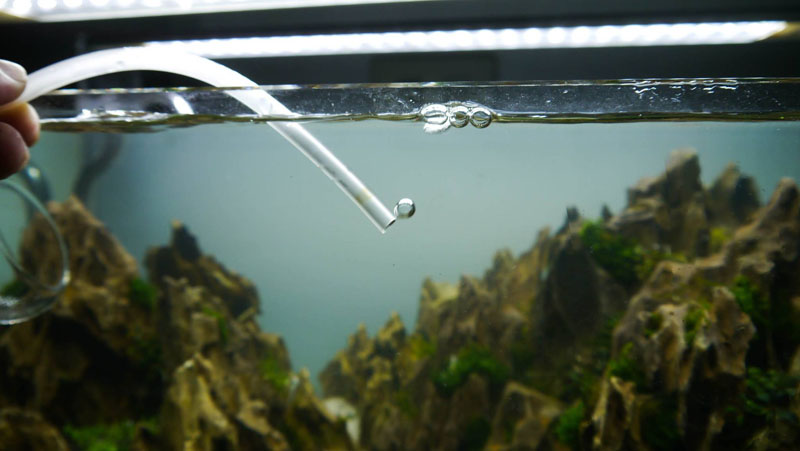
Next is connecting the CO2. For those who do not use a bubble counter and are not sure how much CO2 to add, here is how I do it. I will not connect the line to the diffuser just yet. Turn on the CO2 from the needle valve and submerge the end of the line. Make any adjustments to the bubble rate before connecting the diffuser. For this tank, I used a rate of 1 bubble per second and switches on-off 1 hour before the lights.
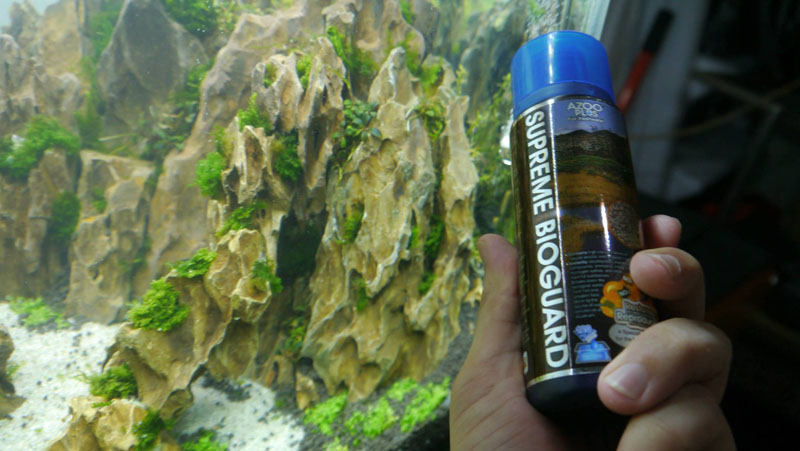
After that, I added some bacteria from AZOO to accellerate the cycling process. In turn, it will help turn the water crystal clear.
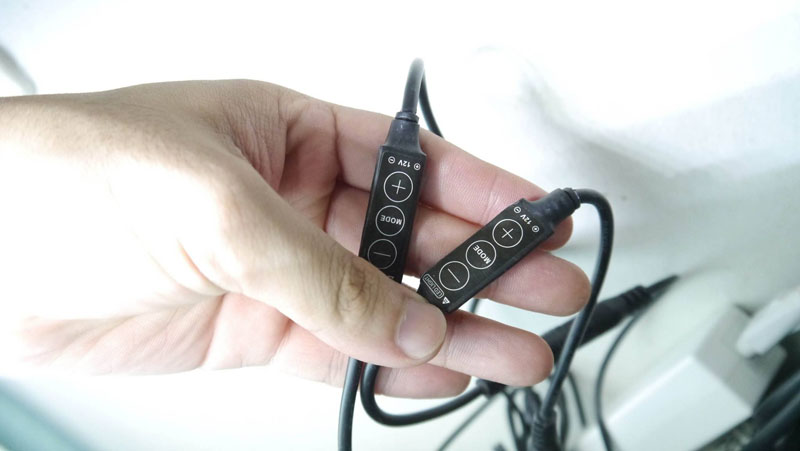
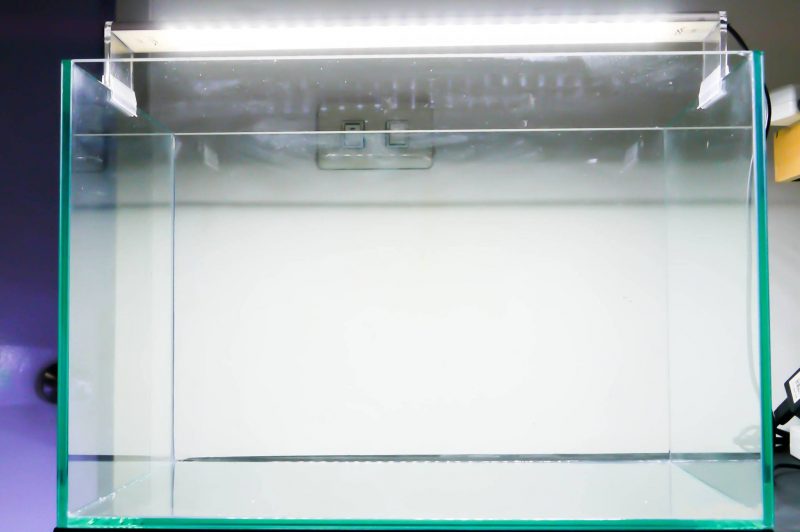
Setting up the lighting system: Chihiros A-series can be adjusted to 7 intensity levels. During the initial period, I set the lights to level 3 and used 2 lamps, 6 hours a day.
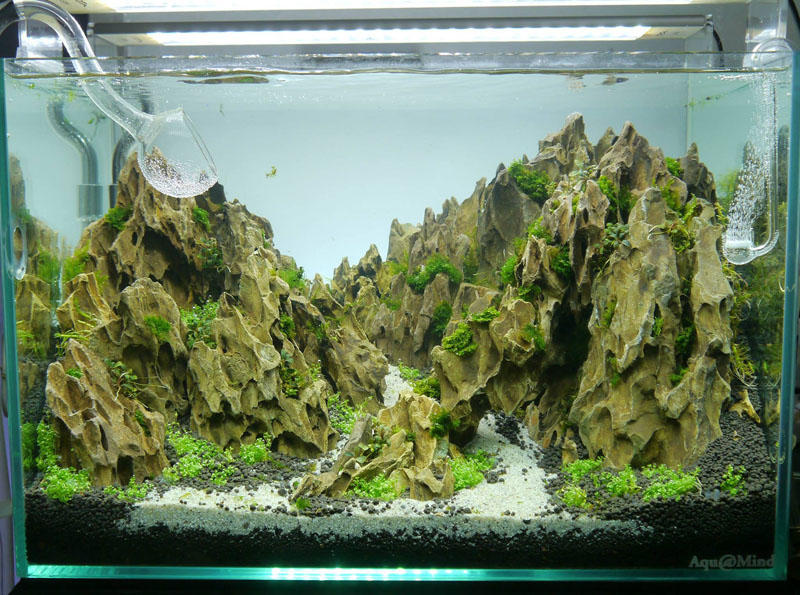
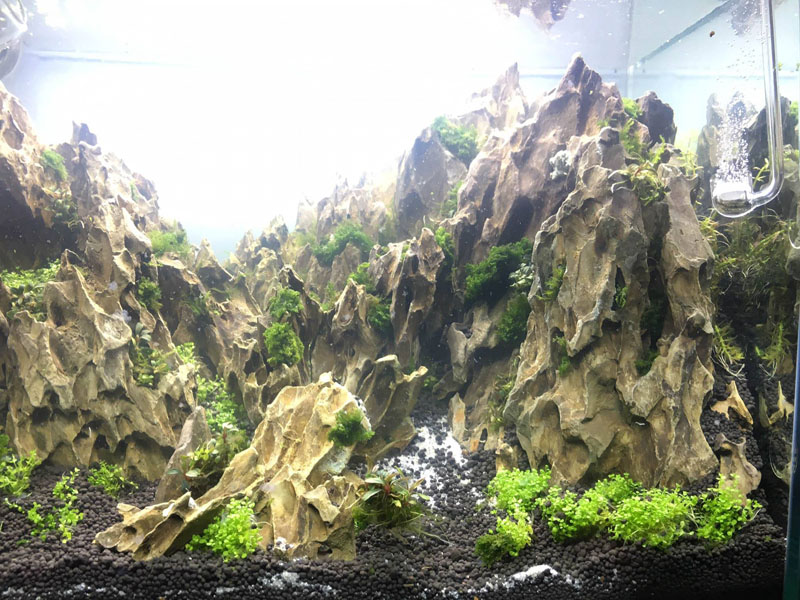
Here’s what it looks like when the water clears up. Yay!
The next day, just as I was about to stuff in some more moss, the arch collapsed!!
I felt a little defeated after seeing this, thinking that perhaps I won’t do an arch and change the layout to something completely different.
But once I collected my thoughts, I am determined to try and repair the arch. So I tore and remove the arch down and spent some time pondering how to deal with this problem.
There lies a silver lining. The part that fell off wasn’t holding on tightly to the main rock otherwise the consequences would have been much more damaging. I slowly removed the plants that were attached on the rocks.
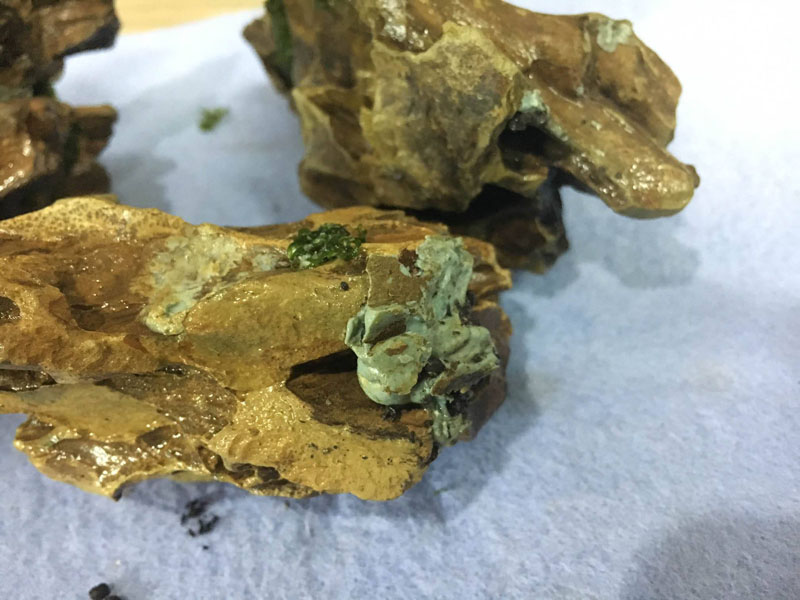
Let’s see what happened. I am guessing that the epoxy must of held onto a brittle part of the rock. This cuases it to have a poor hold that eventually failed.
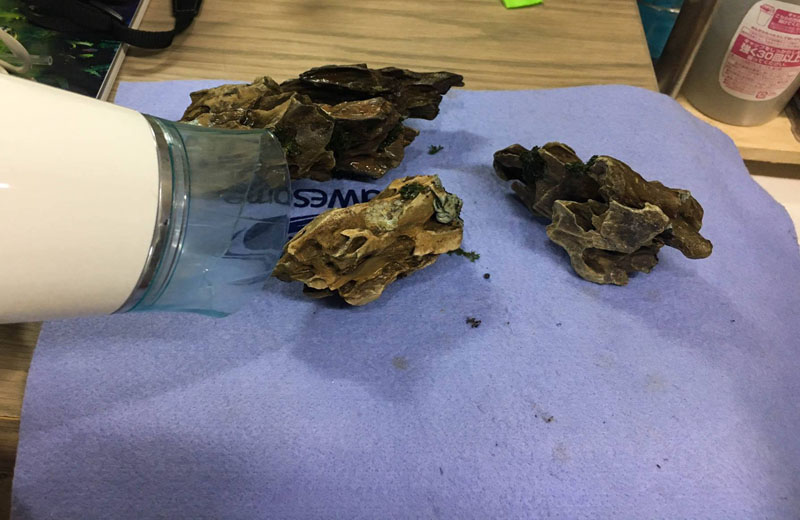
Next I used a hairdryer to dry all the rocks.
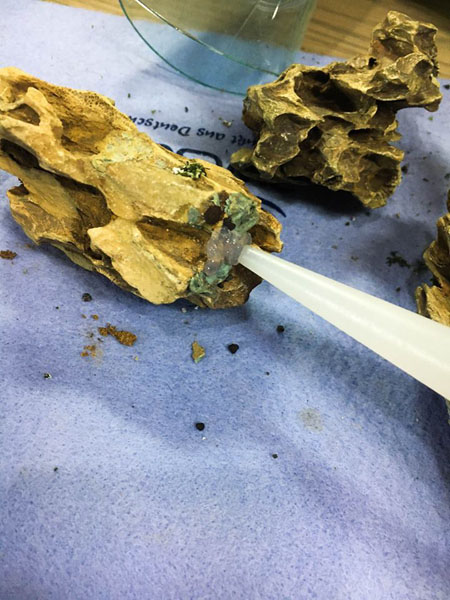
This time I used plenty of clear silicone because I don’t want it to fall apart like last time.
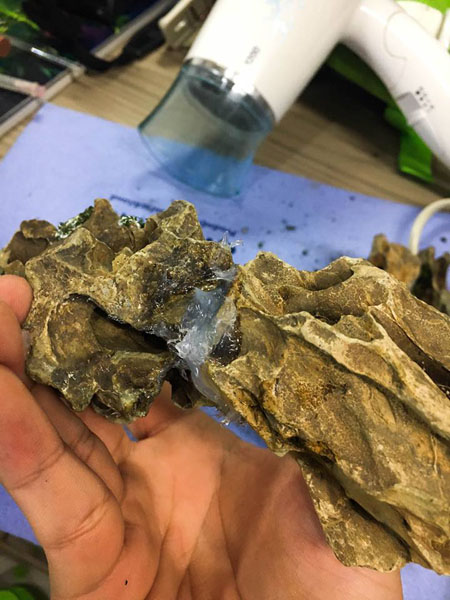
Then I assembled them just like last time.
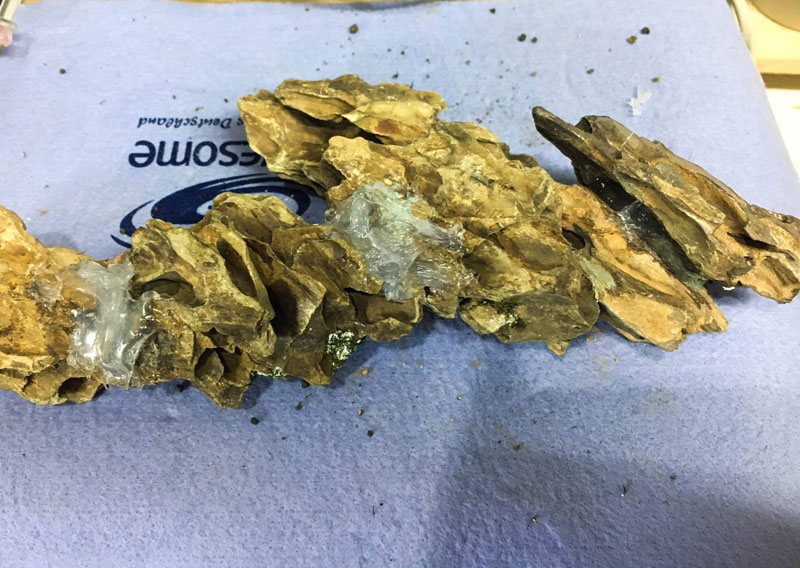
The arch that collapsed were made of 4 different rocks. I first formed 2 groups of rocks with each group having 2 rocks first and left them to dry for 24 hours. After that, I put the two groups together and left them for another 24 hours.
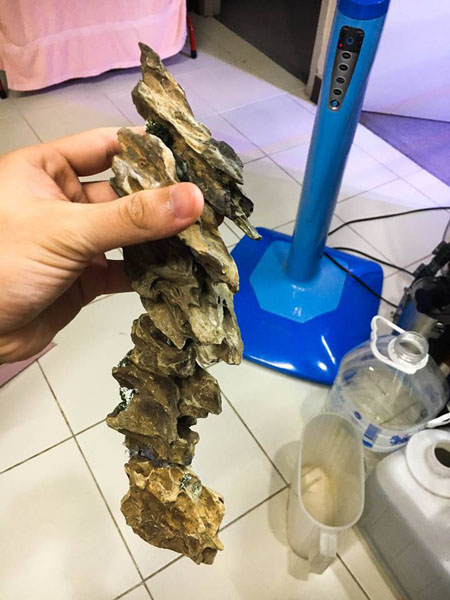
Then it’s time to test the strength of the rocks once more.
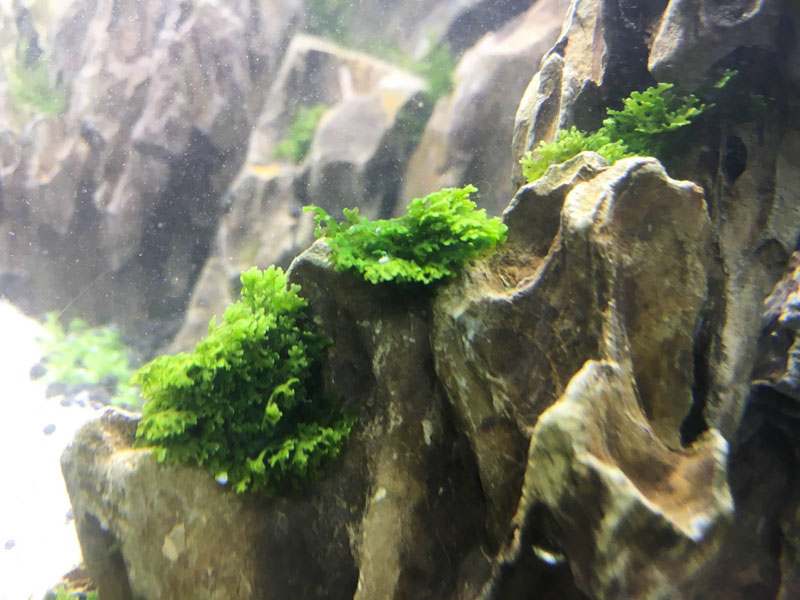
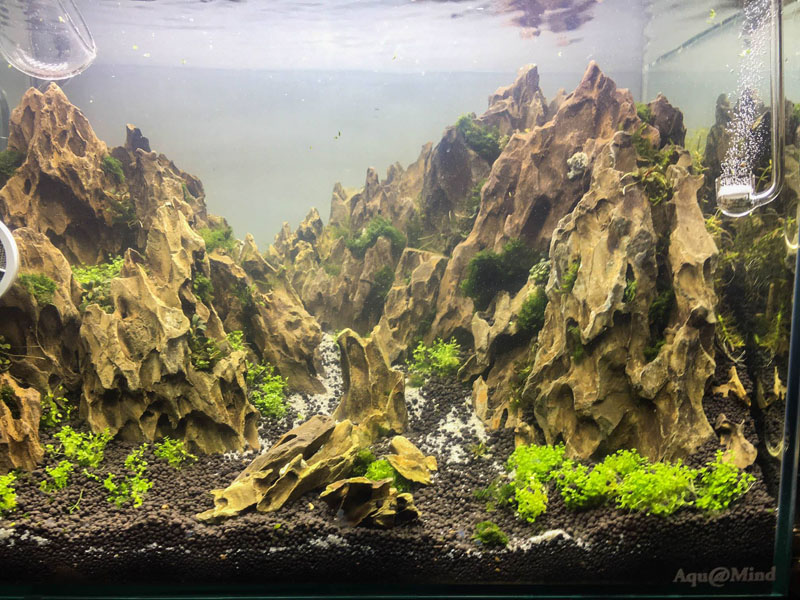
The repair gave it a new structure. After that I proceeded to attach the moss just like earlier.
Some thoughts: “When creating a planted tank, we always run into problems we did not expect. Because of this we should not loose our hope to the problems that may arise. We should adapt and find a solution to the problem so that we learn and eventually achieve our goal.”
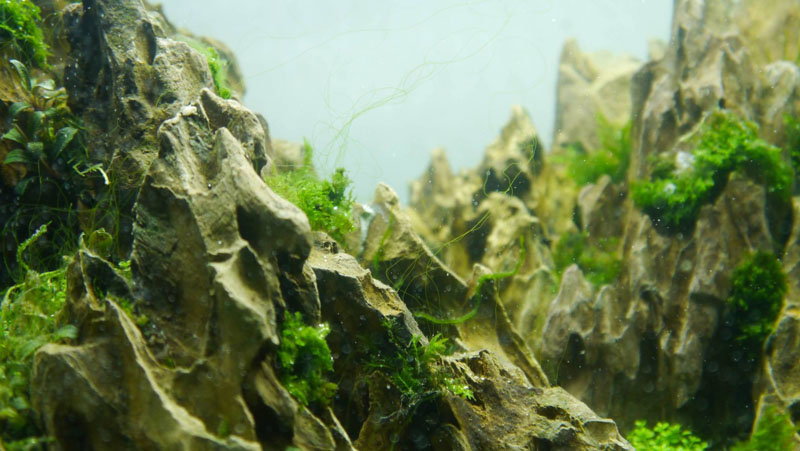
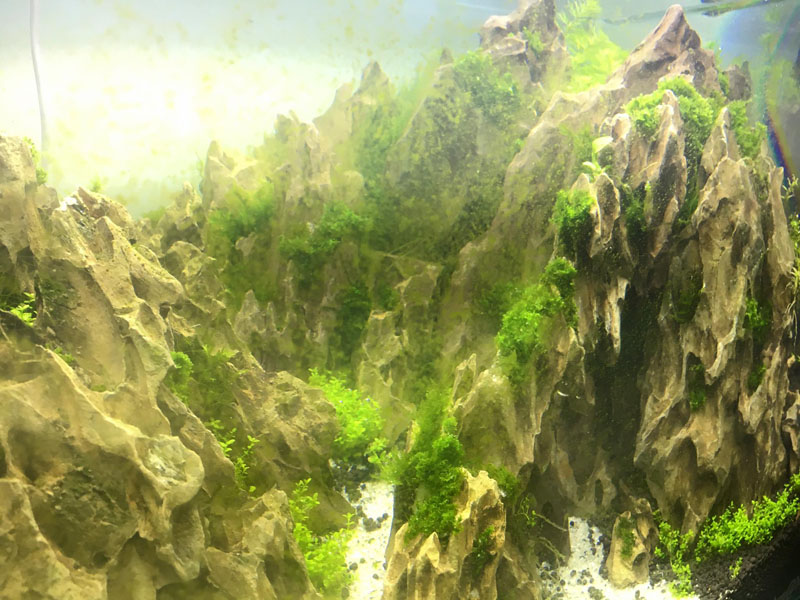
After about 1 week after setup, it showed up just as anticipated. Algae that we love to hate.
Its strands flying all over the tank. The reasons for algae in this tank is probably:
1). There was an incident where soil was agitated and excess nutrients from the soil may have gotten on leaves and plants.
2). Plants that I used came with some algae. I didn’t do anything to get rid of them before planting.
3). Plants have not adpated and could not readily compete with algae as they can not fully utilize the nutrients (new tanks all experience this).
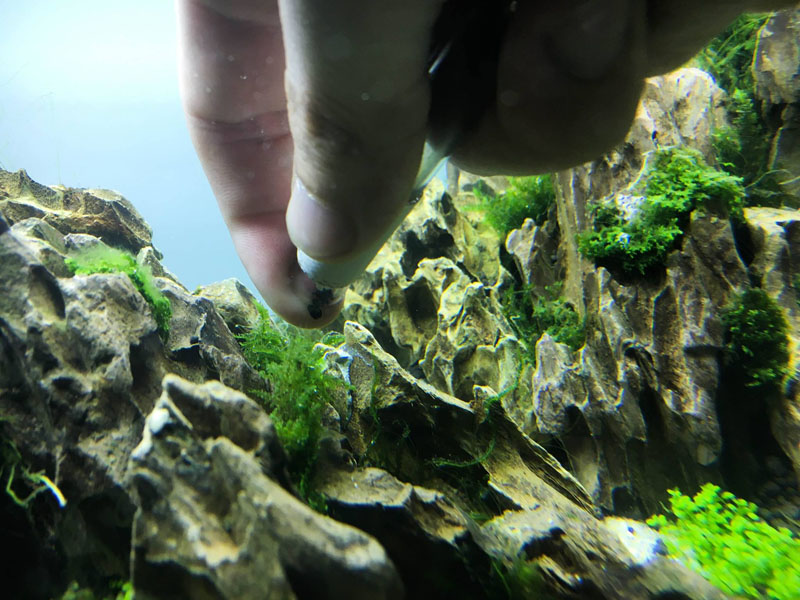
This guy is hair algae. It is not that hard to get rid of. My method is to first turn off the filter, then point a small hose and your fingers at the algae. Then use your fingers to pull them out. Do it gently otherwise you might uproot some plants. Warning!! If you run into algae that has long strands, do not cut them or else they will fly all over the tank and begin growing.
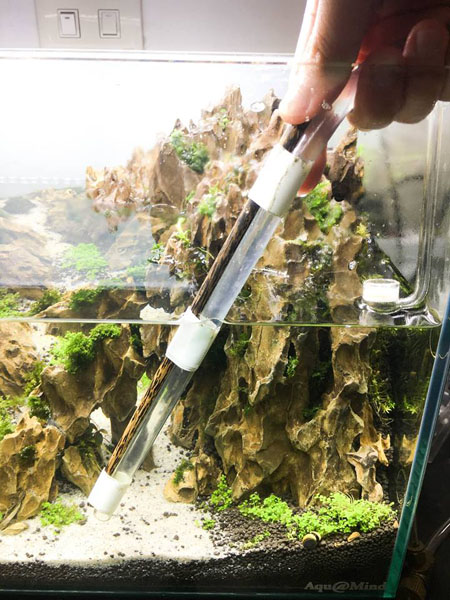
After that just do a regular water change. I tied a chopstick to the hose and use it to suck up plant debris and dust on the floor. It will help you reach spots that your hands can’t.

Recommendations: During the first 2-3 weeks after setup.
1). I will never add any fertilizers because plants can not ready absorb nutrients and will lead to algae.
2). I will never use algaecide to deal with algae because the plants still have bruises and wounds and could absorb these chemicals and die.
3). I will not introduce any living inhabitants during this period because the system has not been fully cycled. It will have nitrates, etc and you have a high risk in loosing them. Fish and shrimps may also pull up your plants from their foraging action because the plants have not taken root in the soil or on rocks.
A week has passed. I have to admit that I haven’t been taking care of this tank, hence the algae bloom. There is algae on the glass, as well as hair algae here and there.

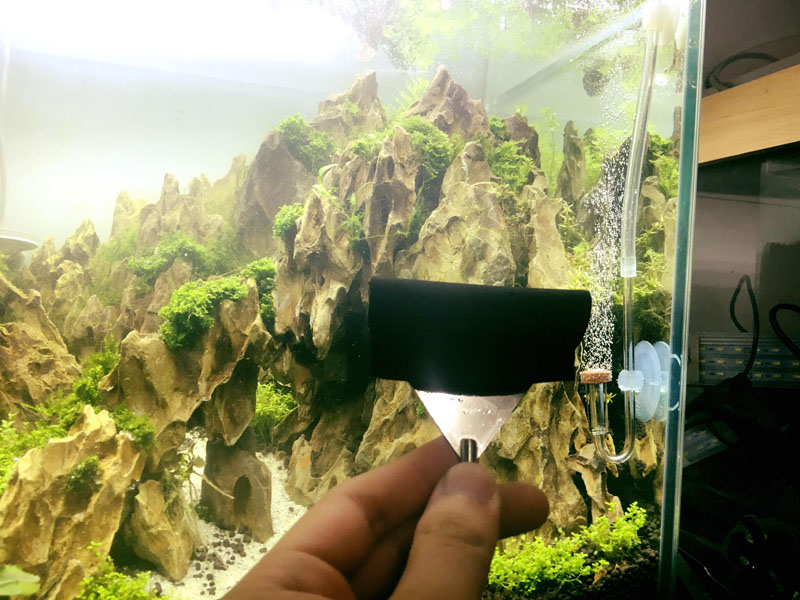
No need to wait. I used the algae scraper to scrape the glass. When you use this scraper, I just place the scraper evenly on the glass without putting weight onto it. I will only scrape from top to bottom, then lift it up back to the top and repeat. This is to prevent sand granules from scratching the glass.
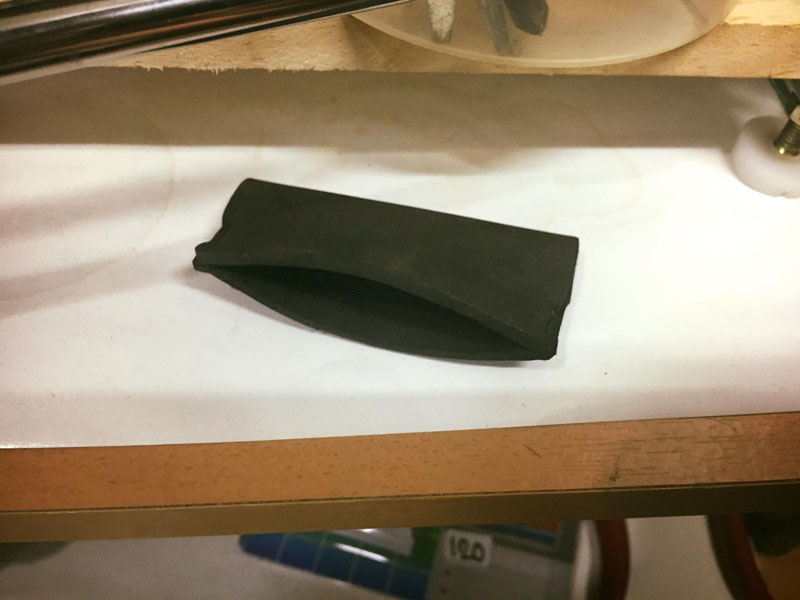
This is the sleeve I made for the algae scraper. It is made from a thin piece of neoprene. Cut according to the size of the scraper and stapled it into a sleeve.
This sleeve is used to protect the blade, as well as our hands.
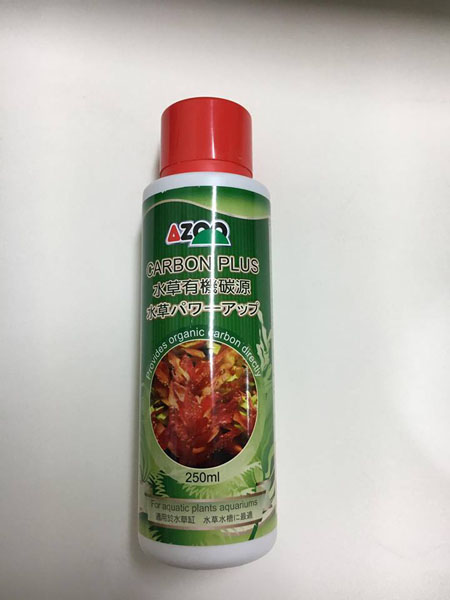
Today I am going to take care of the algaue once and for all. I use AZOO Carbon plus, which is a solution of glutaraldehyde to treat hair algae and other types.
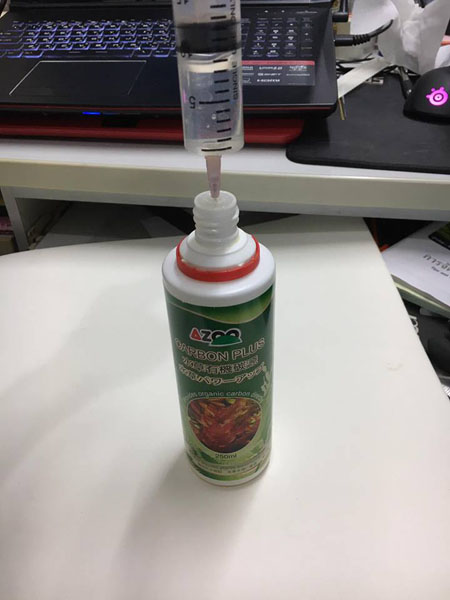
I won’t be dripping it into the tank because it is slow to see the effect. I use a syringe to pull out 10 cc.
I won’t be dripping it into the tank because it is slow to see the effect. I use a syringe to pull out 10 cc.
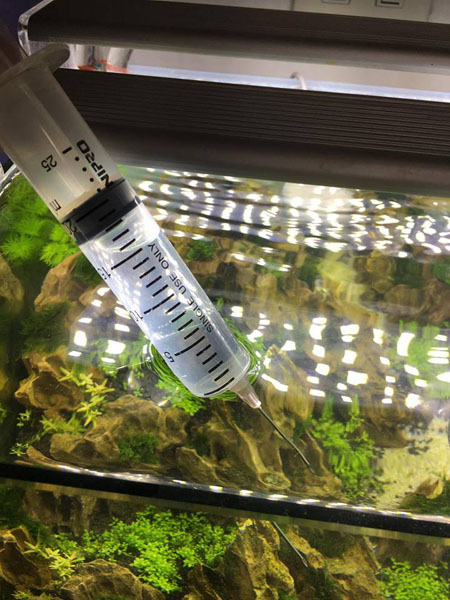
Then fill the rest of the syringe with tank water to further dilute the solution.
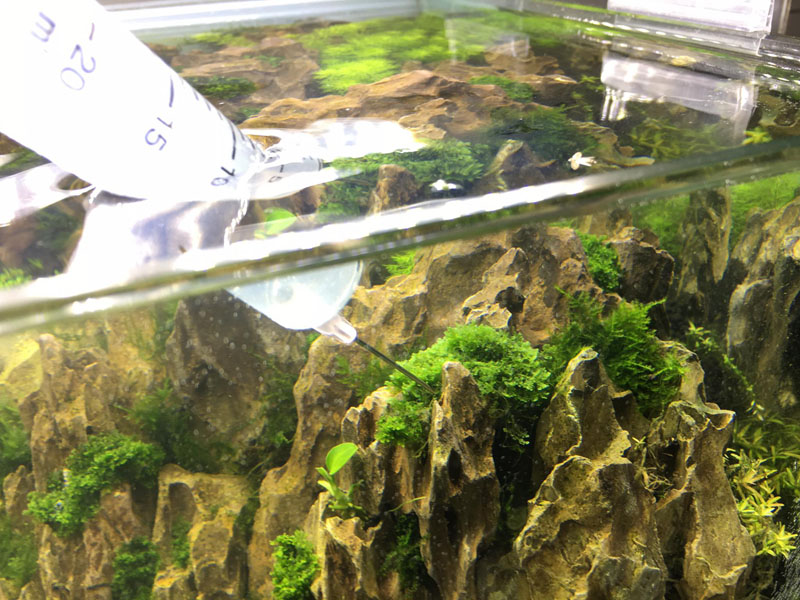
Then aim, point, and shoot at the algae. Don’t get too close to the plants or else you might burn or kill them (I first turn off the filter, then treat various spots with algae, then leave it for 15 mintutes). Then I do a 50% water change.
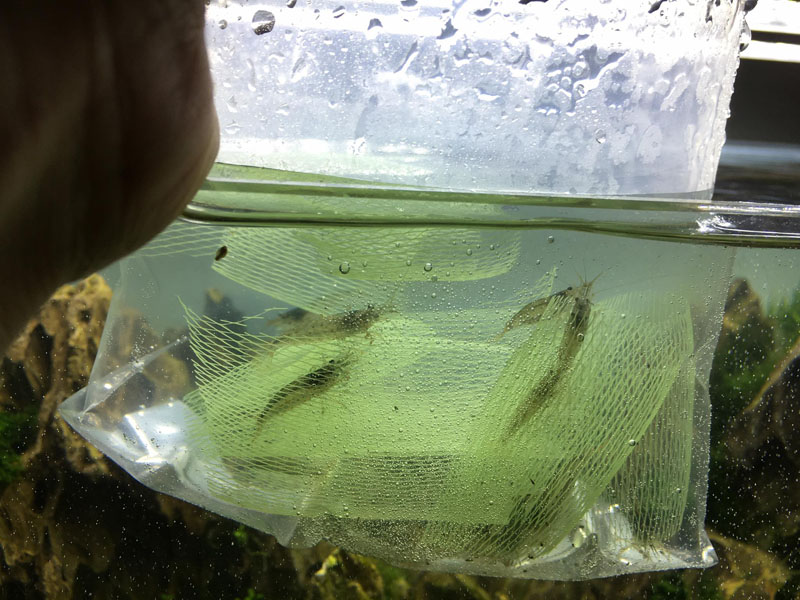
After the water change, I release some Yamato shrimps to take care of the algae. This is my favorite type of shrimp and I put it in every one of my tanks because they have larger claws than cherry shrimps and are better at cutting hair algae. They also have a bigger appetite as well.
PS. This method will bleach the algae faster than simply adding the liquid into the tank, but it also is riskier. I have had experiences where I destabilized the system and killed some plants with this method.
PS2. Shrimps can better cut and eat the algae with their claws if we bleached them first compared to untreated algae.
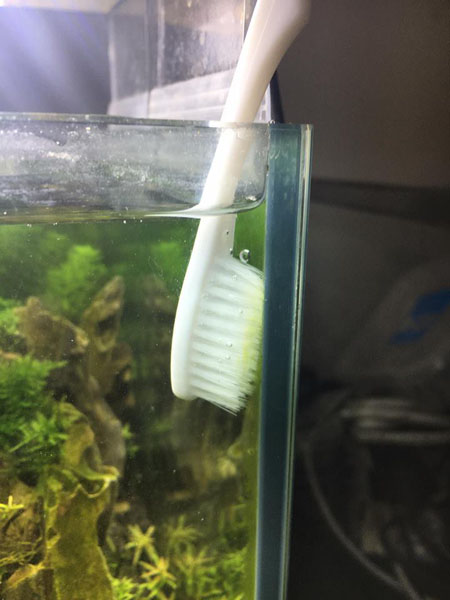
I don’t use a blade for the corners of the tank to prevent the blade cutting into the silicone and causing the tank to leak. Instead, I use an old toothbrush to gently scrub the corners.
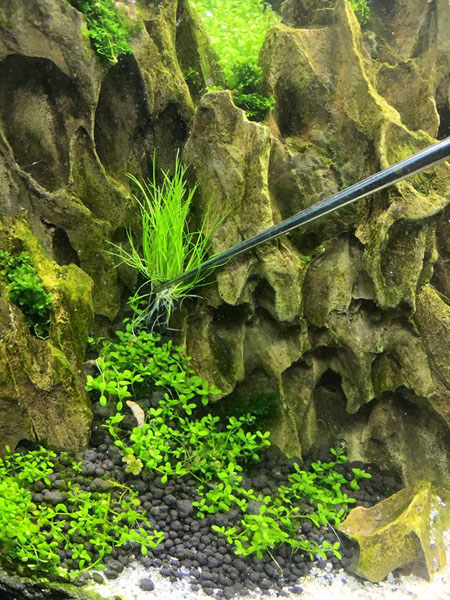
I planted some mini hairgrass at the base of the rocks to make it look more natural.
Something like this.
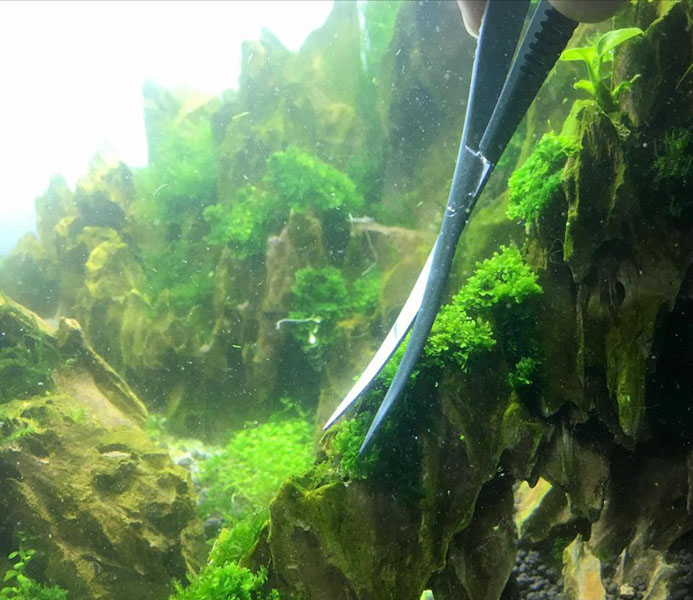
For mosses and spots hard for the wave scissors to reach, I use the spring scissor to trim.
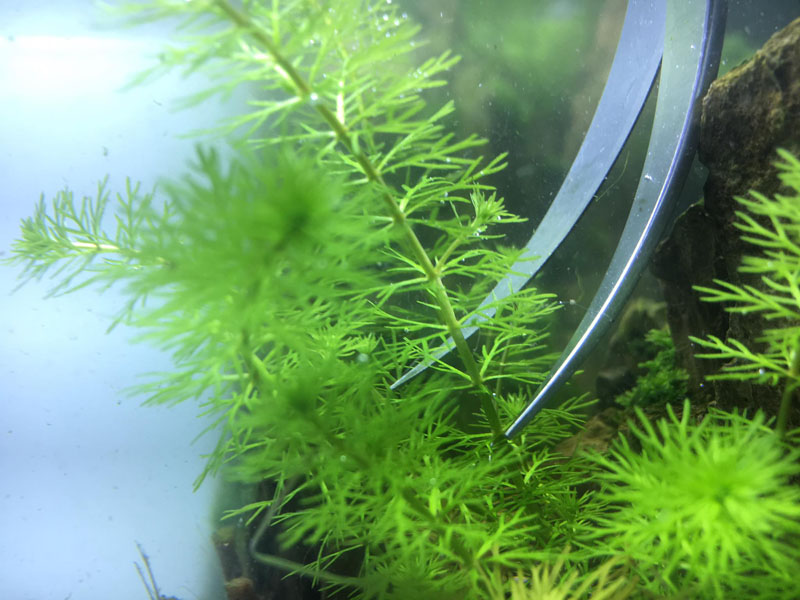
Time for the first trim.