Project Description
Entry #3 Mr. Varid Vangtal
Varid-Saranyatorn Vangtal (Toei&Koi) from the V Aquality Aquarium store in Kanchanaburi province specializing in aquatic plants, guppies, and imported Japanese Koi. I am glad and honored to be a part of the 12 contestants in this competition. The theme for this competition is Rotala Revolution. For this piece, I will be using mainly stem plants. I will try to do my best. Please follow my progress and join us as we go along.
The Thai version can be found here.
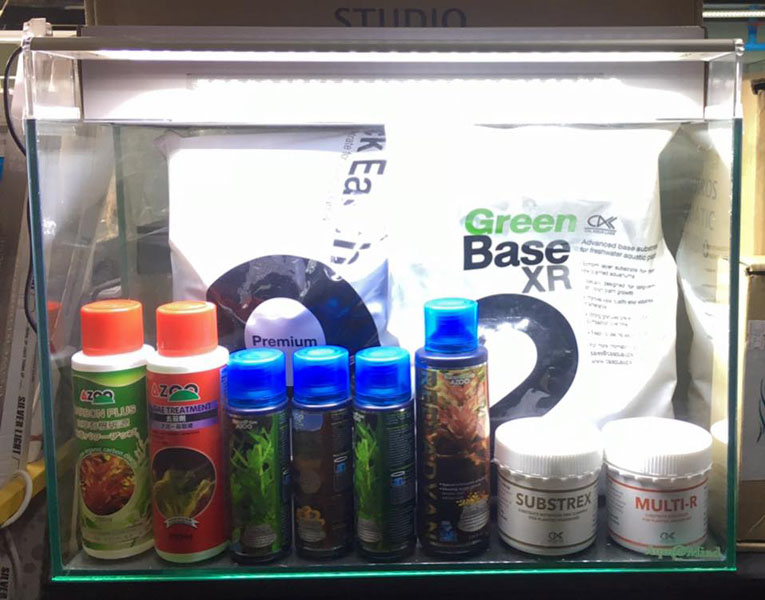
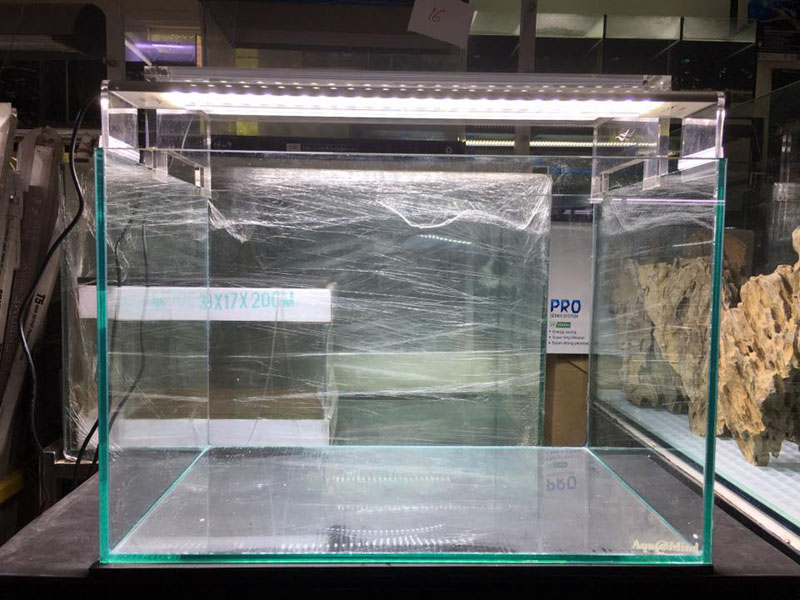
Thanks to all the sponsors for this event: Aquarium : 45x30x30 ( aquamind ) | Lights : A-series451 x2 ( aquamind ) | Soil substrate : Black earth normal ( Cal aqua labs ) | Base substrate : Green base XR ( Cal aqua labs ) | Substrate additive: Substrex ( Cal aqua labs ) | Substrate additive: Multi-R ( Cal aqua labs ) | Fertilizers : Plant Premium ( Azoo ), Red Advan ( Azoo ) | Algaecide : Carbon Plus ( Azoo ), Algae Treatment ( Azoo ) | Bacteria: Supreme Bioguard ( azoo )
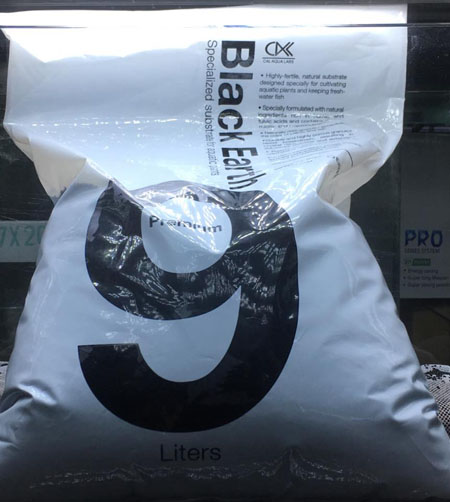
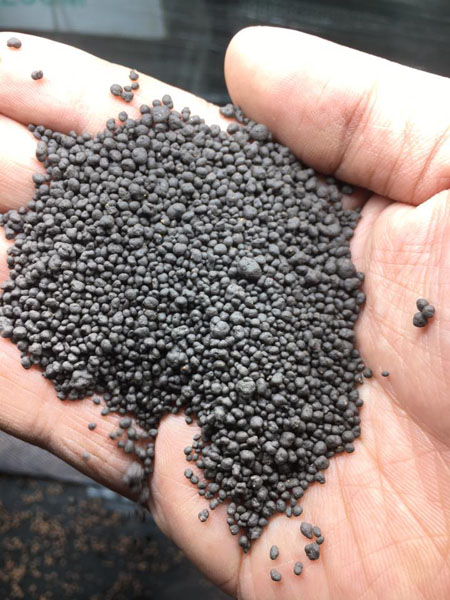
Black Earth ( normal)
Rick in organics and maintains slightly acidic environment. This helps plants and fish thrive. The color of the granules is natural black. The granules are dense and hold their shape for a long period of time. Furthermore, the granules are porous and acts as a substrate for bacterial colonization which will help maintain good water condition and reduce wastes inside the tank.
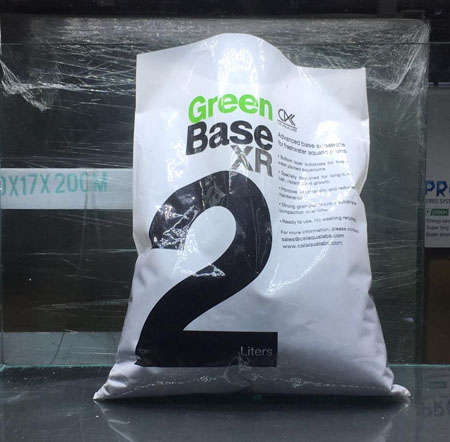
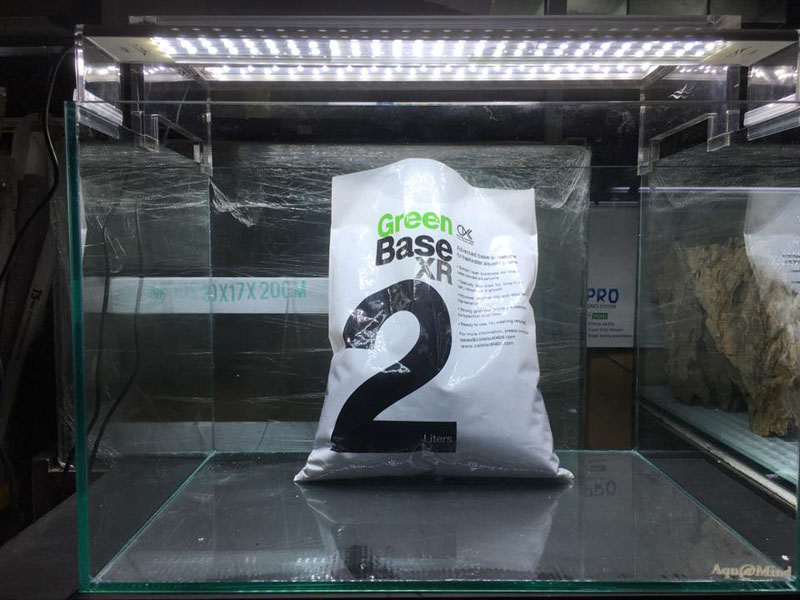
Green Base XR
Green Base XR is a base substrate that was designed to maintain long-term lush green and healthy plant growth. It is hard and porous which prevents the granules from being crushed. Further it helps purify and stabilize water conditions. It can be used immediately out-of-the-bag. No need to wash. It should be used every time when setting up a new tank. On average, I use 1 liter of Green Base XR per 40 liters tank size, or more in densely-planted tanks.
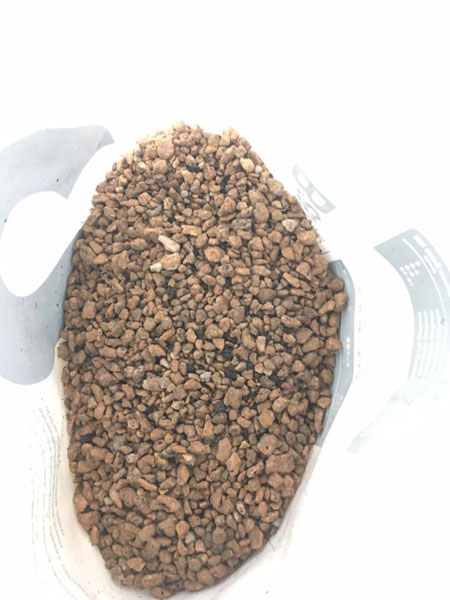
This is what Green Base XR looks like.
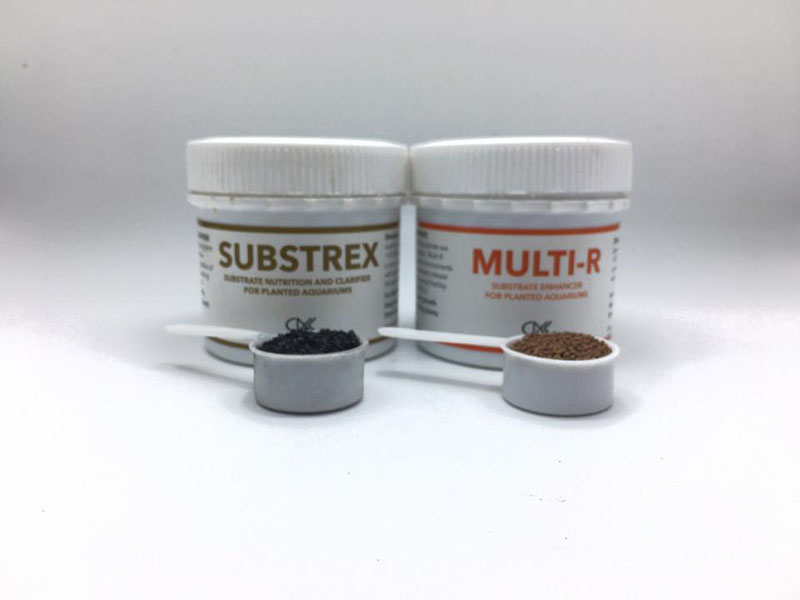
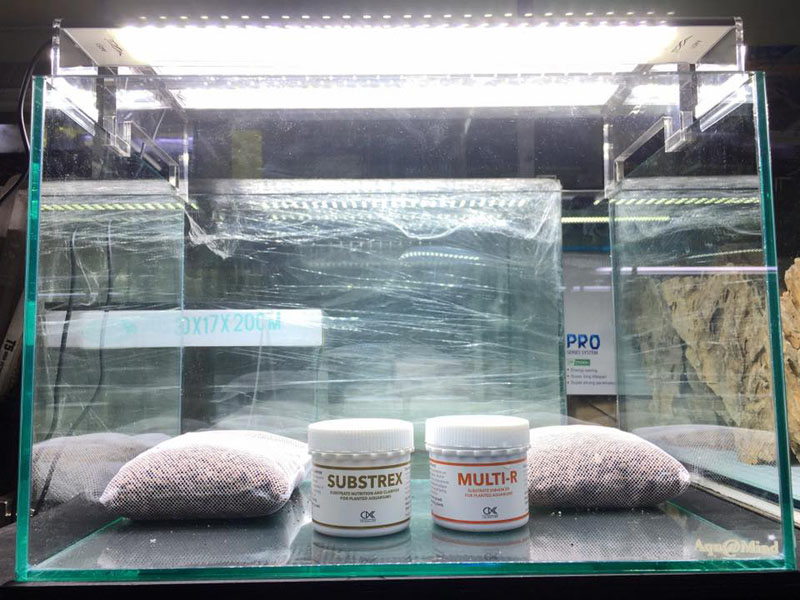
Multi-R
Helps enrich the substrate for aquatic plants with iron and important micronutrients. Also, MULTI-R helps accelerate plant growth while maintaining color and reduces algae growth.
Substrex
Helps enrich the substate buy supplying long-term nutrients and reduces clouding caused by sediments in the substrate. Further more, Substrex also helps maintain good water quality and increases water clarity. This results in healthy plant growth and extend the lifetime if the substrate.
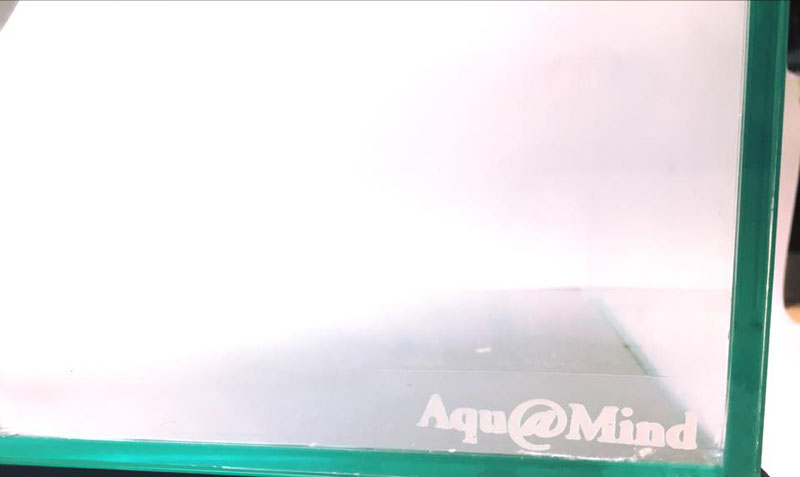
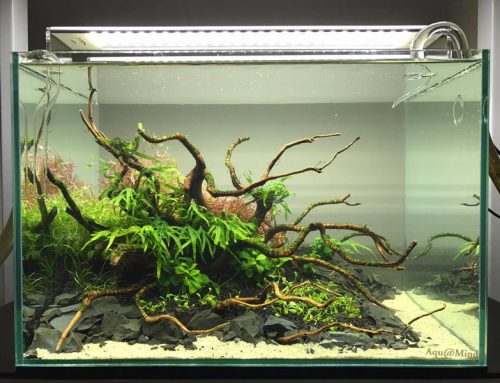
Thank you for a high-quality tank from Aqu@mind (I apologize if the tank appears dirty. This picture was taken before cleaning the tank)
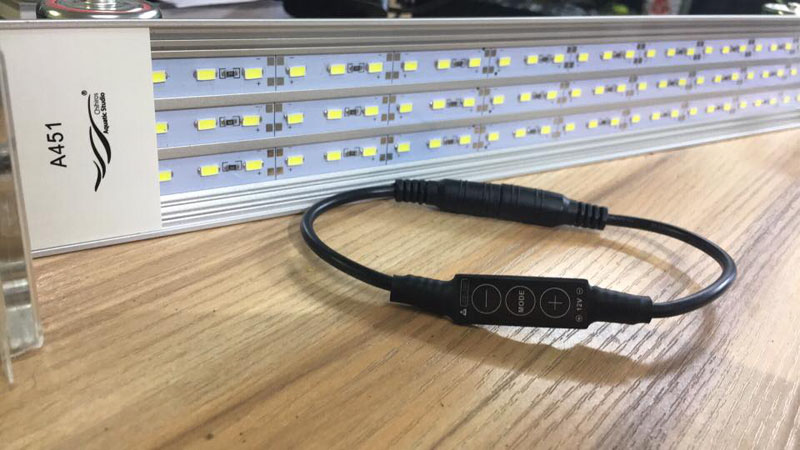
A-series. Quality lighting that is quite popular and comes with a dimmer.
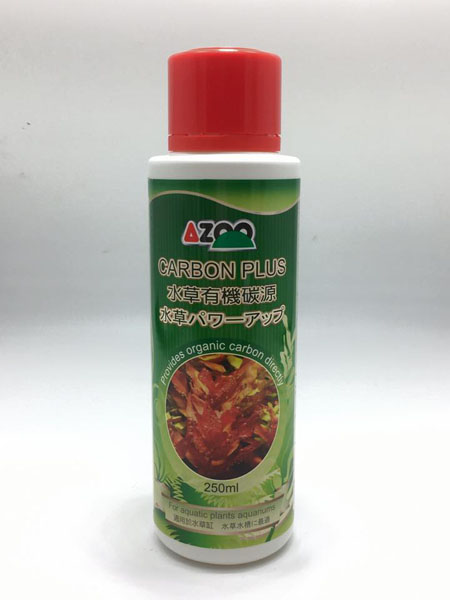
AZOO Carbon Plus. Liquid carbon for planted aquariums. Easily absorbed and helps prevent thread and black beard algae. For newly setup tanks, use 5 ml per 100 liters or 10 drops per 10 liters. For regular use, add 5 ml per 200 liters or 5 drops per 10 liters everday or every other day. 1 capful equals 20 ml and each gradation is about 5 ml. Shake before use and keep in a dry place. Avoid direct sunlight.
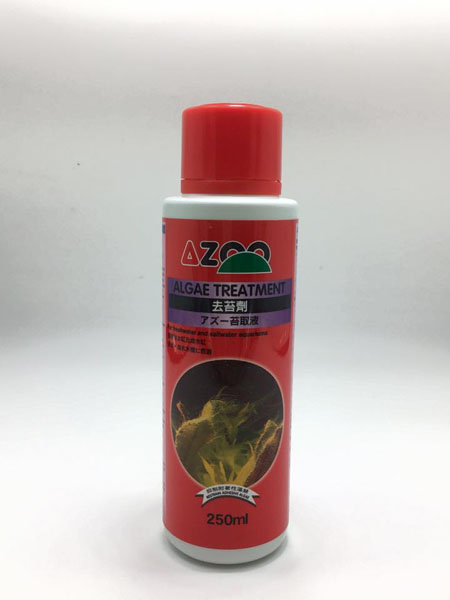
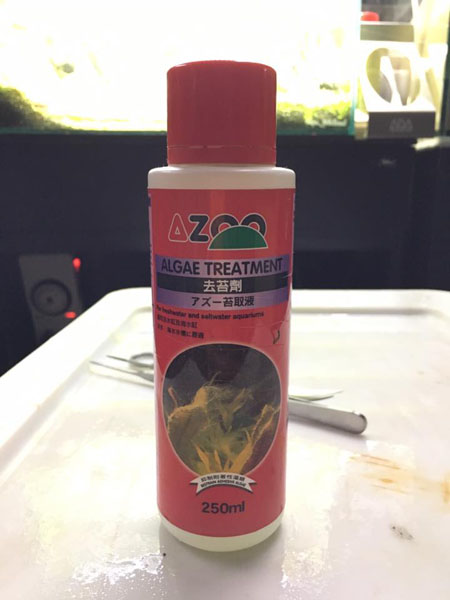
AZOO ALGAE TREATMENT
For both fresh and saltwater. Suitable for treating algae and plankton such as hair algae, brown algae, red algae, slime algae and polyps. It does not harm fish and plants. Use 10 ml per 100 liters every other day for 3 consecutive treatments. Remove any activated carbon from your filter before use. After 2 days of treatment, change 30% of water and change your activated carbon. For prevention of algae, use 5 ml per 100 liters after every water change. Before planting, submerge new plants in 10ml solution in 10 liters for 1 hour. 1 capful is about 20 ml and each gradation is about 5 ml. Shake before use and cap tightly when done. Keep away from children and pets.
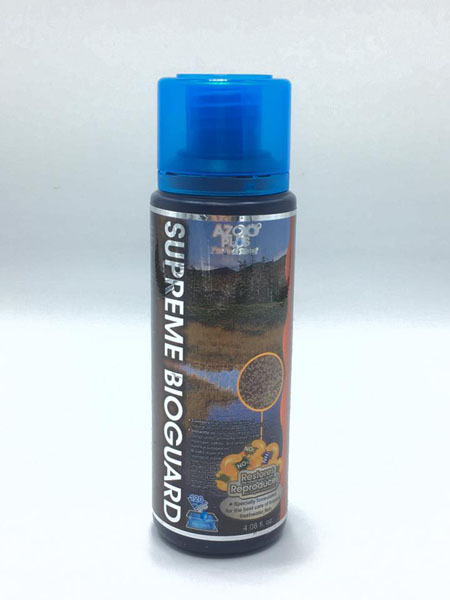
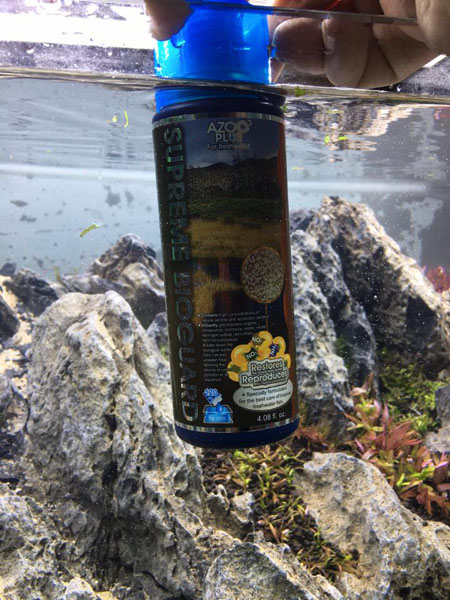
Supreme Bioguard is a concentrated bacteria solution that helps prevent the growth of germs and reduces water pollution. It effectively helps breakdown pollutants in the water such as fish wastes, leftover fishfood, etc. This is a special formula for aquariums. It helps maintain good water quality and good bacterial environment. It also helps clarify water, reduces unpleasant smell, reduces fish stress, and increases oxygen level in the water. For new tanks or after water change, use 20 ml per 100 liters. In the first week, add and additional 10 ml per 100 liters for 3 consecutive days. For regular use, add 10 ml per 100 liters every week. One capful is 20 ml and each gradation inside the cap is 5 ml. Shake before use and store in dry place away from direct sunlight.
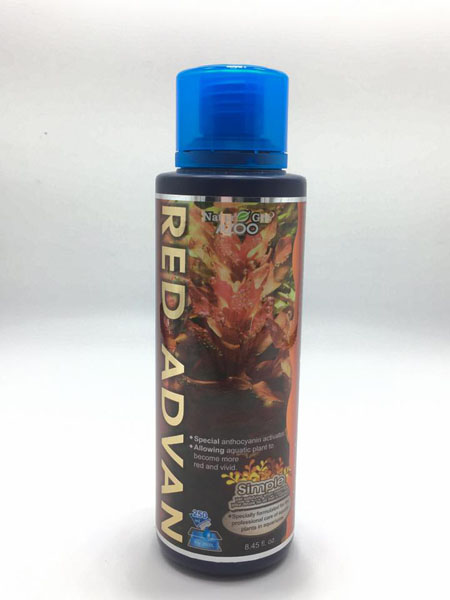
Azoo Red Advan. Liquid fertilizers specially for red plants. It activates anthrocyanins and helps produce red color in plants. It also helps natural growth of red plants without causing algae outbreaks. If used with Azoo plant premium, it is recommended to wait 2 days after use Azoo plant premium. For newly setup tanks, use 3 ml per 100 liters once a week during the first 2 weeks. For regular use, add 10 ml per 100 liters every 2 days. I recommend changing 50% of the water weekly. One capful is 20 ml and the gradations are 5 ml each. Shake well before use and store in a dry place away from direct sunlight.
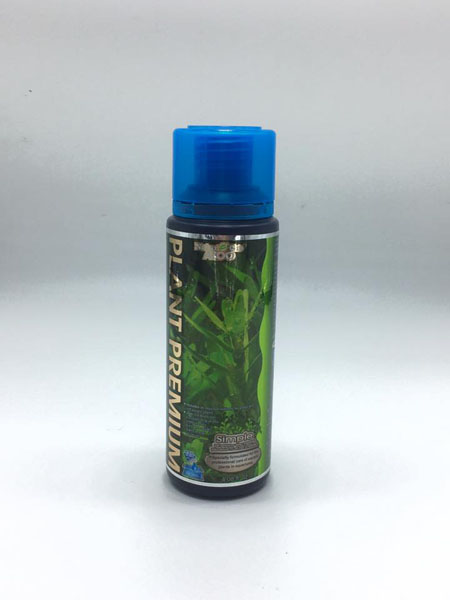
Azoo Plant Premium liquid plant fertilizers is made of essential organic plant nutrients for both red and green plants. It is easily absorbed and used. This formula helps increases photosynthetic efficiency and inhibits algae growth. For newly setup tanks or after doing water changes, use 3 ml per 100 liter once a week in the first two weeks after setup. For regular use, add 10 ml per 100 ml every 4-7 days. Each capful is 20 ml and each gradation is 5 ml. Shake well before use and store in a dry place away from direct sunlight.
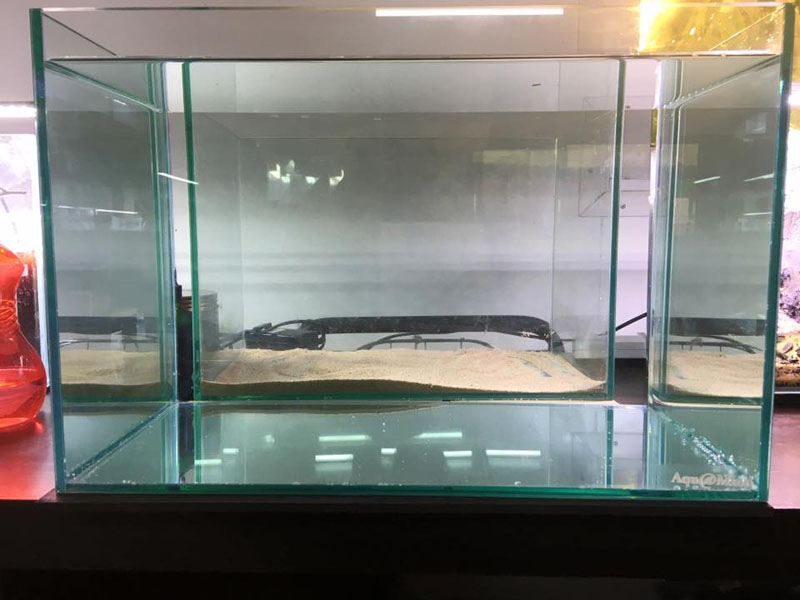
Before creating the layout I recommend first filling the tank to see if there are any leaks or air bubbles. This prevents possible damages that can occur and also cleans the tank. By V Aquality Fish Farm
The first step should be the addition of the base substrate Green Base (Cal aqua labs). One bag has 2 liters. The amount to use is 1 liter per 40 liters tank size. My tank size is 45x30x30 (40 liters volume) but I will be planted densely so I’m using the entire bag. By V Aquality Fish Farm
I will fill the base substrate in mesh bags and place them at the back. This prevents the base substrate from mixing with the soil if I need to tear down the tank or change layouts. Followed by Multi-R (Cal aqua labs) and Substrex (Cal aqua labs)
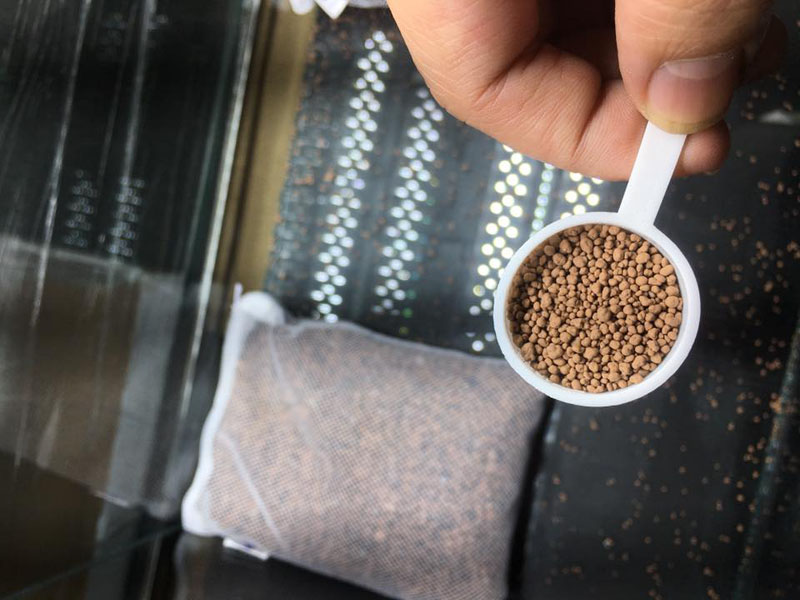
The appearance of Multi-R. The substrate additive is rich in iron and trace elements that help accelerate plant growth and color. It also helps reduce algae outbreaks. The amount that I use is 1.5 spoons and I just sprinkle them over the bottom of the tank.
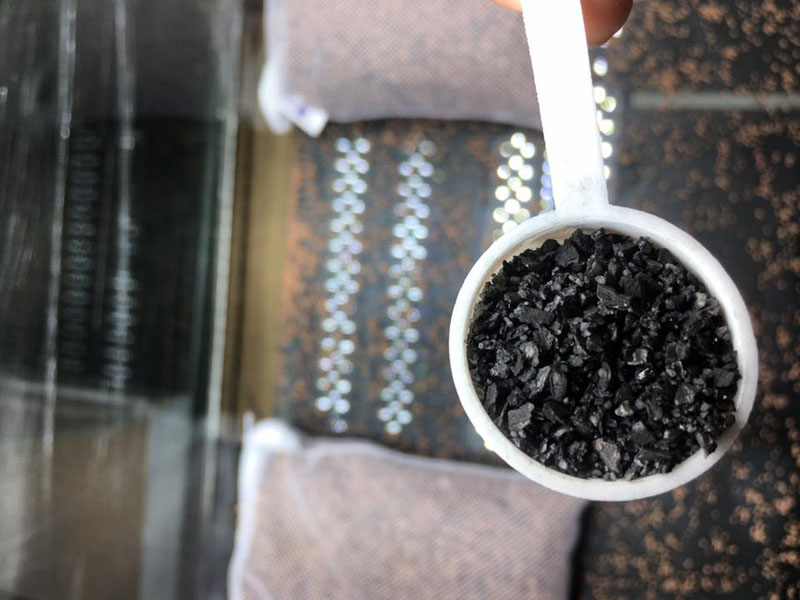
This is what Substrex looks like. It reduces water turbidity caused by substrate dust and debris and increases clarity. I used 1.5 spoons also spread thinly over the tank bottom.
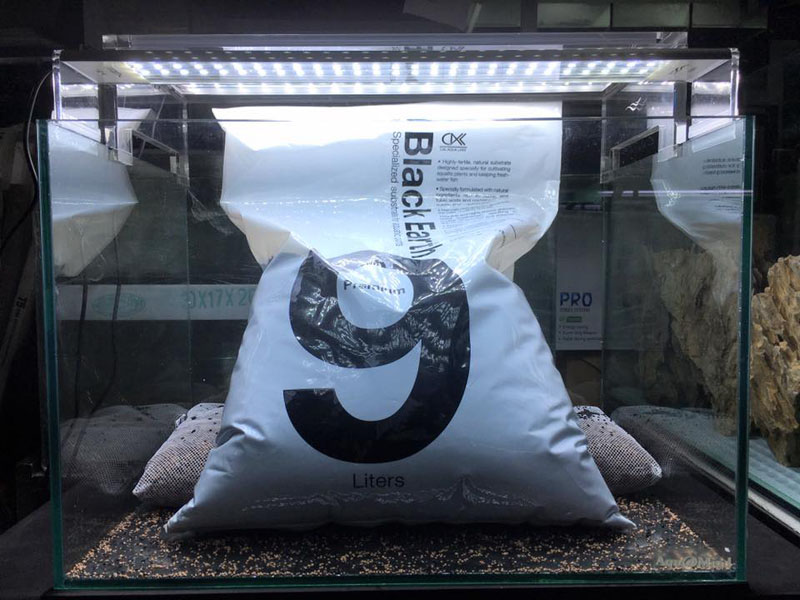
I want everyone to give importance to base substrates and substrate additives to prevent problems in the future. Once the base substrates are added, we followed by Black Earth (normal). This soil comes in 2 granule sizes: normal (normal-sized granules), and extra-fine (small granules). The granules of this soil are slightly hard and will not easily breakdown for sure.
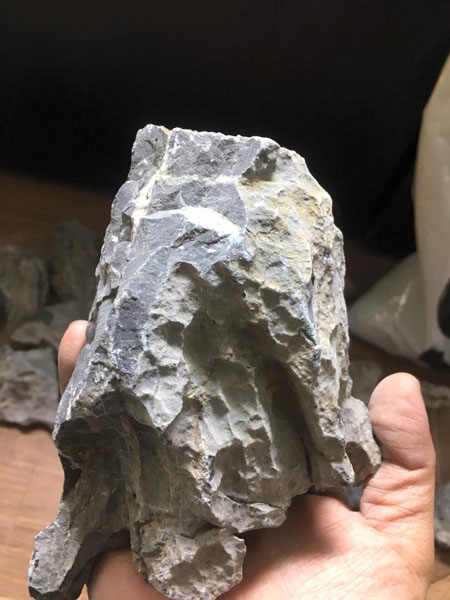
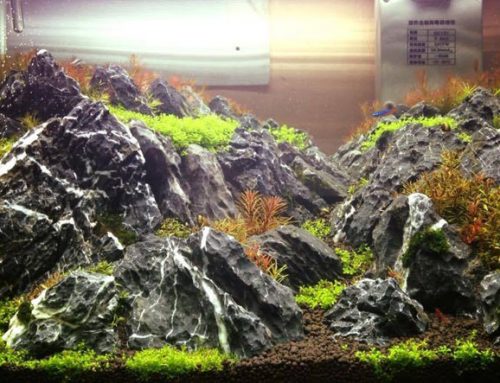
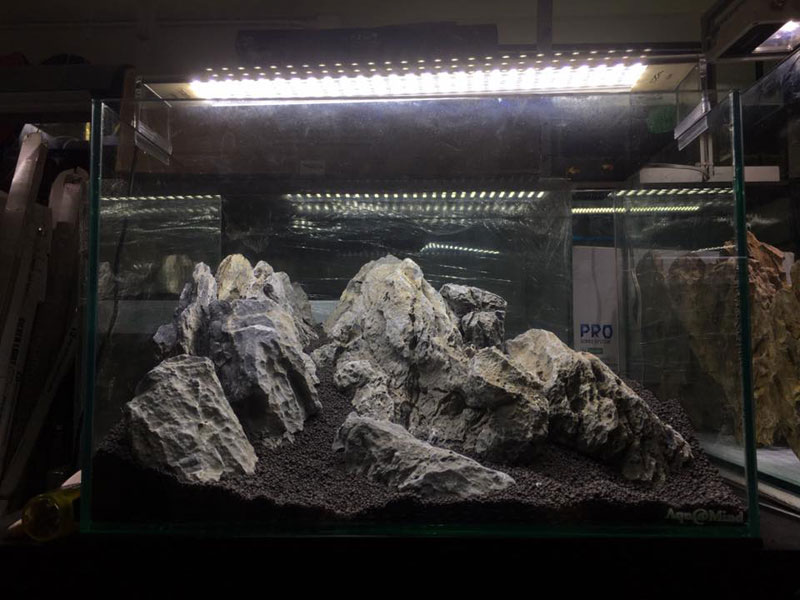
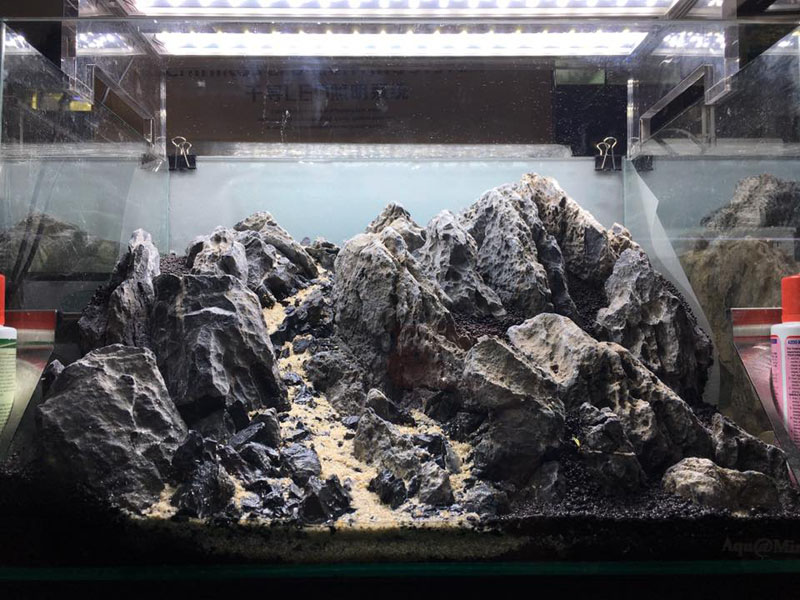
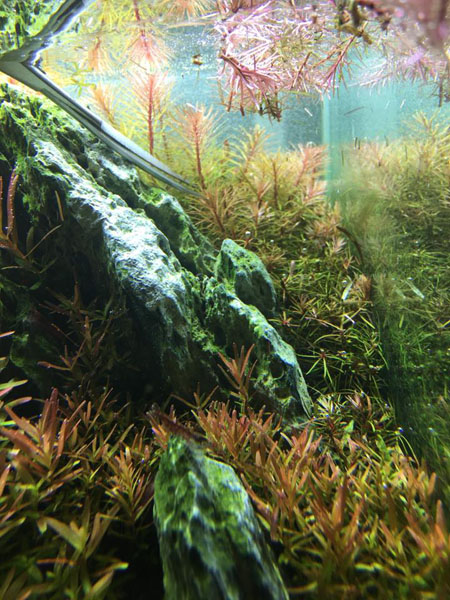
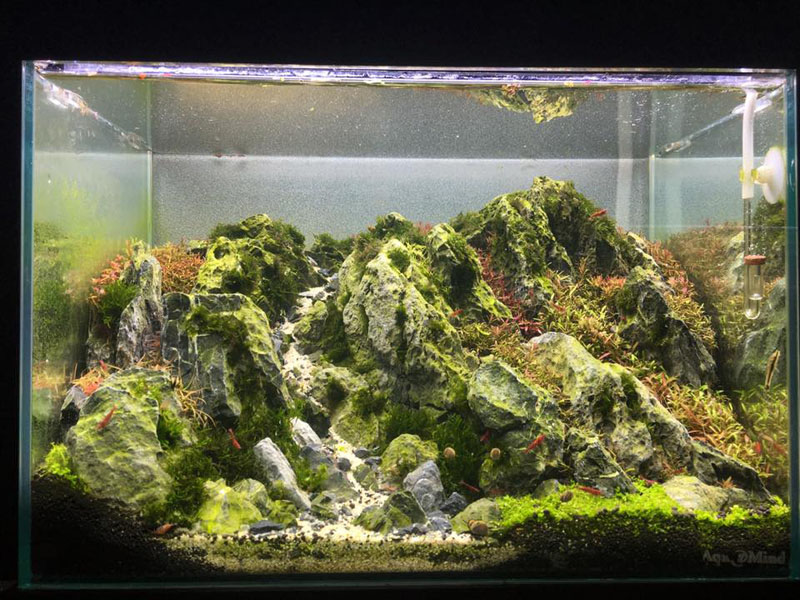
The stones that I chose are the Ryuoh stones. The details on the stones are quite prominent and beautiful but the price is quite high.
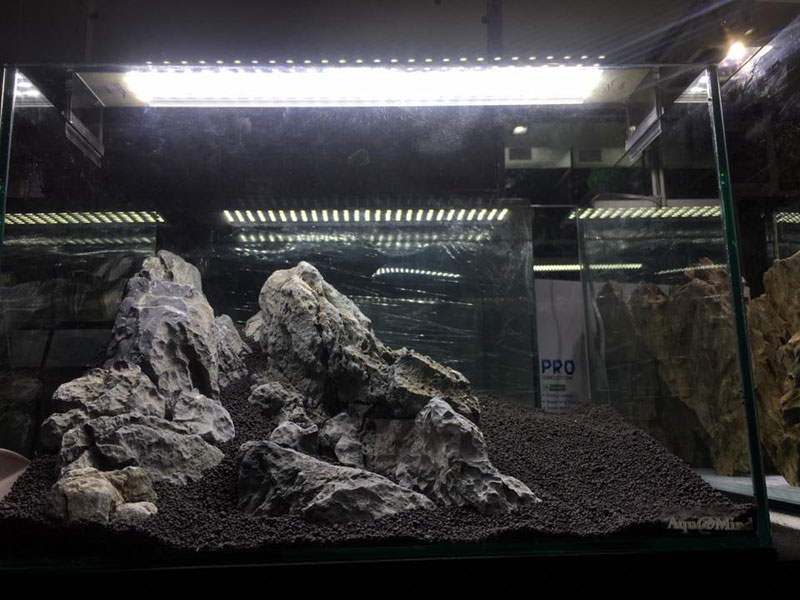
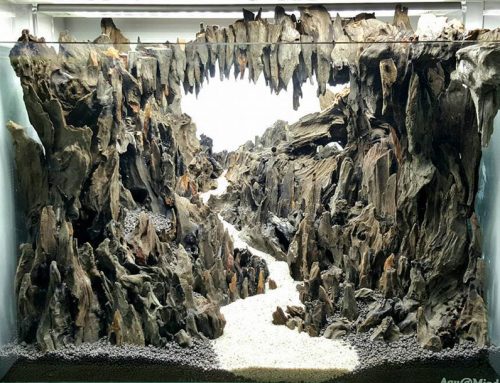
Normally I will take my time with the hardscape and will not finish everything in one day. This gives me the time to spot any mistakes and correct them.
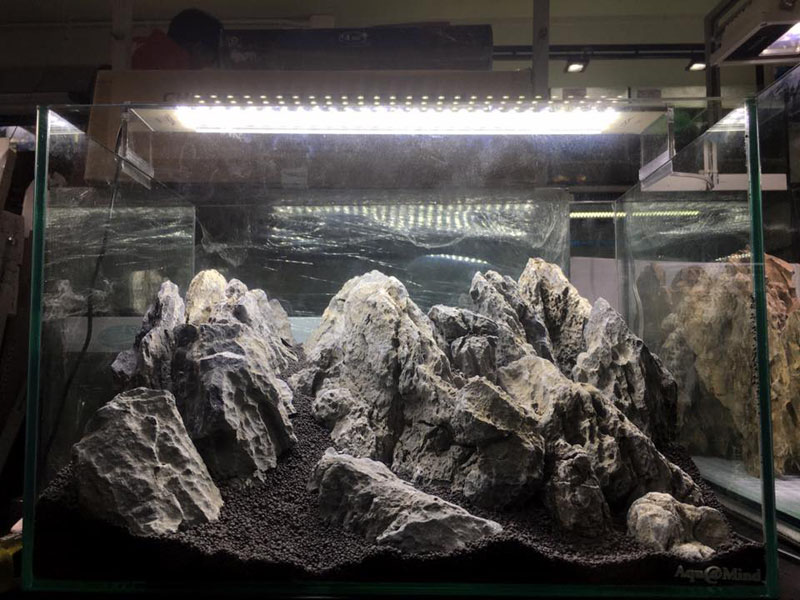

Adding more details in the back.
Putting the finishing touches in the front. Just a bit more and the hardscape will be completed.

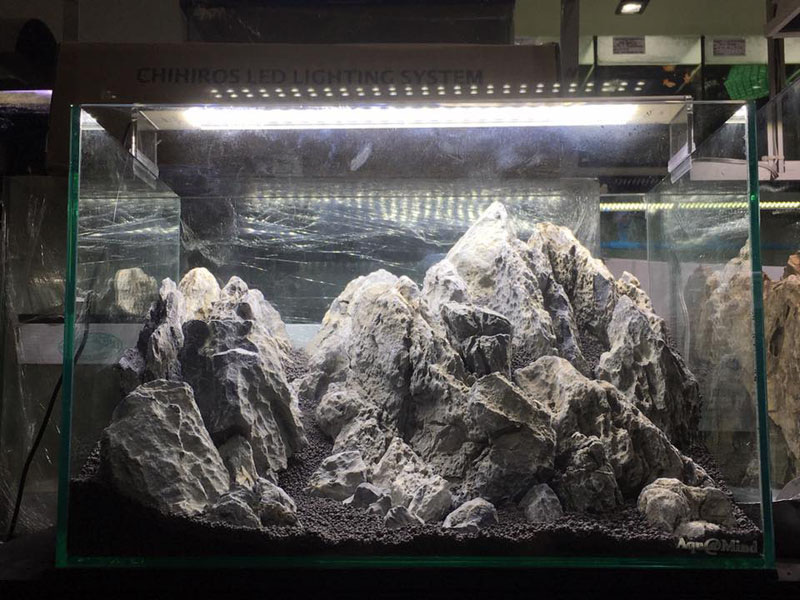
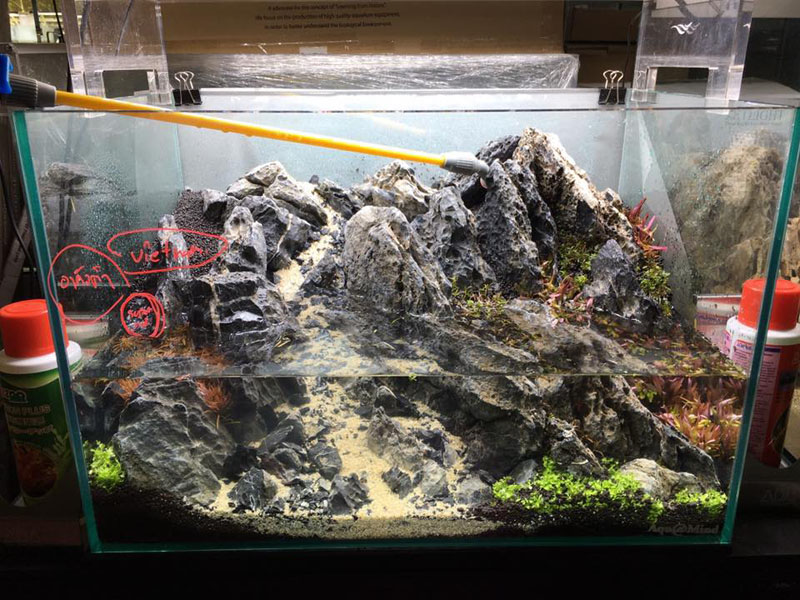
100% completed
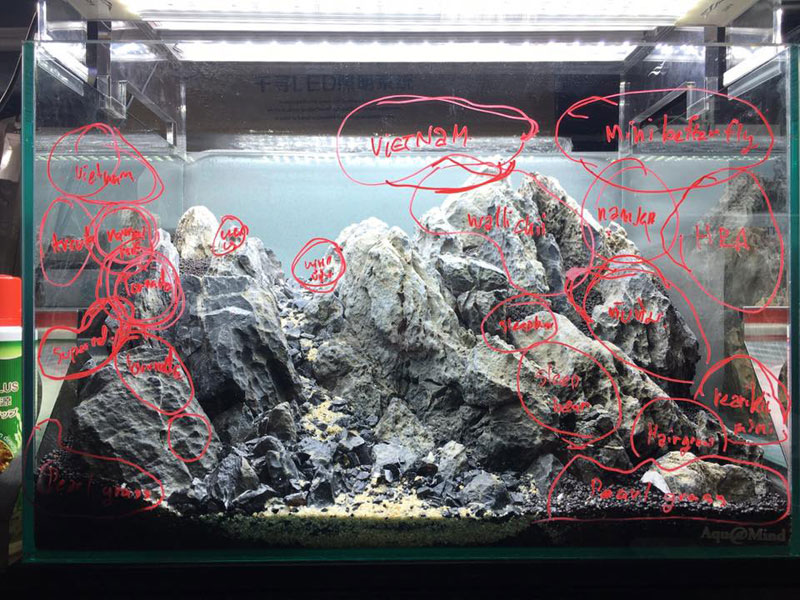
Since I will be using mostly stem plants in this competition, I have to consider the leaf size of each species of plant. To do this, I wrote down the details of the plants I plan to use on the glass to visualize the planted layout.
Made some changes to make the layout come together a bit better before planting.
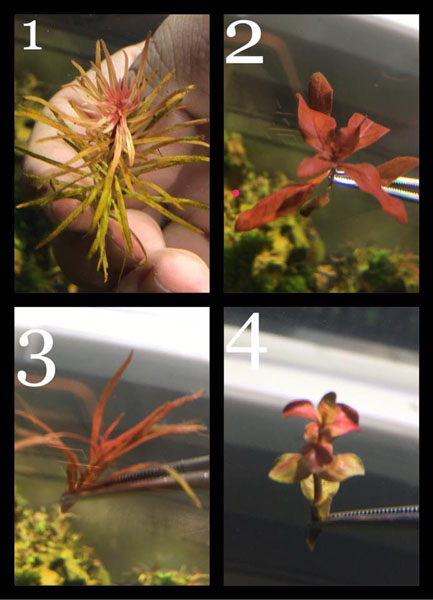
Here is the list of plants that we used:
1.Ludwigia inclinata var. verticillata ‘pantanal’
2.Ludwigia repens ‘super red’
3.Ludwigia arcuata ‘narrow reaf’
4.Rotala sp.japan purple
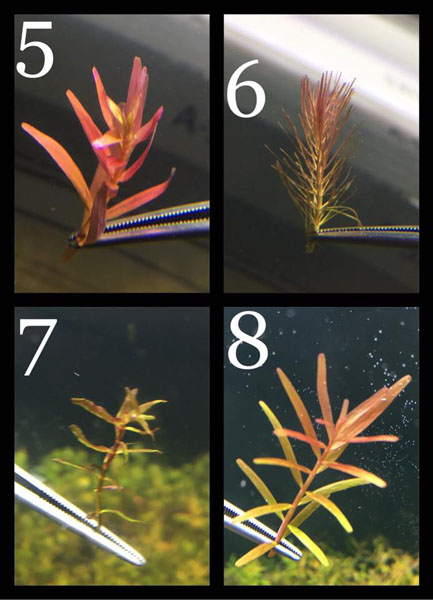
5.Rotala Rotundifolia
6.Rotala sp. ‘vietnam’
7.Rotala Macranda minibutterfly
8.Rotala rotundifolia ‘Hra’

9.Rotala sp. ‘Nanjenshan’
10.myriophyllum sp. guyana
11.Rotala wallichii
12.Micranthemum Umbrosum ‘Monte Carlo’
13.Rotala mexicana ‘Goias’
14.Hemianthus callitrichoides cuba
15.Riccadia Graeffei
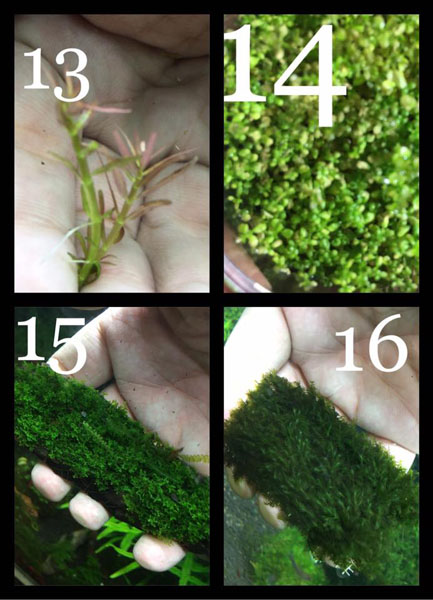
16.Fissidens Fontanus
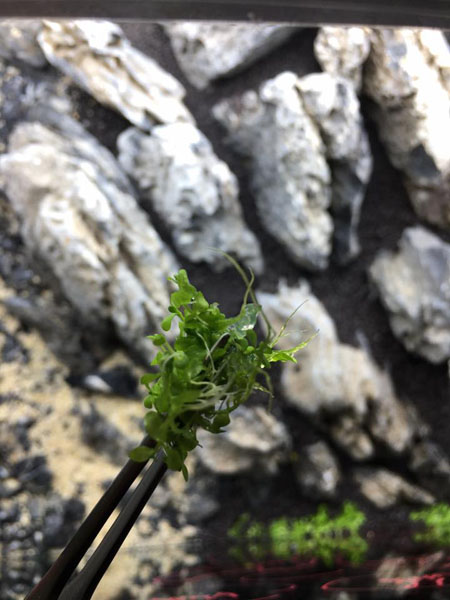
The good thing about choosing tissue-cultured plants is that there are no foreign hitchhikers like snails and various algae. However you should wash away the agar before you plant.
I start by first adding water to the soil level then carefully plant. This will make planting easier.
Plant slowly. Don’t rush or else the plants may bruise. For stem plants, I will push their stems into the soil once and not more other wise their stems may break and rot.
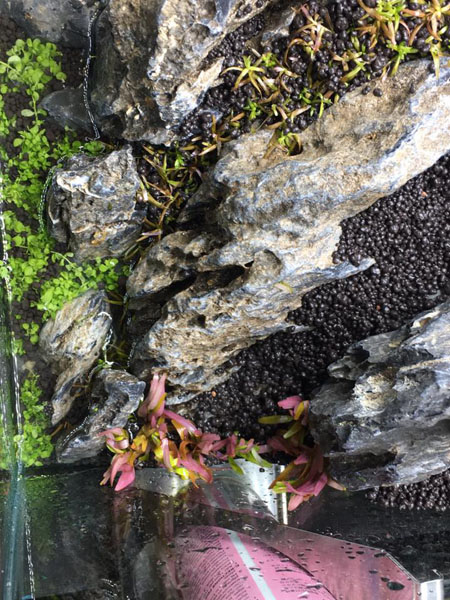
The only thing that remains is to attach the moss and clean up the details. I will update again soon. Happy New Year to all planted tank enthusiasts out there.
After filling the tank, it is time to add the bateria to accelerate cycling. Bacteria is quite important and should not be overlooked. It helps to jump start the biological filtration progress and helps improve water quality and digest wastes. The dose for a 40 liter tank is 1 inner capful every week.
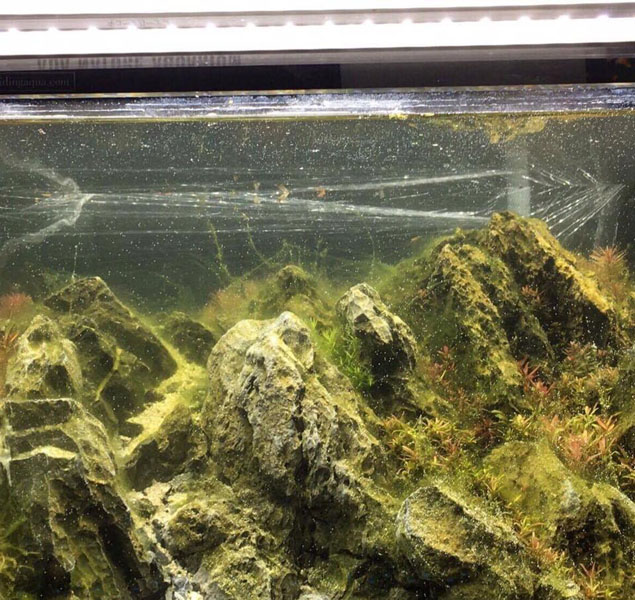
Problems with algae is something you can not avoid when setting up a new tank. Regardless of whether it is brown algae, hair algae, etc. If you know how to properly handle them, we can bring the tank back to its beautiful state.
Start with AZOO’s Algae Treatment which is designed specifically for dealing with brown and hair algae.
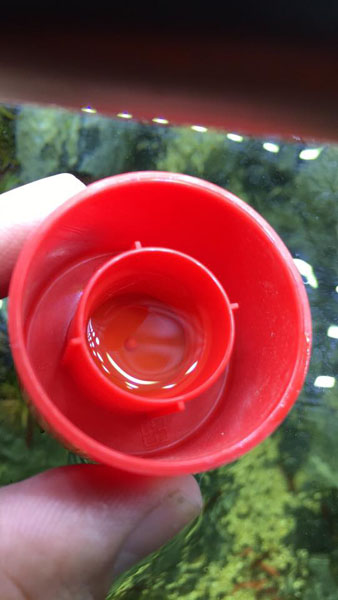
Fill up half of the inner cap and pour it in.
Then dilute it by filling the rest of the cap with tank water. If you pour it into the tank directly without diluting, some of the plants may melt. Do this 3 times a day for 3 consecutive days, then do a water change.
After doing a water change, you can add shrimps right away to take care of the algae.
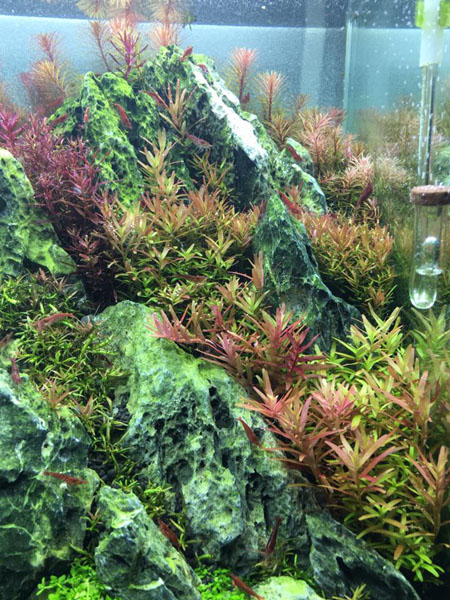
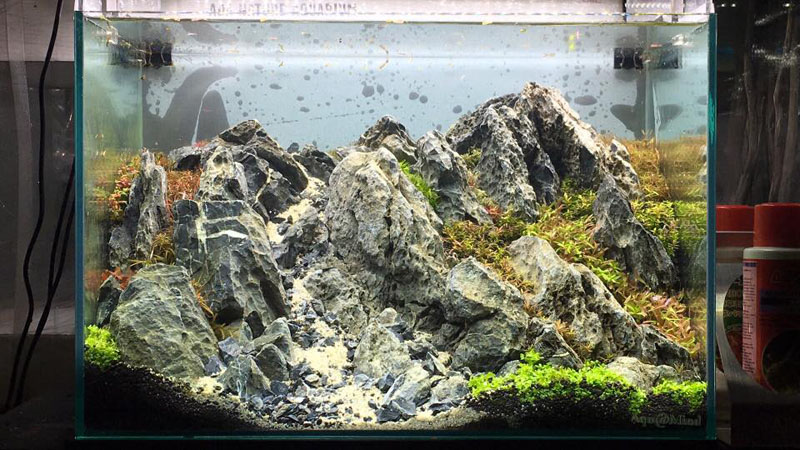
The growth rate of each stem plant species is different. Some grow faster than others, so we need to keep this in mind when trimming each species. This time, I will start by trimming them all and record the time in which they grow back. This way, I can be sure that on the competition day, all the plant species are in their best form.
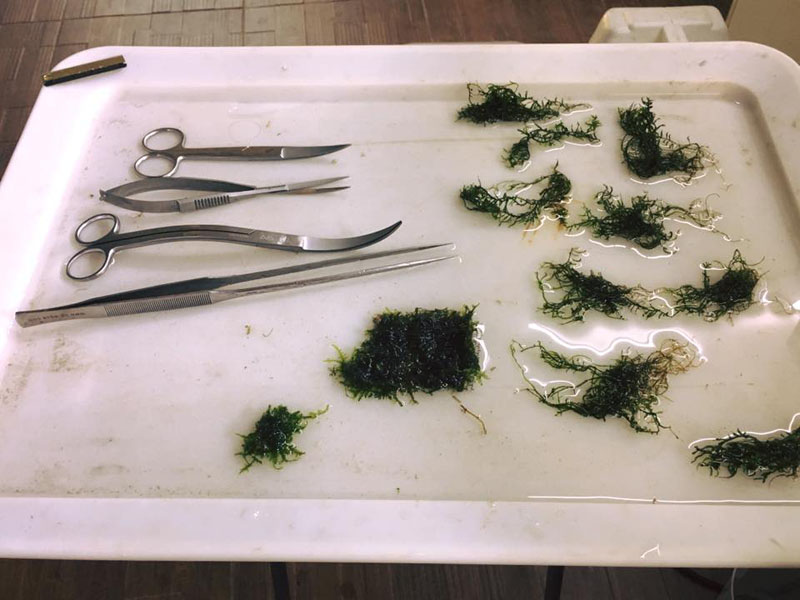
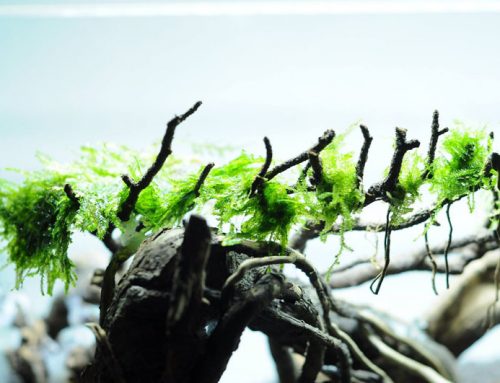
I used curved scissors for rough trimming, wave scissors to get into various nooks and crannies, and the spring type for detailed work. I will also be adding various mosses such as mini pearl moss, flame moss, and riccadia as well.
Choose sharp scissor so the plants don’t bruise. The just cut cut cut cut…
After trimming and adding some details with moss, it is time to increase the photoperiod from 6 hours/day. This week I will increase the photoperiod to 7 hours before reaching a maximum of 9 hours/day. I keep a diary for various plant species and released some horned Nerite snails to help with algae.

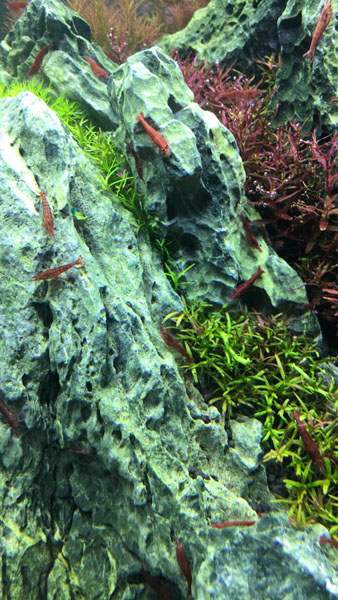
A week has passed since the last trimming and photoperiod increase. The colors of the Rotalas are becoming more apparent.