Project Description
Entry #10: Suchart Subsin

Owner of Green Space Aquarium at Chatuchak Market
The Thai version can be found here.
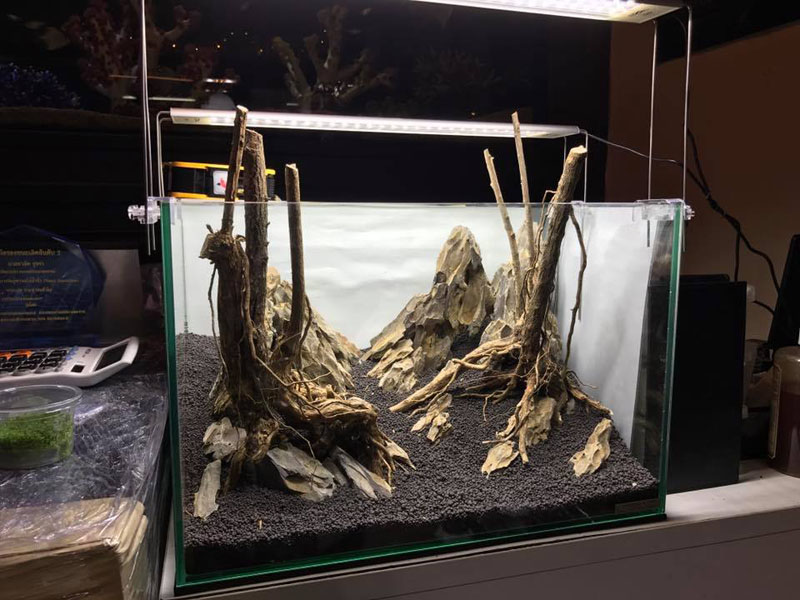
Time to start.
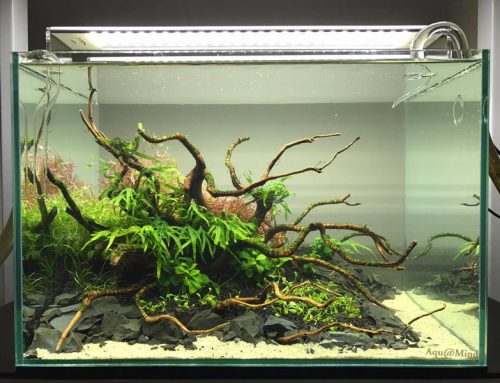
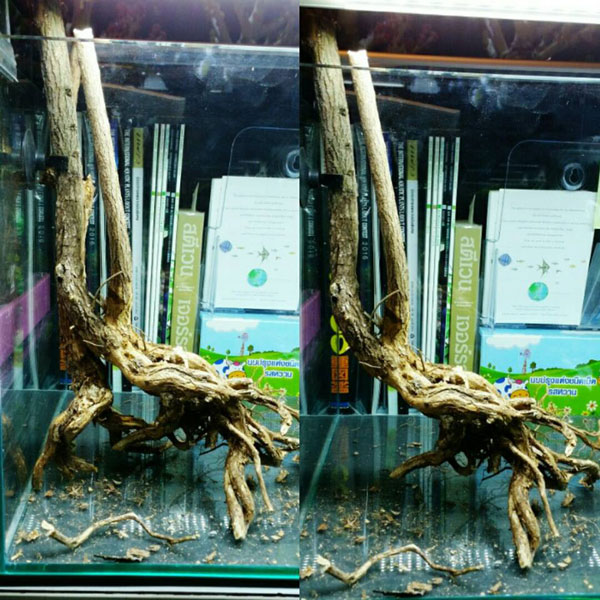
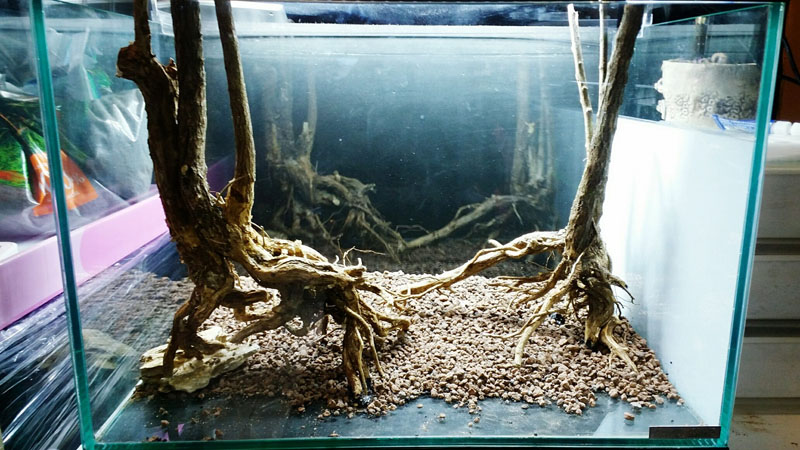
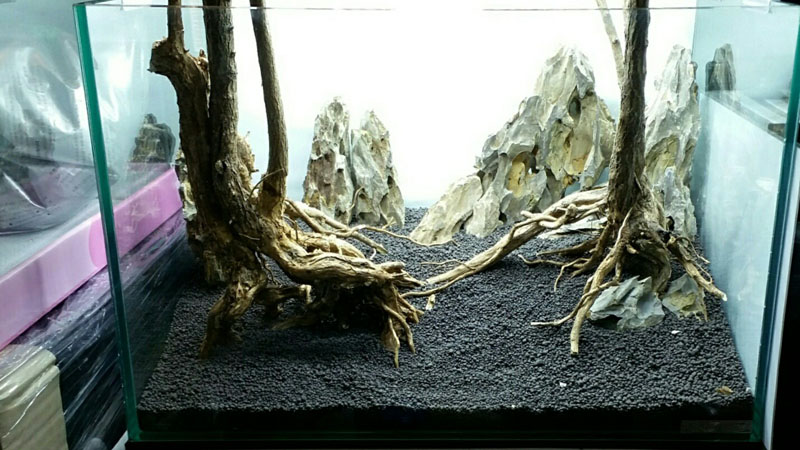
Wood
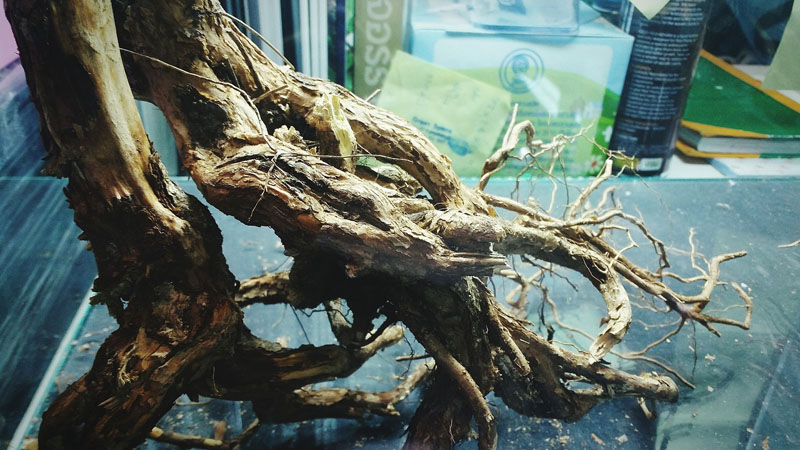
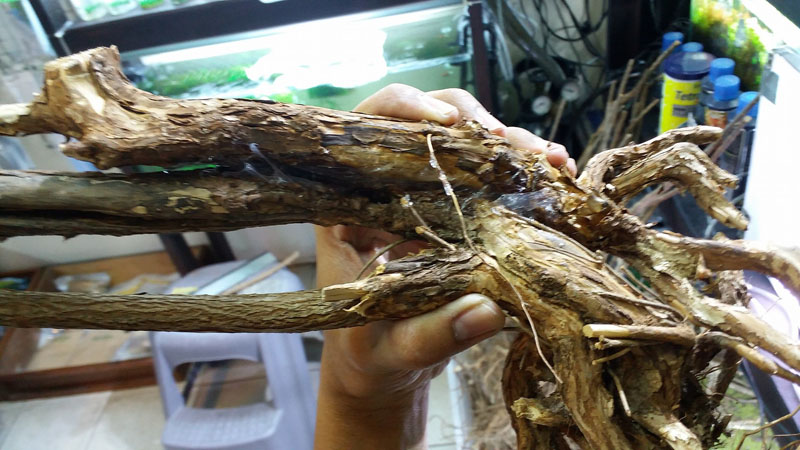
Wood that I selected for this tank is from Baeckea frutescens. The good points about this type of wood are that they are beautiful regardless of size, does not stain the water yellow, and the sizes and shapes are generally suitable for smaller tanks. They also sink easily within 2 weeks of submergence. The downside is that the pieces generally are straight and blunt and are similar to one another. So if we want the wood to have beautiful shapes, we need to rely on certain techniques which I will be using for this tank.
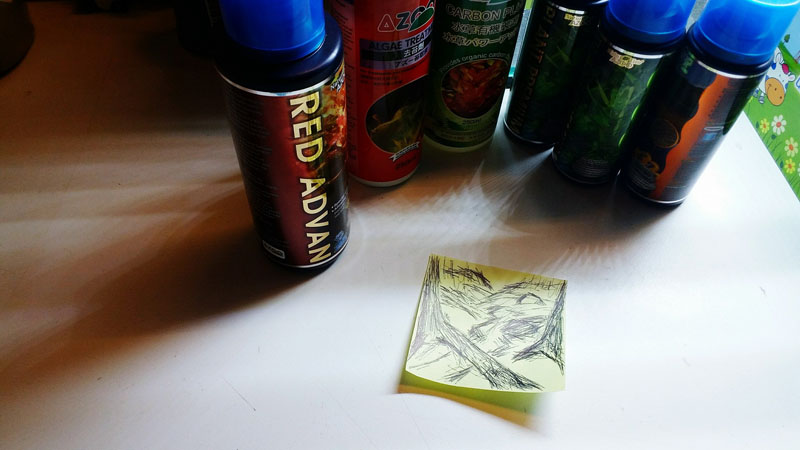
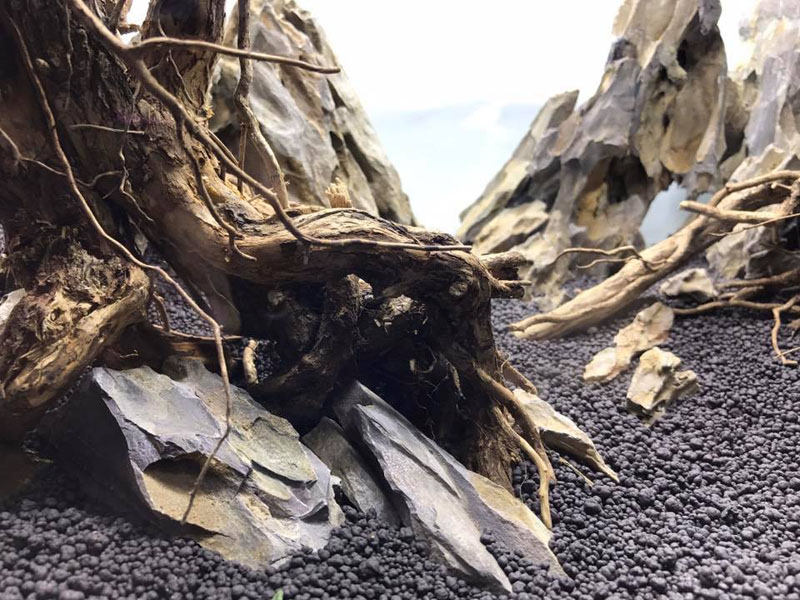
Adding details to wood. If the wood that we chose does not have sufficient details, we can add them in.
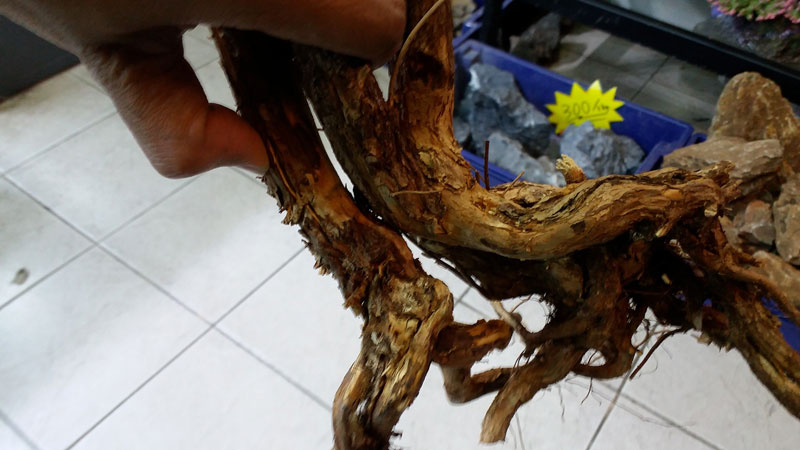
I use another piece of that is similar or wood of the same type to join with the existing piece. Then, find the angle that I like.
Then, I apply aquarium silicone to the point to be connected. Make sure you peel the bark and clean the connection point first. Try to minimize the gap between both pieces. Don’t use too much silicone or it will look messy.
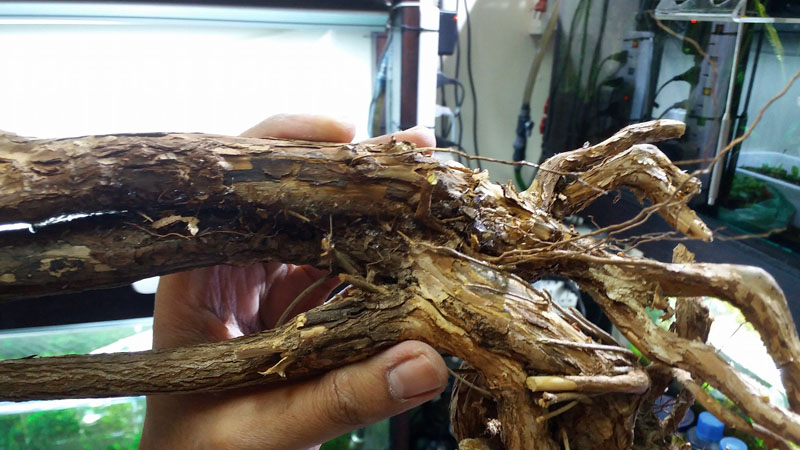
Before the silicone dries, you can sprinkle pieces of bark or sawdust onto the silicone to conceal the joint. After that, wait 24 hours before using.

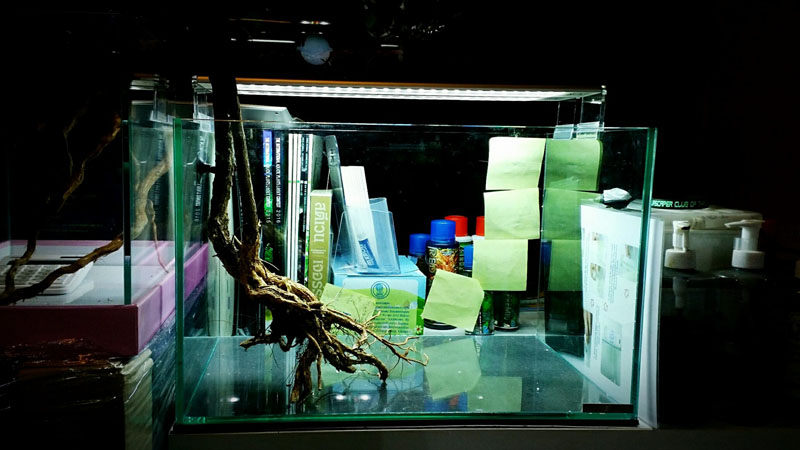
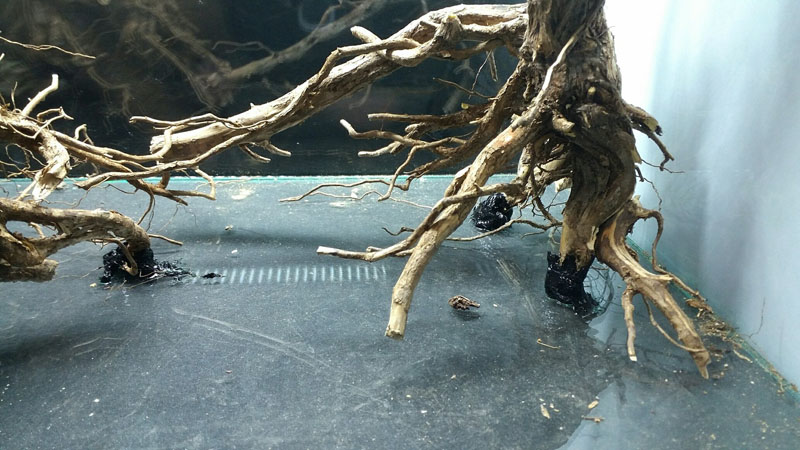
After the wood is dried, we will try placing them in the tank and find the right location. After that, I held them down with silicone. **I saw Mr. Eakthanut used this technique back at ACT06 competition** The reason for using silicone is that these branches are new. They will float if we don’t hold them down.
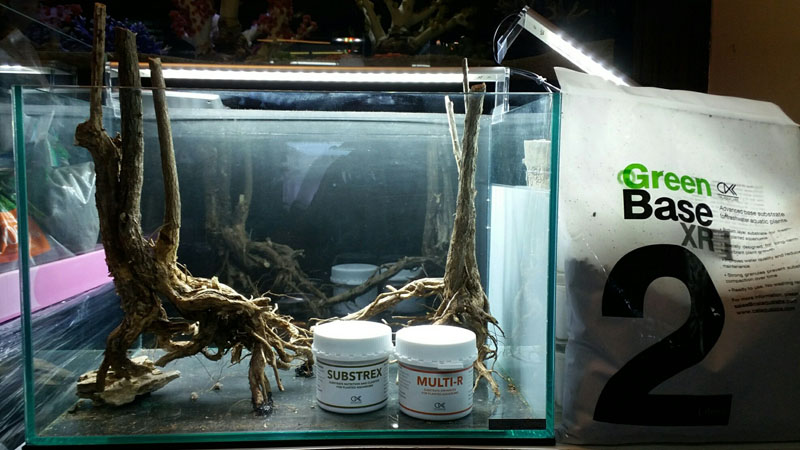
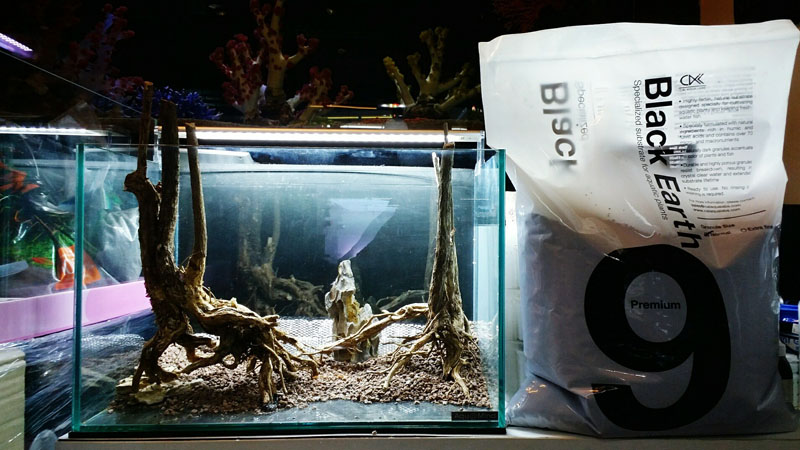
After placing the wood where we wanted, it is time to deal with the substrate. I used Green Base XR for long-term nutrients / Multi-R for trace elements and iron / Substrex to reduce substrate clouding from soil dust and debris. It also helps clarify water.
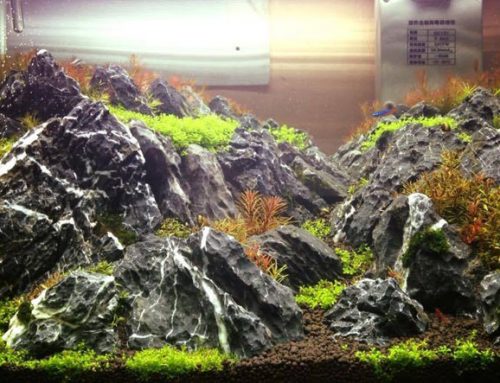
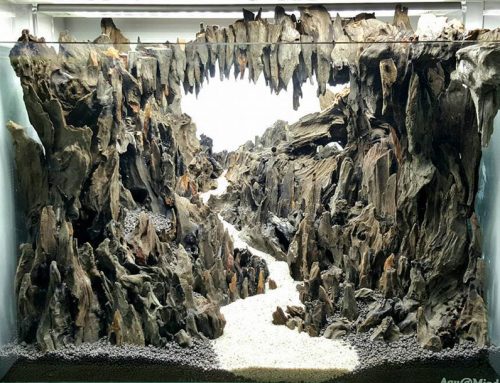
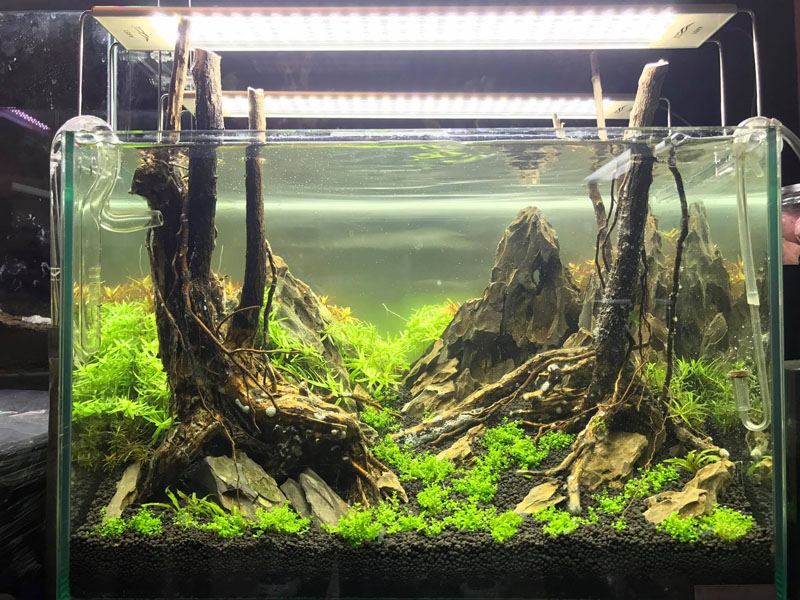
After the base layer is done, I will be pouring down some soil to help with the layout. For this tank, I will be using Dragon stones to build up a mountain in the back. To do this, I will use wire mesh to prevent the soil from leveling and ease of placing the rocks.
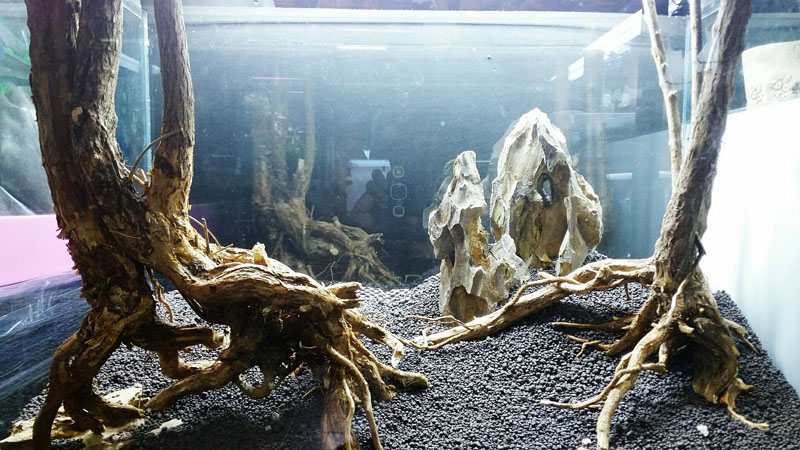
I work on this slowly. No need to rush. Just have to make sure I am happy with the placement.
Everything starts to come together, bit by bit.
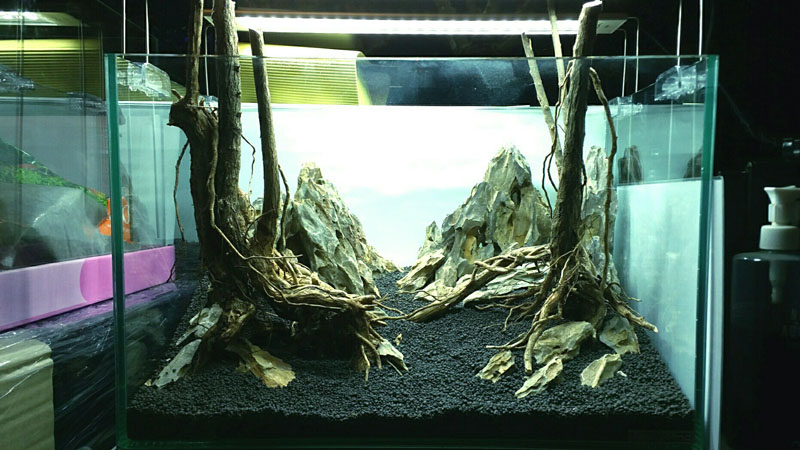
At this point, my hardscape is about 86.785% completed. From this point on I still have time for minor details. I will do another update once I have made some progress.
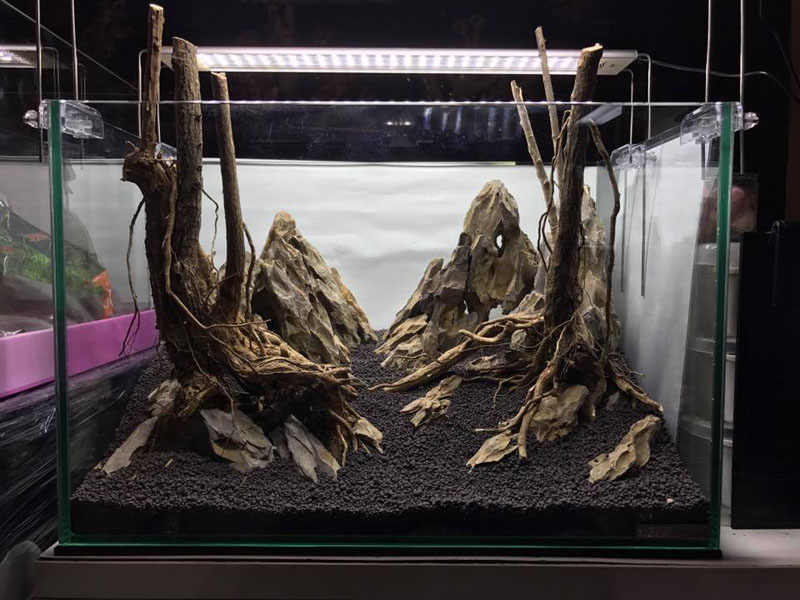
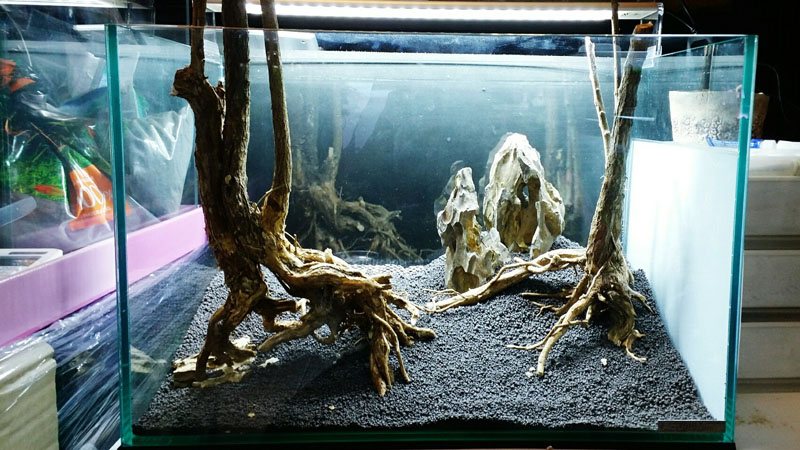
I am finished with all the details. Next week I will begin to plant and complete this layout. There are some tricks that I have up my sleeve so please stay tuned.
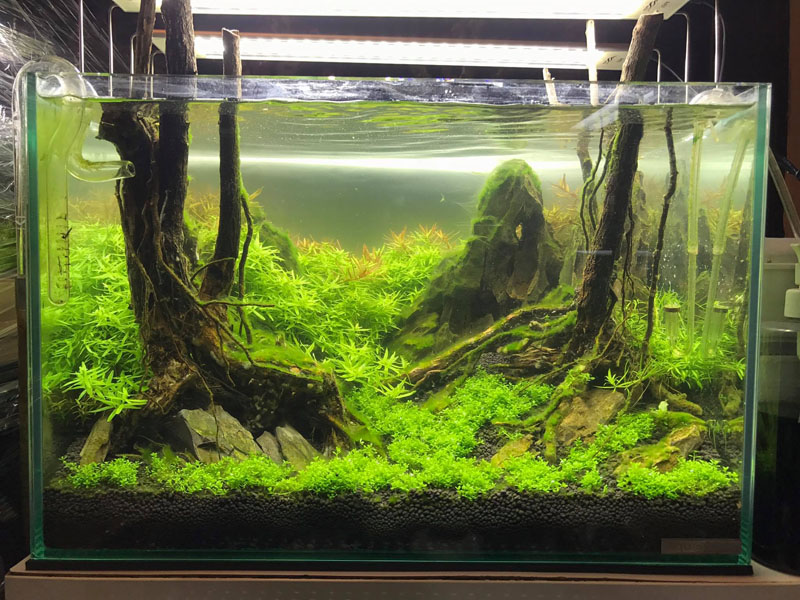
Time to plant.
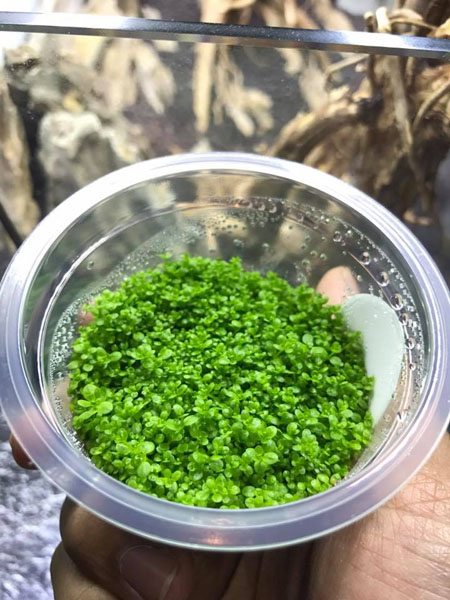
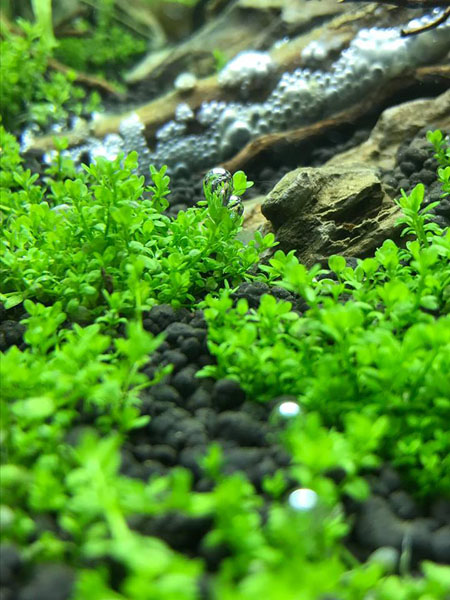
For the foreground I use HC. The tiny leaves are suitable for small tanks like this one.
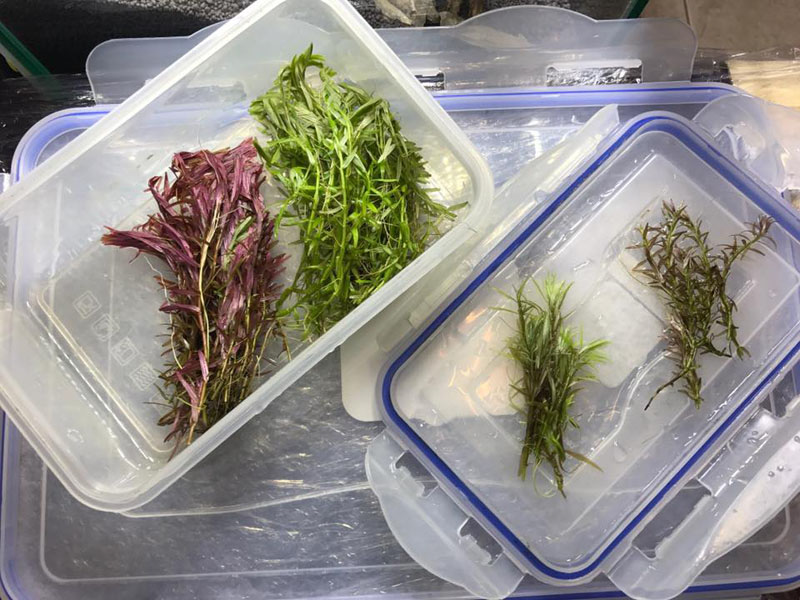
The theme for this competition is Rotala Revolution. The stem plants in the picture consist of Rotala sp. green, Rotala “vietnam”, Rotala mexicana, and Limnophila sp. ‘mini’
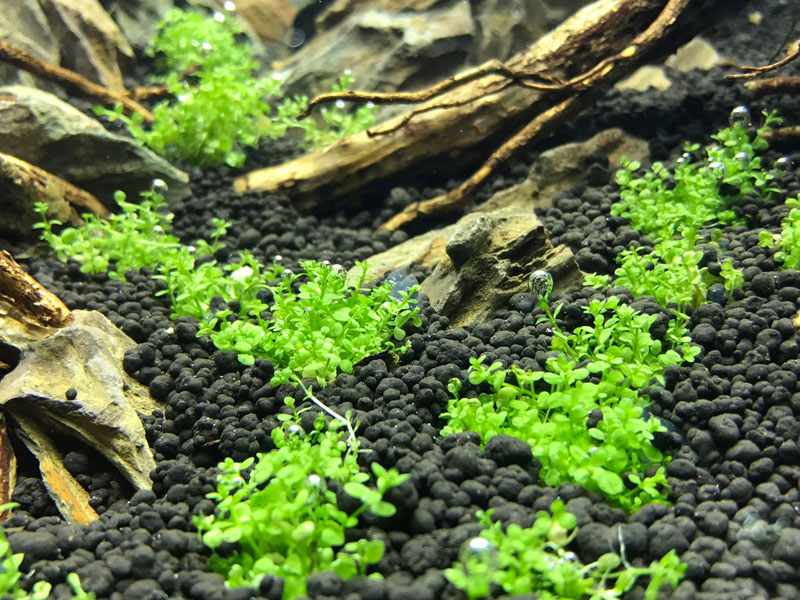
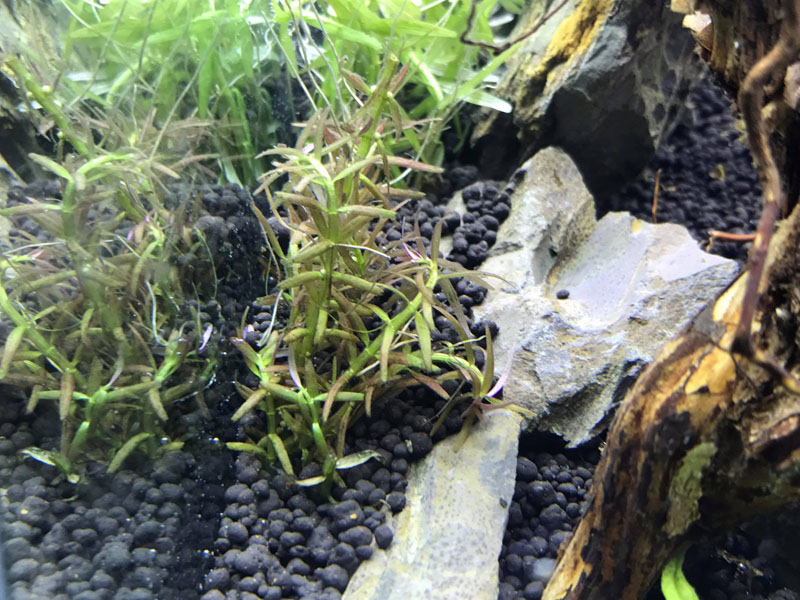
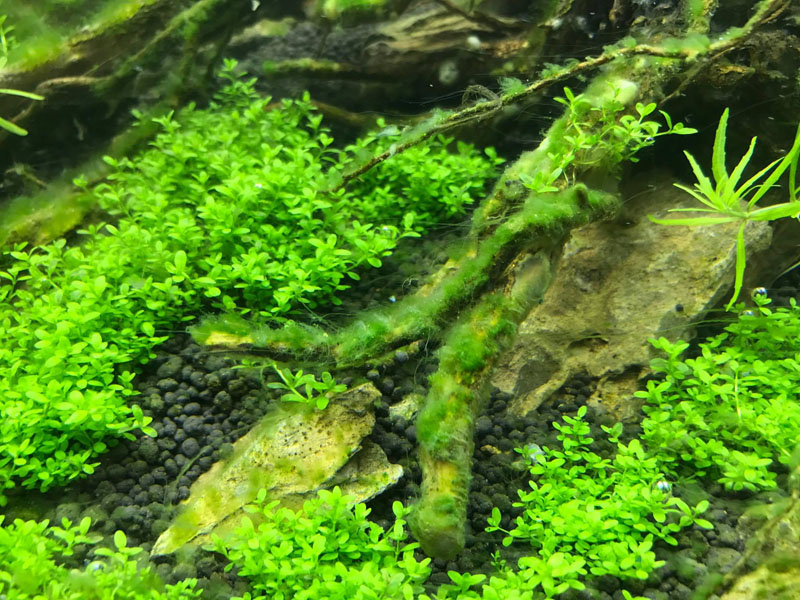
Plants that I used inside this tank. I might add more later. Hemianthus callitrichoides
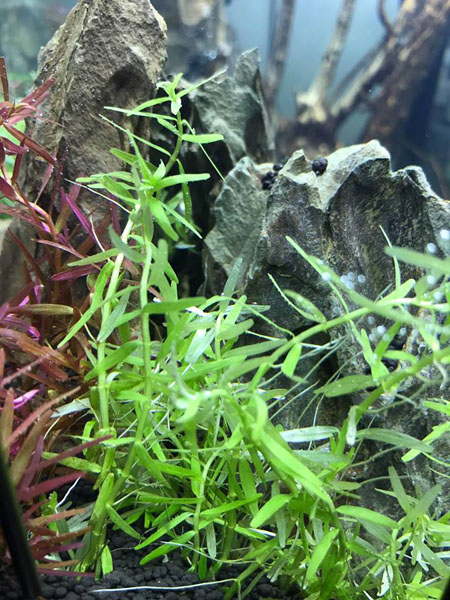
Rotala sp. ‘green’

Rotala sp. ‘vietnam’
Limnophila sp. ‘mini’
Staurogyne sp. ‘porto velho’
Rotala mexicana
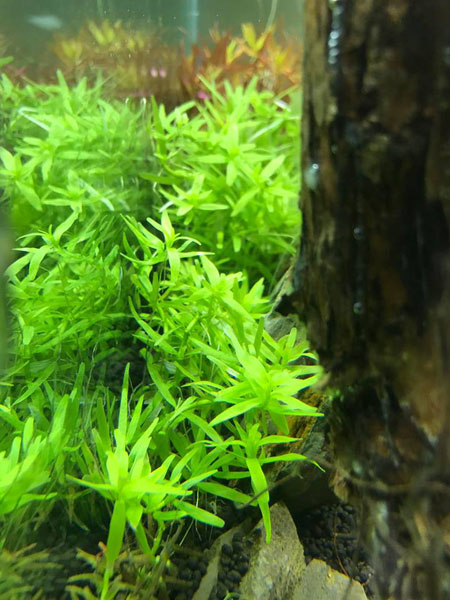
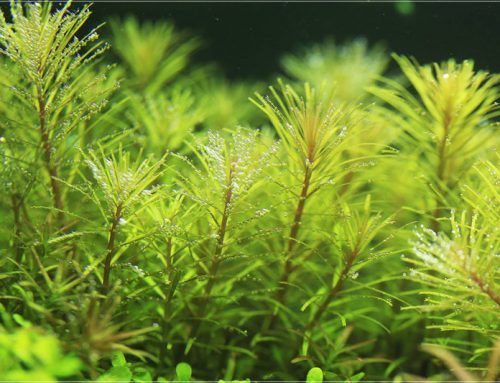
Green Rotala..the common plant at Chatuchak Market. Sometimes they can be bought for about $0.30 USD/pot, while other times they can cost about $2.30 USD. This is among the first species of Rotala that I have grown.
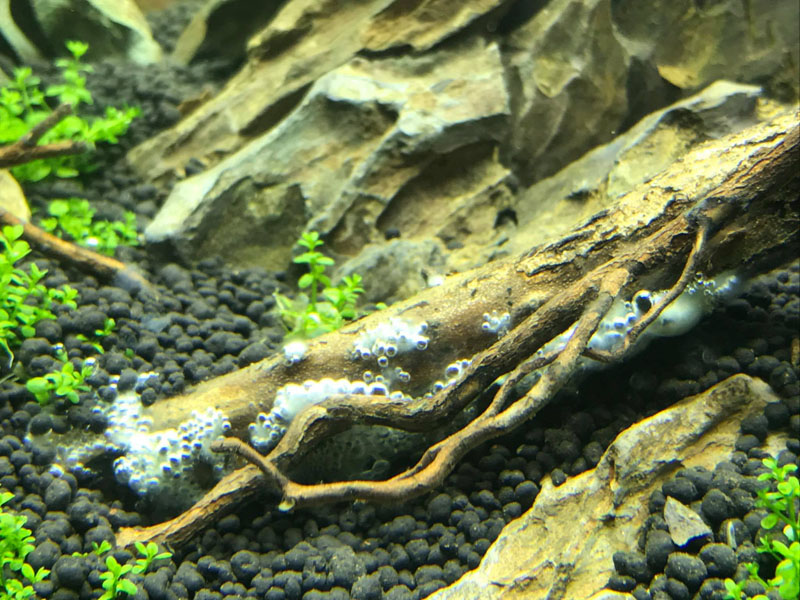
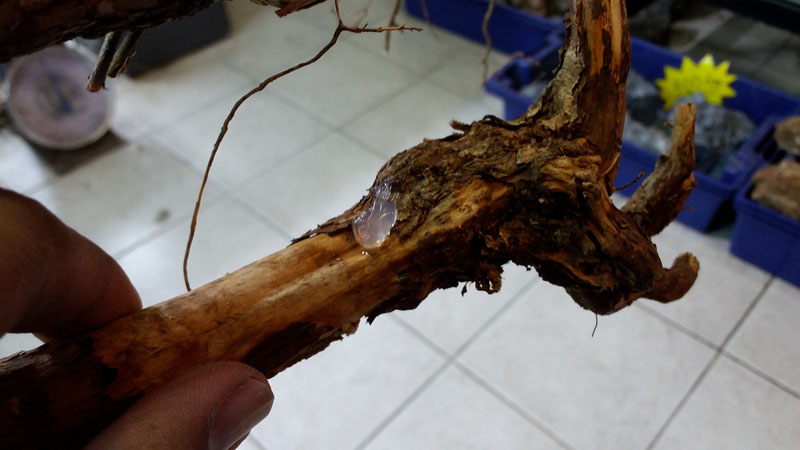
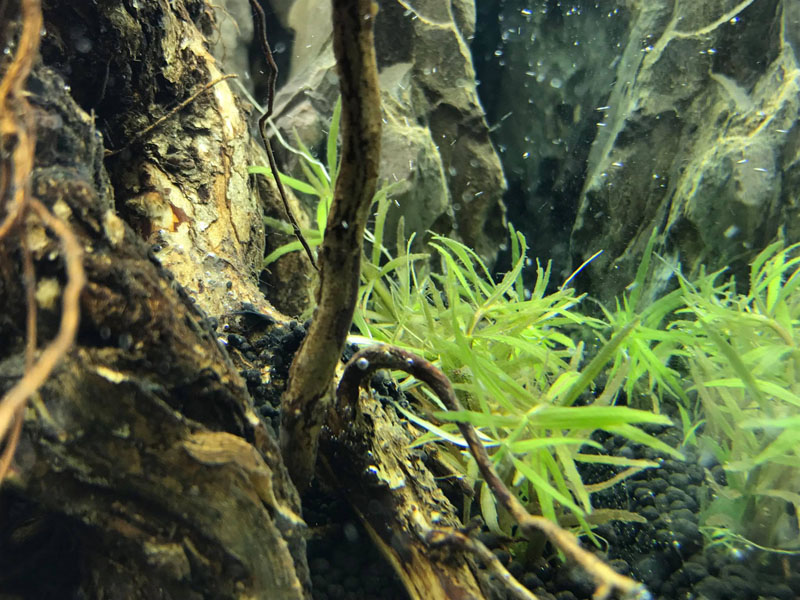
“Fresh wood slime” Wood that have not been soaked will release white, gel-like slime which has no danger but rather just an eye sore. This type of wood will stop releasing slime in about 2 weeks. They can be removed by sucking with a hose, or eaten by mollies.
🙂
🙂
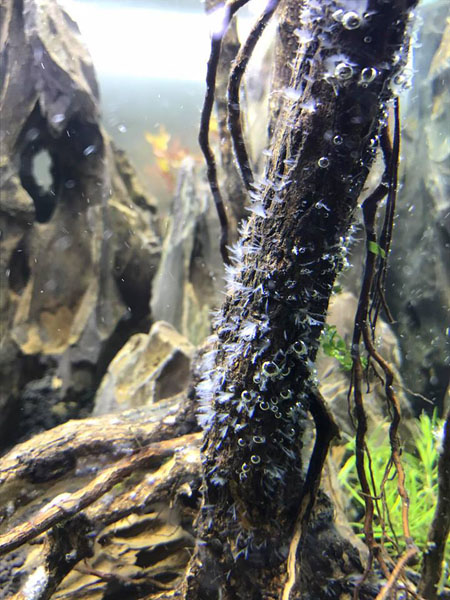
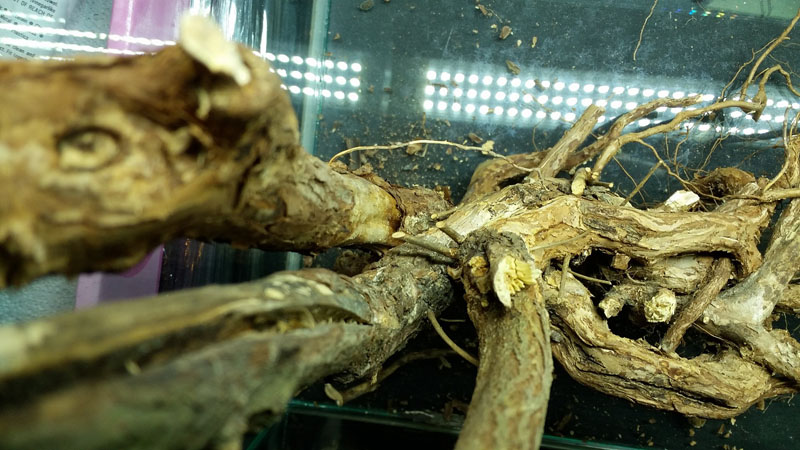
You can sometimes see fungus growing from wood. To get rid of them, I just scrape them off.
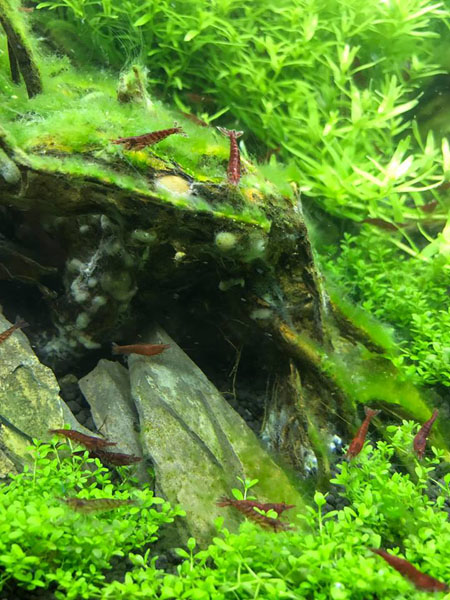
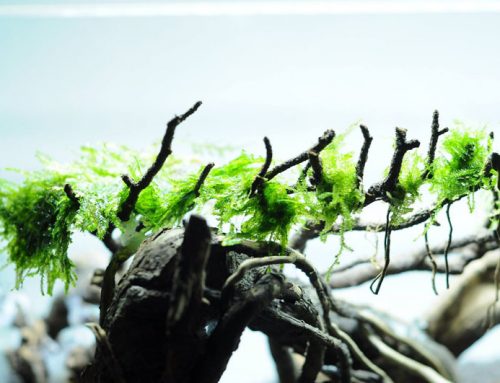
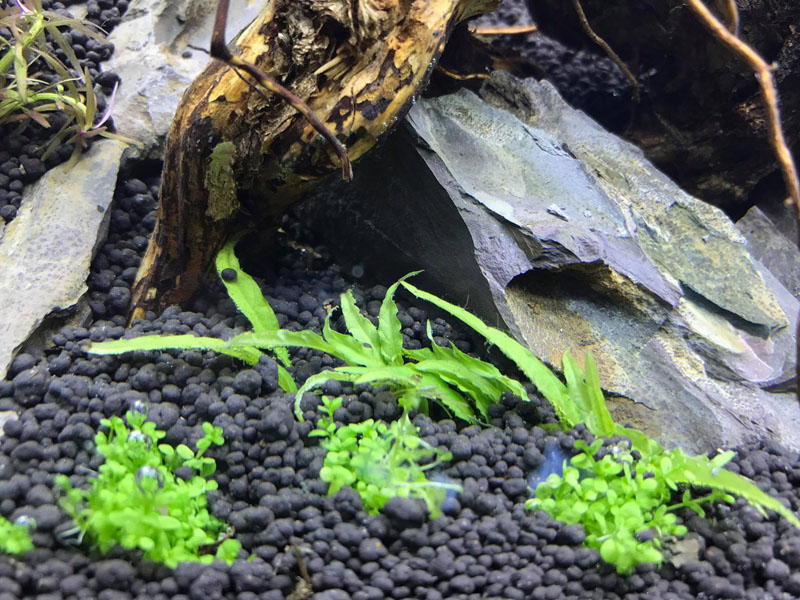
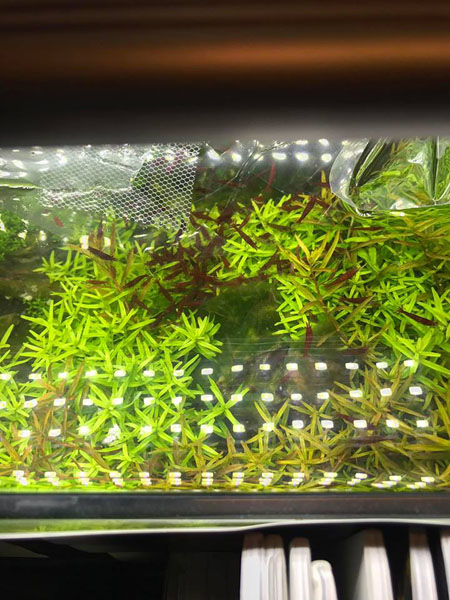
Shrimps love soft algae like these.
During the initial setup, tanks are likely to encounter brown diatom algae. No need to panic because it is very easy to handle. I just released some shrimps to eat them up.
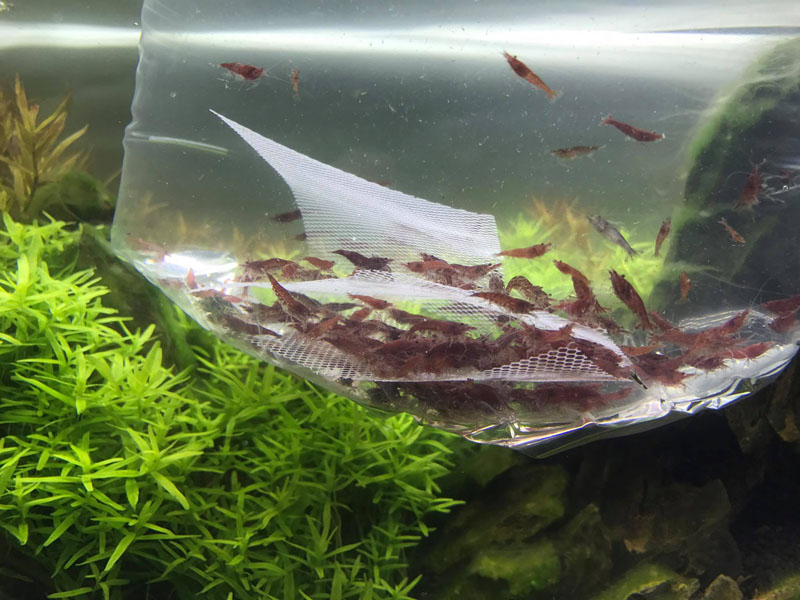
Here are 200 regular cherry shrimps for $0.03 USD each.
I leave the algae issue in their hands.